
Tracker 4WD V6-2.5L VIN 4 (2001)
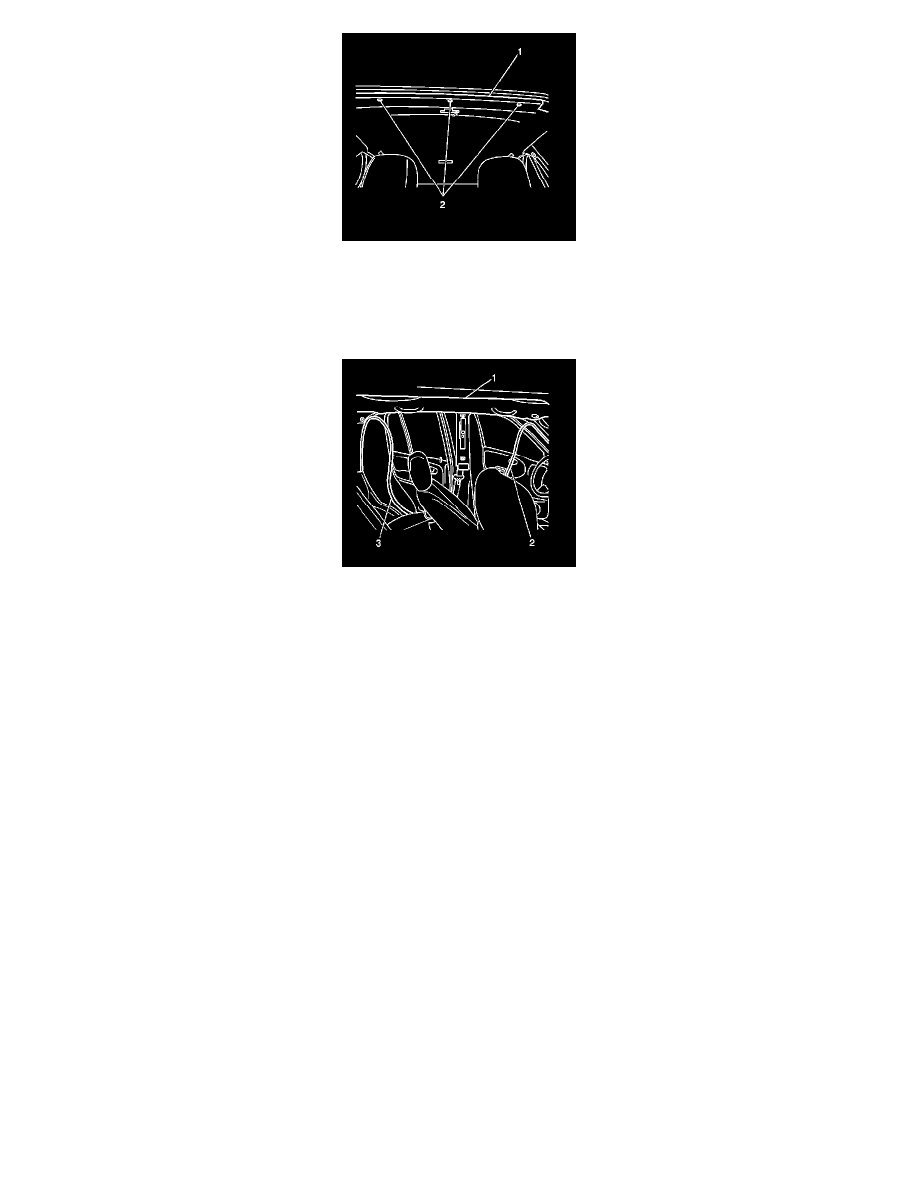
5. Install the headlining (1) to the roof panel. Secure the rear of the headlining with the 3 plastic retainers (2).
6. Install the assist handles. Refer to Assist Handle Replacement (2 - Door) (See: Passenger Assist Handle/Service and Repair/Assist Handle
Replacement (2 - Door))Assist Handle Replacement (Rear - 4 Door) (See: Passenger Assist Handle/Service and Repair/Assist Handle
Replacement (Rear - 4 Door))Assist Handle Replacement (Rear - 2 Door) (See: Passenger Assist Handle/Service and Repair/Assist Handle
Replacement (Rear - 2 Door)) .
7. Install the sunshades to the vehicle. Secure each sunshade with 2 screws.
8. Install the sunshade supports. Refer to Sunshade Anchor Replacement (See: Sun Visor/Service and Repair/Sunshade Anchor Replacement) .
9. Install the windshield side garnish moldings to the vehicle. Ensure that the plastic retainers are fully engaged.
10. Install the upper center pillar trim. Refer to Center Pillar Upper Trim Panel Replacement (2 Door) (See: Trim Panel/Service and Repair/Center
Pillar Upper Trim Panel Replacement (2 Door))Center Pillar Upper Trim Panel Replacement (4 Door) (See: Trim Panel/Service and
Repair/Center Pillar Upper Trim Panel Replacement (4 Door)) .
11. Install the front (2) and rear (3) side door opening frame garnish moldings to the pinch weld flange by pressing into place.
12. Install the dome lamp. Refer to Dome Lamp Replacement.
13. Install the rear dome lamp. Refer to Dome Lamp Replacement.
14. Install the upper rear quarter trim panel. Refer to Rear Quarter Upper Trim Panel Replacement (See: Trim Panel/Service and Repair/Rear Quarter
Upper Trim Panel Replacement) .