
Tracker 4WD V6-2.5L VIN 4 (2001)
Removal Procedure
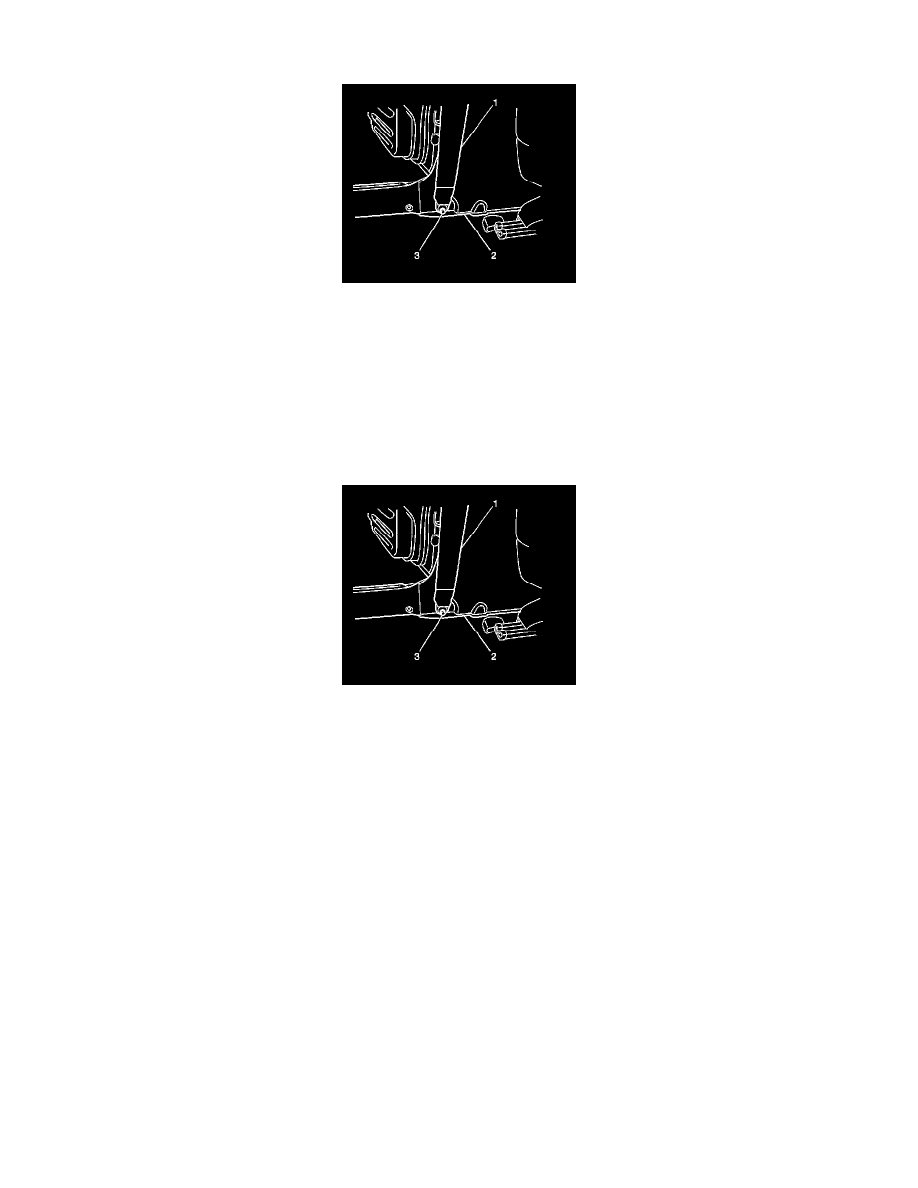
1. Position the front seat all the way forward in order to gain the necessary clearance to remove the front seat belt lower anchor bolt (3).
2. Remove the front seat belt lower anchor bolt (3).
3. Remove the following components from the vehicle:
1. The 3 plastic retainers
2. The rear side door sill trim plate
4. Gently pry loose and remove the lower center pillar trim (2) from the vehicle.
Installation Procedure
1. Install the lower center pillar trim (2) to the vehicle.
2. Install the rear side door sill trim plate to the vehicle. Secure the trim plate with the 3 plastic retainers.
Notice: Refer to Fastener Notice in Cautions and Notices.
3. Install the front seat belt lower anchor bolt (3).
Tighten the front seat belt lower anchor bolt to 35 N.m (25 lb ft).
4. Position the front seat rearward with the seat back upright.
Center Pillar Upper Trim Panel Replacement (2 Door)
Center Pillar Upper Trim Panel Replacement (2 Door)
Removal Procedure