
Tracker 4WD V6-2.5L VIN 4 (2001)
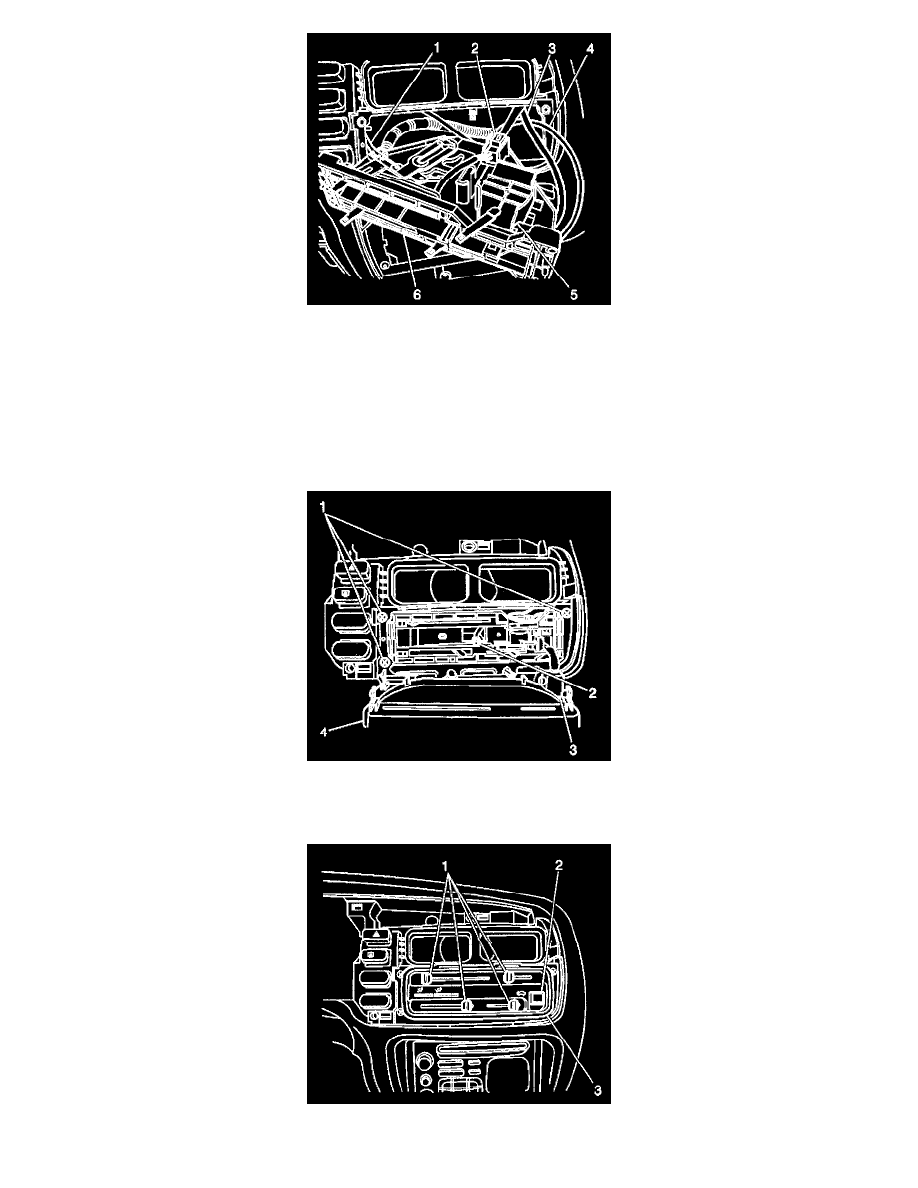
1. Connect each control cable to the heater control unit by performing the following:
1.1.
Hook the end of the cable into the hole in the lever arm.
1.2.
Slide the sheath back on the cable.
1.3.
Line up the sheath with the sheath retainer.
1.4.
Slide the sheath into its retainer until it snaps into place.
2. Install the A/C switch to the heater control unit, as necessary.
3. Install the blower switch to the heater control unit, as necessary.
4. Position the cables and tilt the heater control unit to 1 side and install to the IP.
5. Connect the blower switch electrical connector (5).
6. Install the bulb socket (2).
7. Install the heater control fascia (4) to the control assembly.
8. Install the 3 screws (1).
9. Install the knobs (1) to the levers.