
Tracker 4WD V6-2.5L VIN 4 (2001)
4. If the original reveal molding is damaged it must be replaced.
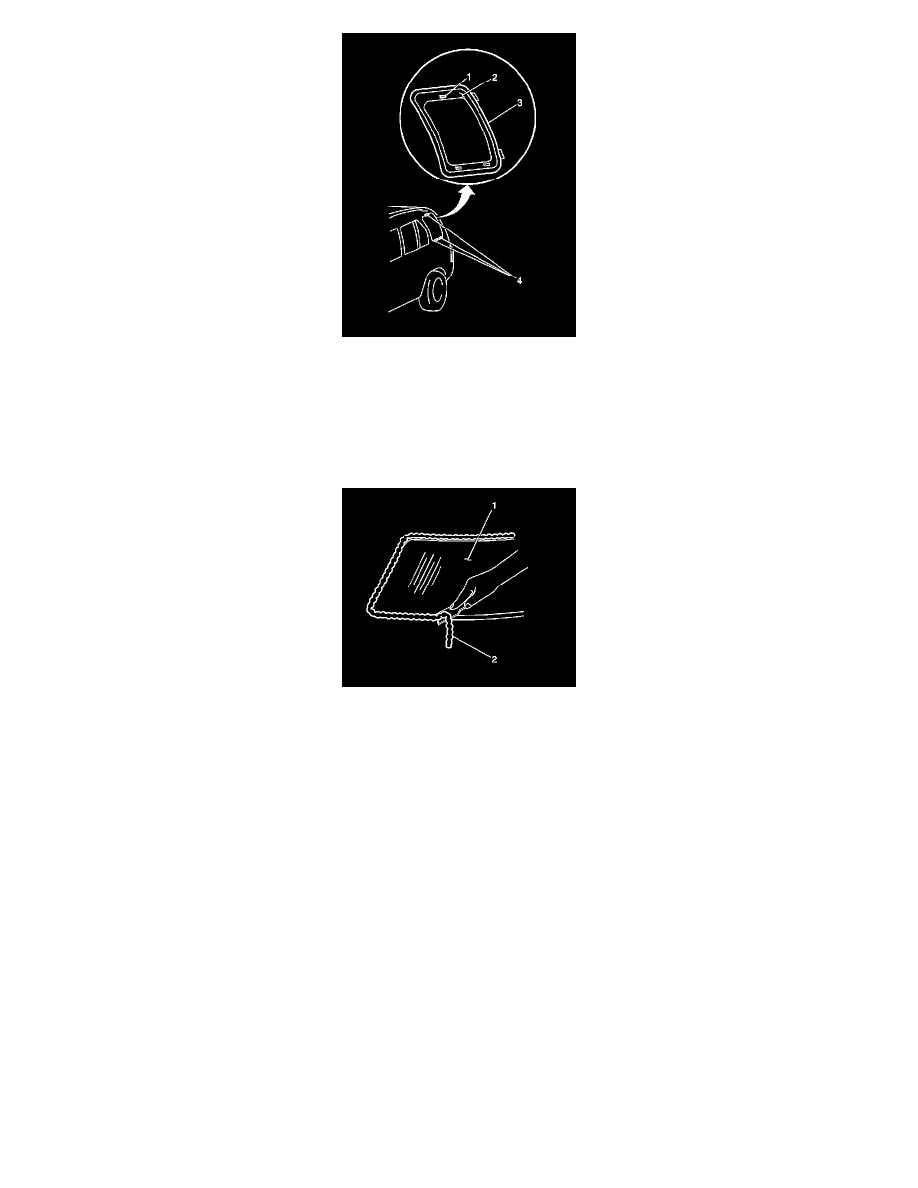
Install the new quarter window reveal molding (3) to the quarter window (2). Refer to Quarter Window Reveal Molding Replacement (See:
Quarter Window Reveal Molding Replacement) .
5. Dry fit the quarter window (2) in the opening in order to determine the correct way to position the quarter window in the opening.
6. Use masking tape in order to mark the location of the quarter window in the opening.
7. Slit the masking tape at the top edge of the quarter window.
8. With the aid of suction cups, remove the quarter window (2).
9. Place the quarter window (1) inside up on a clean, protected surface.
10. If the original window is being reused, remove all but a thin film of the existing urethane adhesive from the quarter window surface by using a
clean utility knife or razor blade scraper.
Important: Do not remove all traces of the adhesive. Remove all mounds or loose pieces of urethane adhesive.
11. If the extended method is being used remove all but approximately 2 mm (3/64 in) of the existing bead of adhesive from the pinchweld flange.
12. Clean around the edge of the inside surface of the window with a 50/50 mixture of isopropyl alcohol and water by volume on a dampened lint free
cloth.
Important: Do not apply the (black #3) primer to the existing bead of the urethane adhesive. Apply the primer only to nicks, scratches or
the primed surfaces.
13. Shake the pinchweld primer (black #3) for at least 1 minute.
14. Use a new dauber to apply the primer to the surface of the pinchweld flange.
15. Allow the pinchweld primer to dry for approximately 10 minutes.