
TrailBlazer 2WD L6-4.2L VIN S (2003)
1. Remove the front and rear door sill plates.
2. Move the seat to a forward position.
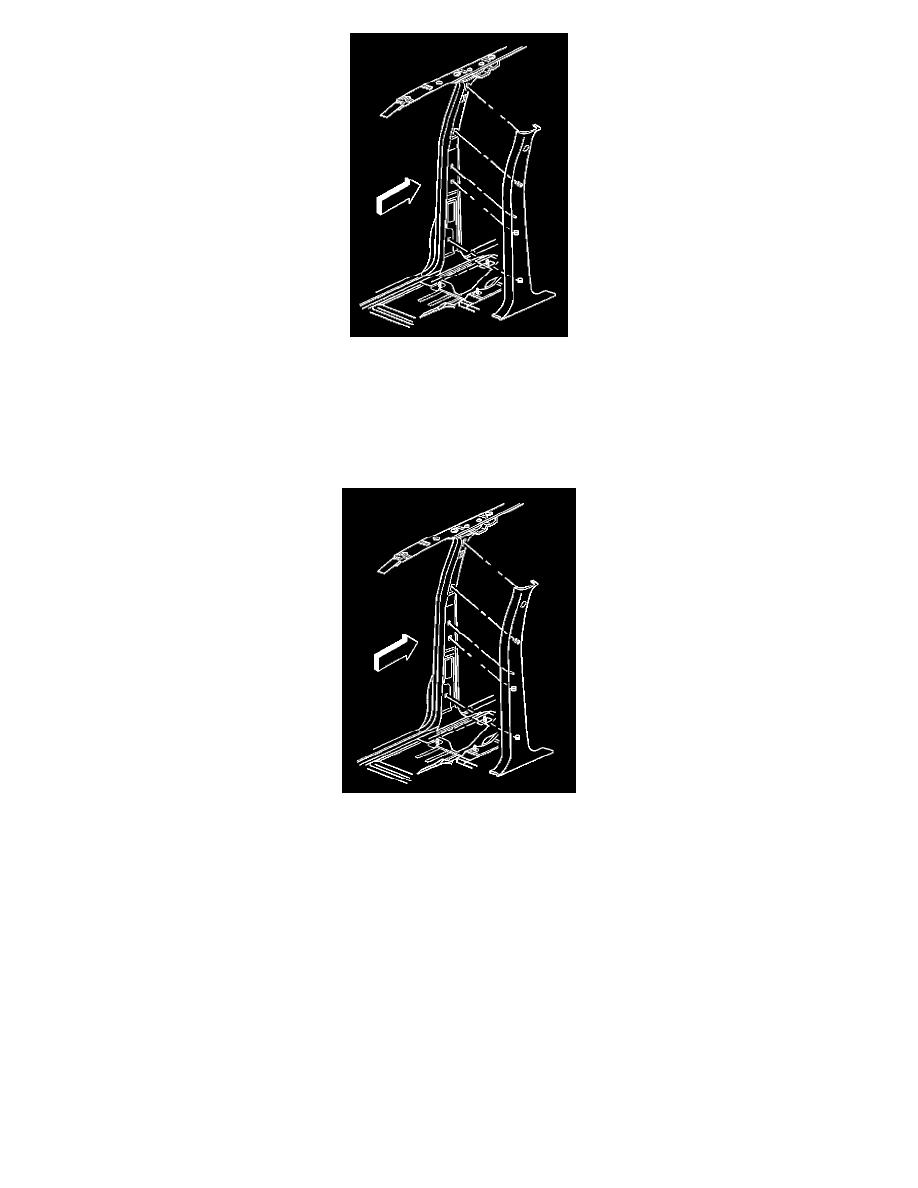
3. Release the 4 retaining clips that attach the garnish molding to the center pillar.
4. Disconnect the electrical connector from the temperature sensor, if equipped.
5. Remove the garnish molding from the vehicle.
INSTALLATION PROCEDURE
1. Position the garnish molding to the center pillar.
2. Connect the electrical connector to the temperature sensor, if equipped.
3. Index the positioning tabs on the garnish molding to the corresponding holes in the center pillar.
4. Seat the 4 garnish molding retaining tabs to the center pillar.
5. Return the seat to neutral position.
6. Install the front and rear door sill plates.
Garnish Molding Replacement - Rear Window
GARNISH MOLDING REPLACEMENT - REAR WINDOW
REMOVAL PROCEDURE
1. Open the liftgate.