
TrailBlazer 2WD V8-6.0L VIN H (2006)
IMPORTANT: When separating the seat cover retaining strips, do not pull the adhesive-backed strip from the seat pad.
8. Separate and remove the cushion and cover assembly from the seat pan.
9. Release the reinforcement bar from the hog-rings.
10. Remove the cover from the cushion.
INSTALLATION PROCEDURE
1. Install the cover to the cushion.
2. Install the reinforcement bar to the hog-rings.
3. Attach the retaining strips that retain the cover to the cushion.
4. In order to install the seat cushion to the seat pan, perform the following:
5. Install the seat pan to the cushion and cover assembly.
6. Compress the foam and install the seat cover and cushion to the seat pan.
7. Connect the J-strips that retain the cover to the seat pan.
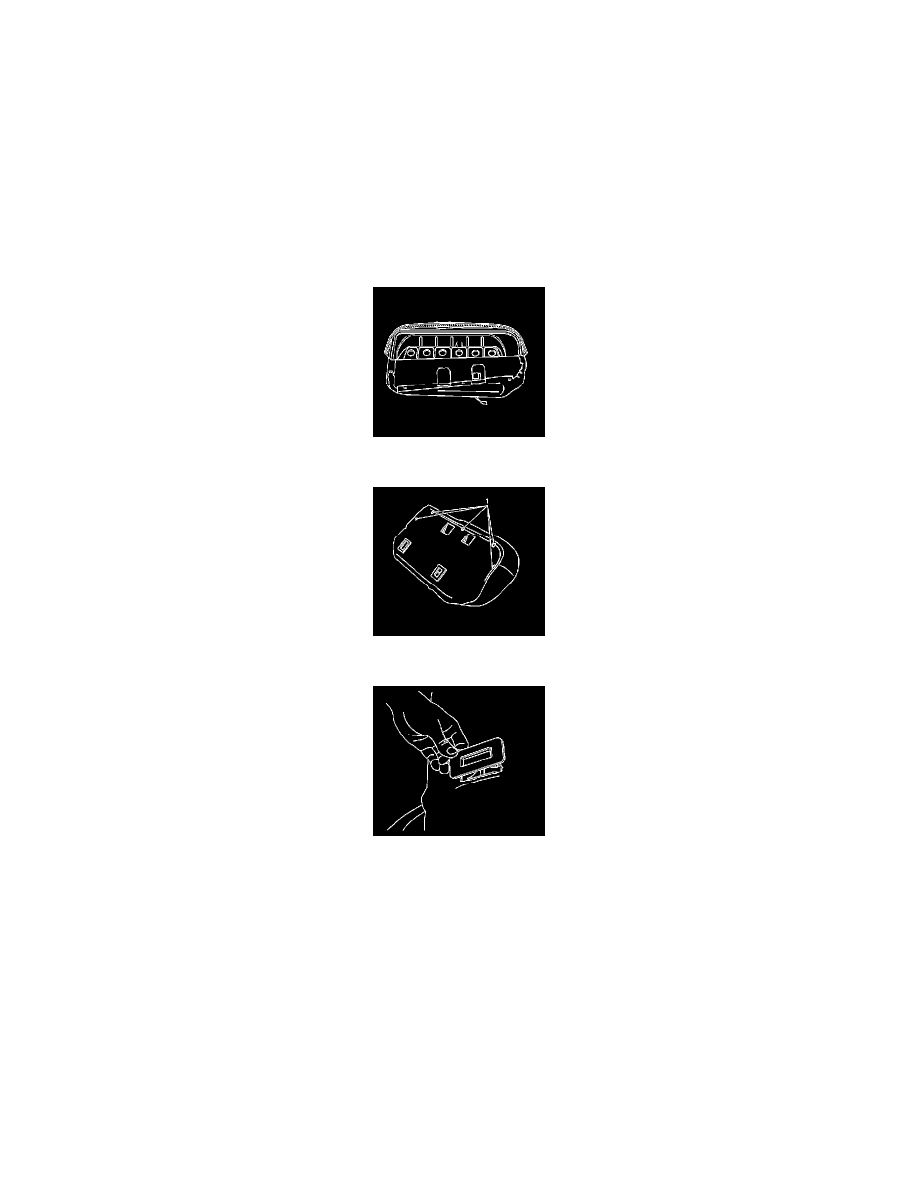
8. Install the push pins (1) on the underside of the seat bottom.
9. Install the latch bezels.
10. Install the seat cushion bracket.
11. Install the seat cushion in the vehicle.
Seat Cushion Cover and Pad Replacement - Rear No. 1 (TrailBlazer EXT, Envoy XL)
Seat Cushion Cover and Pad Replacement - Rear No. 1 (TrailBlazer EXT, Envoy XL)
Tools Required
J 36796Clip Removal Tool
Removal Procedure