
TrailBlazer 2WD V8-6.0L VIN H (2006)
Notice: Refer to Fastener Notice in Service Precautions.
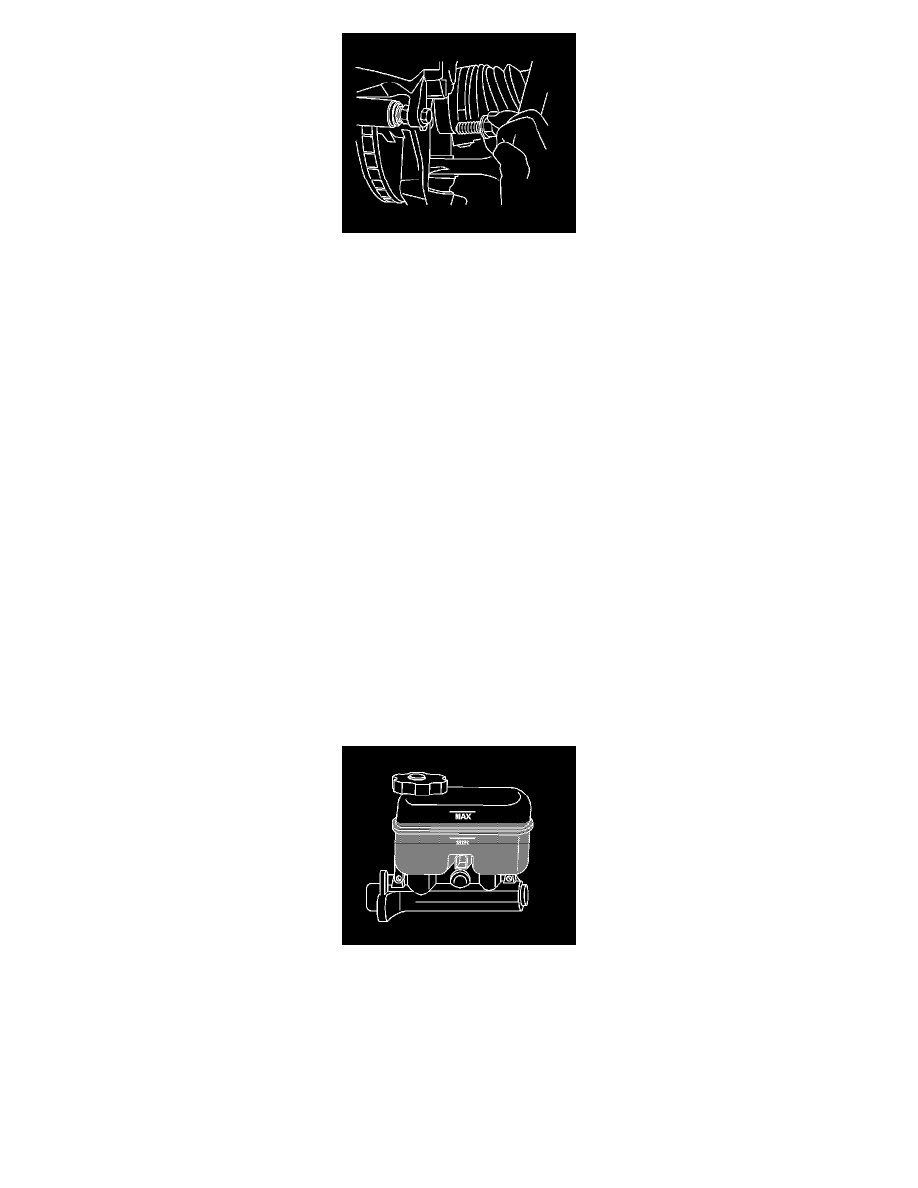
3. Install the brake caliper mounting bolt.
^
Tighten the brake caliper bracket mounting bolt to 150 Nm (110 ft. lbs.).
4. Install the tire and wheel assembly.
5. Lower the vehicle. Refer to Lifting and Jacking the Vehicle.
6. Fill the brake master cylinder to the proper level. Refer to Master Cylinder Reservoir Filling.
Caution: Refer to Firm Brake Pedal Caution in Service Precautions.
7. Pump the brake pedal slowly and firmly in order to seat the brake pads.
8. Burnish the replaced or refinished rotors. Refer to Burnishing Pads and Rotors.
Brake Rotor Replacement - Rear
Brake Rotor Replacement - Rear
^
Tools Required
-
J 2619-01 Slide Hammer
-
J 42450-A Wheel Hub Resurfacing Kit
-
J 21177-A Drum to Brake Shoe Clearance Gage
-
J 46277 Rotor Removal Tool
Removal Procedure
Caution: Refer to Brake Dust Caution in Service Precautions.
1. Inspect the brake fluid level in the brake master cylinder reservoir.
2. If the brake fluid is midway between the maximum-full point and the minimum allowable level, no brake fluid needs to be removed from the
reservoir before proceeding.