
TrailBlazer 2WD V8-6.0L VIN H (2006)
REMOVAL PROCEDURE
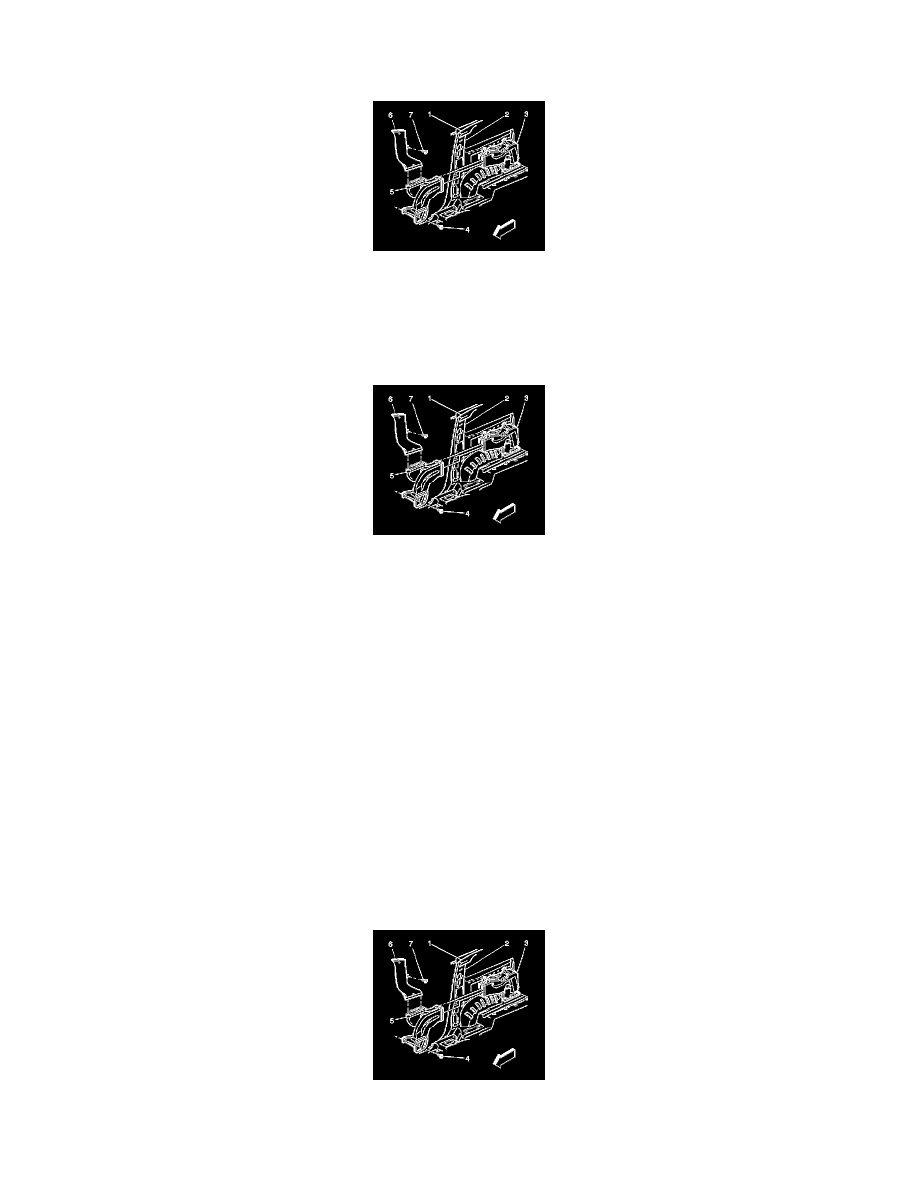
1. Remove the right rear quarter trim panel.
2. Remove the lower air duct fastener (4).
3. Remove the mid-upper air distribution fastener (6).
4. Remove the mid-upper air distribution duct (6).
5. Remove the lower air duct (5) from the vehicle.
INSTALLATION PROCEDURE
1. Install the mid-upper air distribution duct (6).
2. Install the mid-upper air distribution fastener (7).
3. Tighten the mid-upper air distribution screw.
Tighten the screw to 1.9 N.m (17 lb in).
NOTE: Refer to Fastener Notice in Service Precautions.
4. Install the lower air duct (5) to the vehicle.
Tighten the screw to 1.9 N.m (17 lb in).
5. Install the lower air duct screw (4).
6. Install the right rear quarter trim panel.
Air Distribution Ducts - Auxiliary (Upper)
AIR DISTRIBUTION DUCTS REPLACEMENT - AUXILIARY (UPPER)
REMOVAL PROCEDURE
1. Remove the right rear quarter trim panel.
2. Remove the headliner.
3. Remove the mid upper air distribution duct retaining fastener (7).
4. Remove the mid upper air distribution duct (6) from the C-pillar.
5. Remove the lower air distribution duct (5) from the C-pillar.