
TrailBlazer 2WD V8-6.0L VIN H (2006)
2. If male rack (3) and female inner tie rod (2) do not apply LOCTITE(R).
If female rack (3) and male inner tie rod (2), apply LOCTITE(R) 262, or equivalent, to the inner tie rod threads.
Important: Threads must be clean prior to LOCTITE(R) application. Check LOCTITE(R), or equivalent, container for expiration date. Use only
enough LOCTITE(R) to evenly coat threads.
3. Attach the inner tie rod onto the rack (3).
4. Place a pipe wrench on the rack (3) next to the inner tie rod housing (2).
Notice: Refer to Pipe Wrench Positioning Notice in Service Precautions.
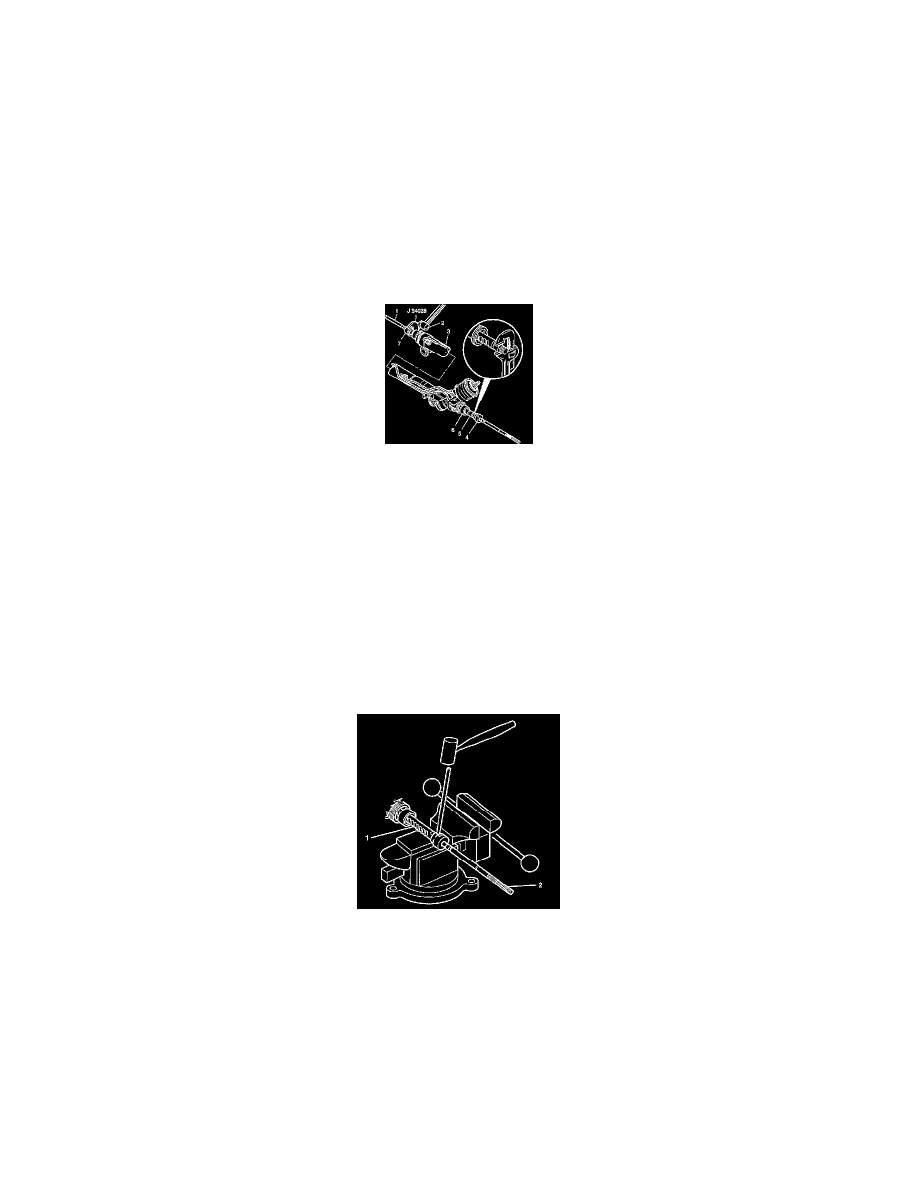
5. Place a torque wrench and J34028 on the flats of the inner tie rod housing (2).
Tighten the inner tie rod to 100 Nm (74 ft. lbs.).
Notice: Refer to Fastener Notice in Service Precautions.
6. Slide the shock dampener (2) forward onto the rack.
7. If male rack and female inner tie rod (1) do not apply LOCTITE(R).
If female rack and male inner tie rod (1), apply LOCTITE(R) 262, or equivalent, to the inner tie rod threads.
Important: Threads must be clean prior to LOCTITE(R) application. Check LOCTITE(R), or equivalent, container for expiration date. Use only
enough LOCTITE(R) to evenly coat threads.
8. Attach the inner tie rod (1) onto the rack.
9. Place a pipe wrench on the rack next to the inner tie rod housing (4).
Notice: Refer to Pipe Wrench Positioning Notice in Service Precautions.
10. Place a torque wrench and J34028 on the flats of the inner tie rod housing (7).
Tighten the inner tie rod to 100 Nm (74 ft. lbs.).
11. Place the inner tie rod assembly (2) in a vise.
12. Stake both sides of the female inner tie rod assembly housing to the male rack (1).
Important: If female rack (1) and male inner tie rod (2) do not stake. If male rack (1) and female inner tie rod (2) you must stake.