TrailBlazer 4WD L6-4.2L (2007)

2. Position the center console to the vehicle.
3. Adjust the parking brake to the full-up, or fully engaged position.
4. Connect the electrical connectors, as necessary.
5. Lower the rear of the console and slide the console forward into position.
6. Ensure that the 2 retaining ears on the front extensions of the console are fully engaged to the lower I/P, Buick only.
Notice: Refer to Fastener Notice.
7. Install the center console retaining screws.
Tighten the screws to 2.5 N.m (22 lb in).
8. Install the console storage compartment.
9. Install the center console shift lever bezel, Buick only.
10. Install the floor shift control knob.
11. Install the rubber ash tray inserts and rubber mat to the console.
12. Remove the blocks from the vehicle.
Console Shift Lever Bezel Replacement (Buick)
Console Shift Lever Bezel Replacement (Buick)
Removal Procedure
1. Block the wheels to prevent the vehicle from moving.
2. Remove the floor shift control boot from the floor console.
3. Adjust the shift lever fully rearward.
4. Remove the console storage bin.
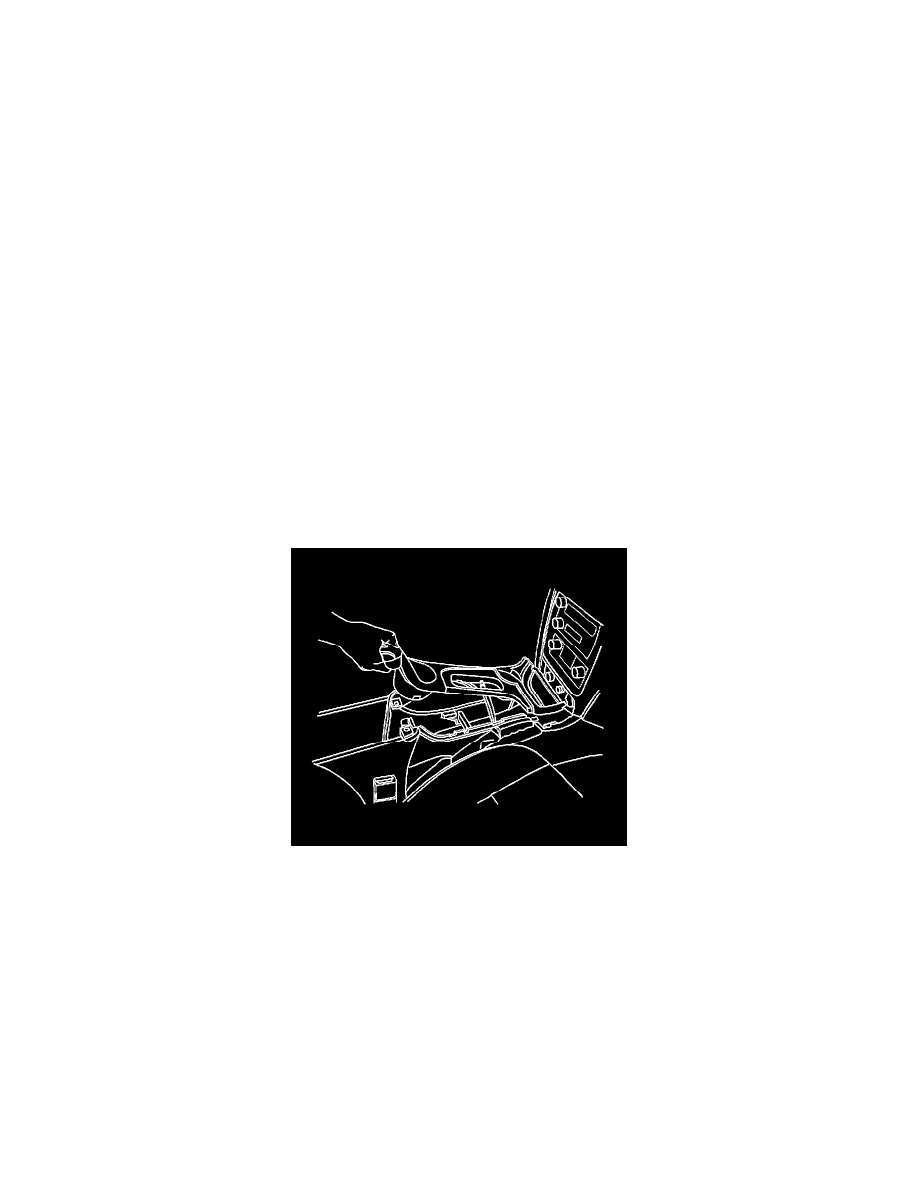
5. Starting at the rear of the bezel, lift the bezel to release the retaining clips.
