
TrailBlazer 4WD L6-4.2L (2007)
Timing Cover: Service and Repair
Engine Front Cover Replacement
Tools Required
J 44219 Cover Alignment Pins
Removal Procedure
1. Drain the engine coolant. Refer to Draining and Filling Cooling System (LL8) Draining and Filling Cooling System (LH6, LS2).
2. Remove the cooling fan and the shroud. Refer to Cooling Fan and Shroud Replacement.
3. Remove the drive belt. Refer to Drive Belt Replacement.
4. Remove the water pump. Refer to Water Pump Replacement (LH6 and LS2).
5. Remove the crankshaft balancer. Refer to Crankshaft Balancer Replacement.
6. Remove the power steering pump. Refer to Power Steering Pump Replacement (4.2L) Power Steering Pump Replacement (Except 4.2L).
7. Raise the vehicle. Refer to Lifting and Jacking the Vehicle.
8. Remove the oil pan. Refer to Oil Pan Replacement.
9. Lower the vehicle.
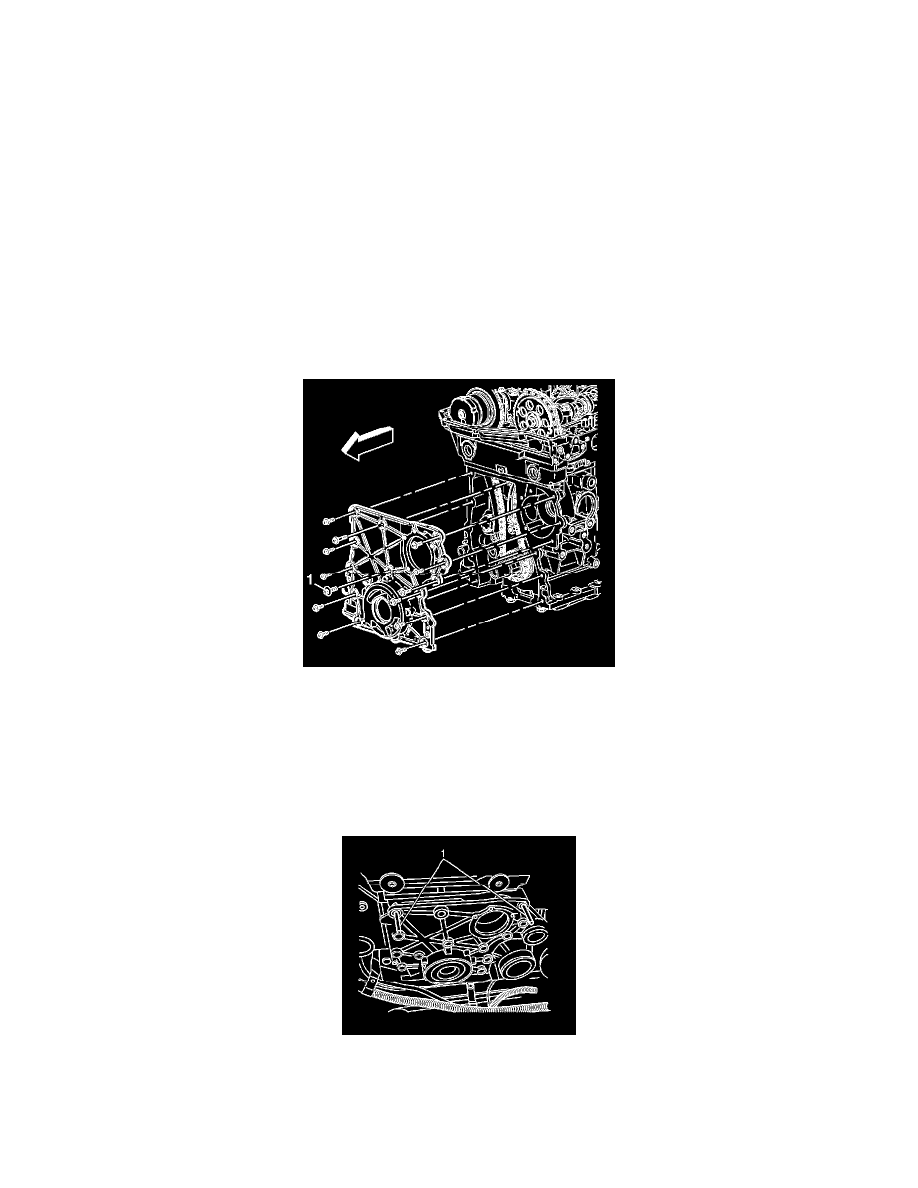
10. Remove the 7 mm center bolt (1).
11. Loosen and remove the remaining engine front cover bolts.
12. Place 2 of the front cover bolts in the jack screw holes on the front cover and tighten the bolts evenly to release the front cover from the engine.
13. Remove the 2 bolts from the front cover.
14. Remove the oil pump. Refer to Oil Pump Replacement.
15. Clean and inspect the front cover. Refer to Engine Front Cover Cleaning and Inspection.
Installation Procedure
1. Install the J 44219 onto the engine.