
TrailBlazer 4WD L6-4.2L VIN S (2002)
Hood Latch Release Cable: Service and Repair
Hood Latch Release Cable Replacement
Removal Procedure
1. Remove the left front door sill panel.
2. Remove the left closeout/insulator panel.
3. Remove the grille.
4. Remove the hood latch.
5. Release the hood latch release cable from the hood latch assembly.
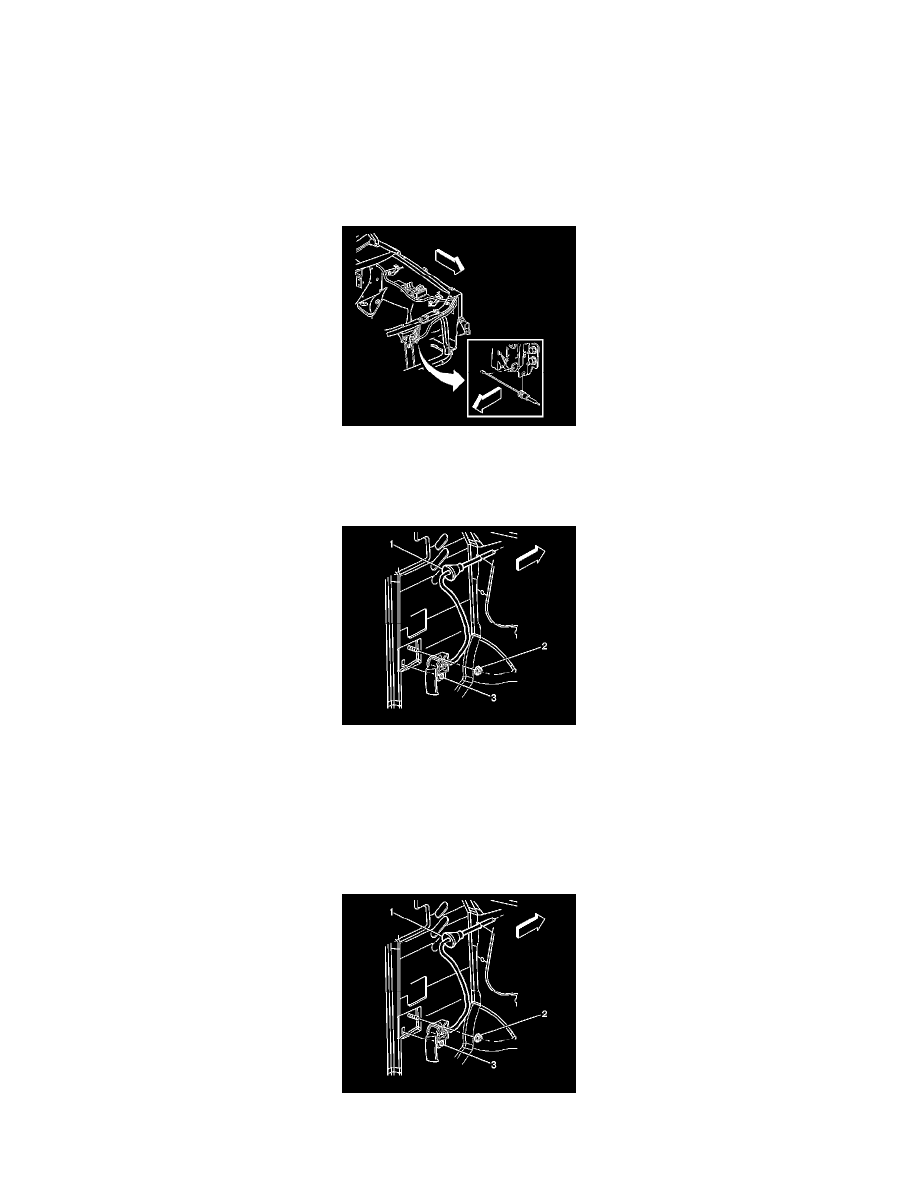
6. Attach a length of mechanic's wire to the exterior end of the cable, and note the routing of the cable for later installation.
7. Release the retainer that attaches the cable to the hood hold open rod bracket.
8. Feed the cable out from between the headlamp panel and the radiator, then over the top of the battery tray.
9. Push the cable grommet (1) through the bulkhead and into the interior of the vehicle.
10. Remove the nut (2) attaching the hood release handle (3) to the cowl trim panel on the left side.
11. Remove the cable from the release handle (3).
12. Pull the cable the rest of the way through the bulkhead and out from behind the sound insulation.
13. Detach the mechanics wire from the cable, leaving the wire in position for aid in installation of the cable.
14. Remove the cable from the vehicle.
Installation Procedure
1. Attach the mechanics wire to the exterior end of the cable.
2. Using the mechanic's wire as an aid, guide the cable underneath the sound insulation and pass the exterior portion of the cable through the