
TrailBlazer 4WD L6-4.2L VIN S (2002)
Power Trunk / Liftgate Lock Actuator: Service and Repair
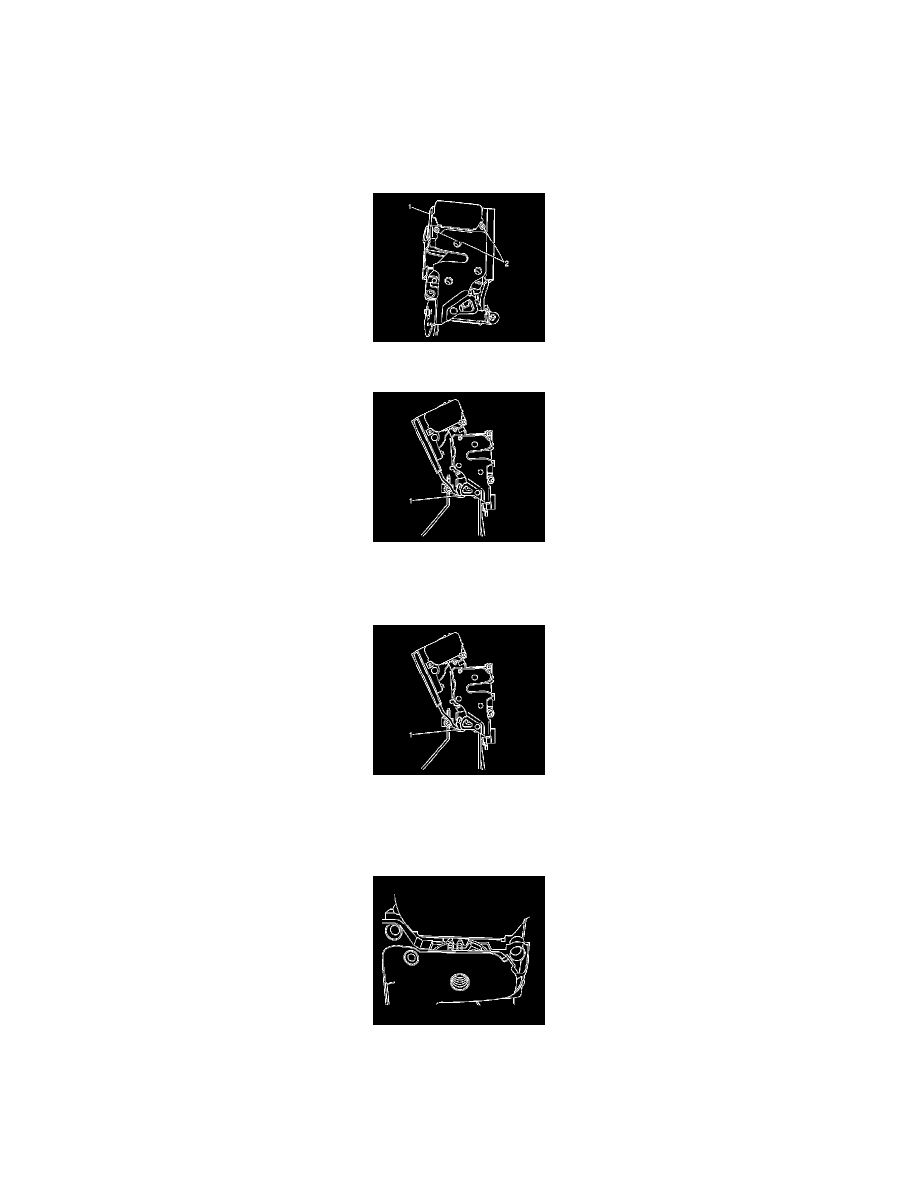
Lock Actuator Replacement - Lift Gate
Removal Procedure
1. Remove the liftgate latch assembly from the liftgate.
2. Place the latch assembly on a clean, prepared surface.
3. Remove the 2 screws (2) that retain the lock actuator (1) to the latch assembly.
4. Simultaneously lift up on and rotate the actuator away from the latch in order to disengage the rubber bumper (1) from the latch.
Installation Procedure
1. Install the rubber bumper (1) to the latch.
2. Rotate the actuator toward the latch in order to fully engage the rubber bumper into the latch.
Important: Ensure that the first tooth of the gear on the actuator and the first tooth of the gear on the latch align and interlock properly.
3. Install the actuator to the top of the latch.