
TrailBlazer 4WD L6-4.2L VIN S (2002)
^
The center pillar harness clips (1)
^
The center pillar harness clips (3)
^
The center pillar harness clips (4)
NOTE: Refer to Fastener Notice in Service Precautions.
22. Install the ground terminals and the ground bolt (2) to the center pillar.
Tighten
Tighten the bolt to 10 N.m (88 lb in).
23. If equipped with OnStar(R) perform the following procedure:
23.1.
Install the navigation antenna cable to the right center pillar.
23.2.
Install the navigation antenna cable to the right side door sill attachments.
23.3.
Install the navigation antenna cable to the communication interface module.
24. Install the sunshades to the headliner.
25. If equipped, install the front and rear overhead console.
26. Install the video display.
27. Attach the mechanic's wire to the end of the headliner harness positioned behind the IP.
28. Pull the bottom of the mechanic's wire away from the cowl insulation access hole in order to position the headliner harness behind the IP.
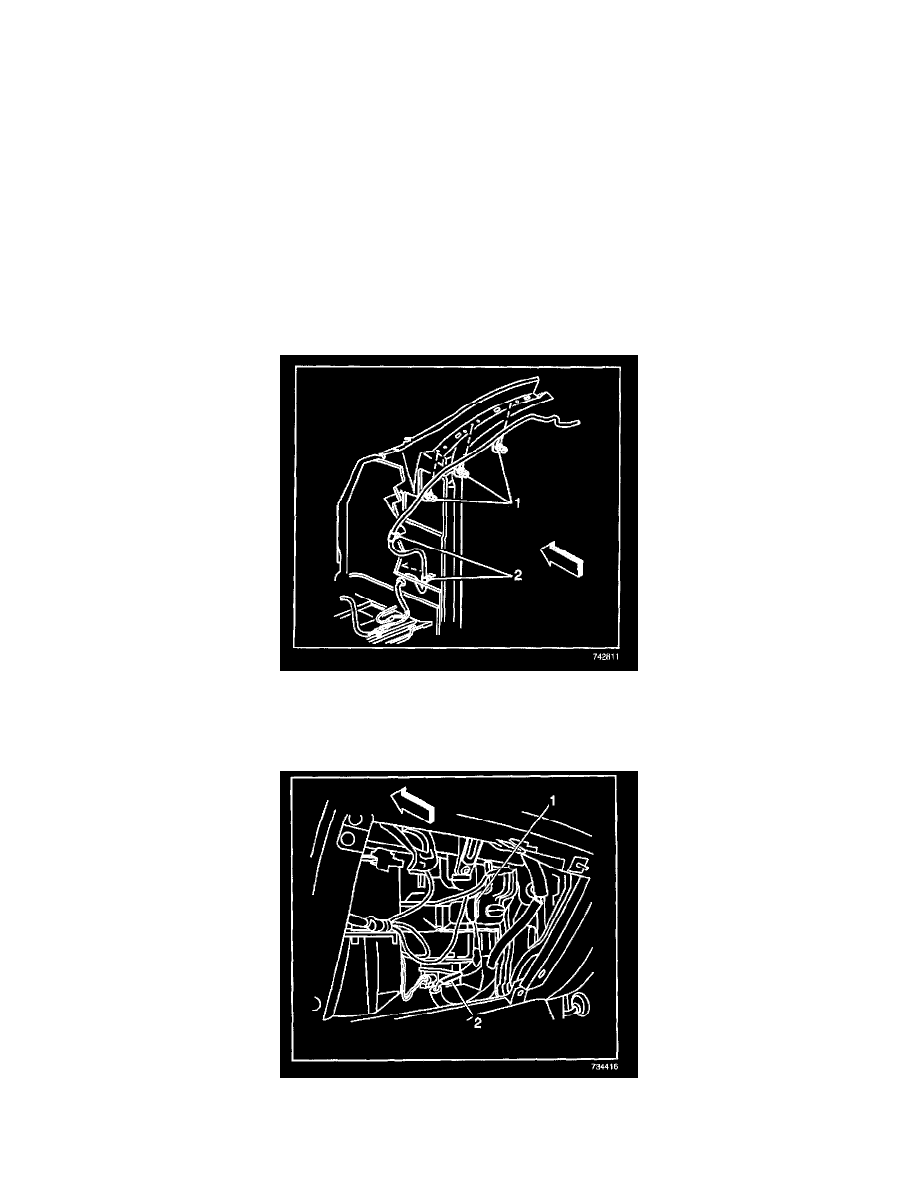
29. Attach the 3 clips (1) securing the wire harness to the windshield pillar.
30. Attach the lower rosebud (2) retaining the headliner harness to the cowl.
31. Connect the coax cable (2) and headliner harness connector (1).
32. Close the IP compartment door.
33. Install the right sound insulator.