TrailBlazer 4WD L6-4.2L VIN S (2002)

Tighten the rear upper quarter trim panel screw to 2 N.m (18 lb in).
5. Install the cargo net retaining knobs.
Trailblazer, Envoy, and Bravada
REMOVAL PROCEDURE
1. Remove the cargo shade/cover.
2. Remove the left body side upper trim panel.
3. Remove the liftgate sill plate.
4. Remove the left rear door sill panel.
5. Remove the lower seat belt anchor bolt.
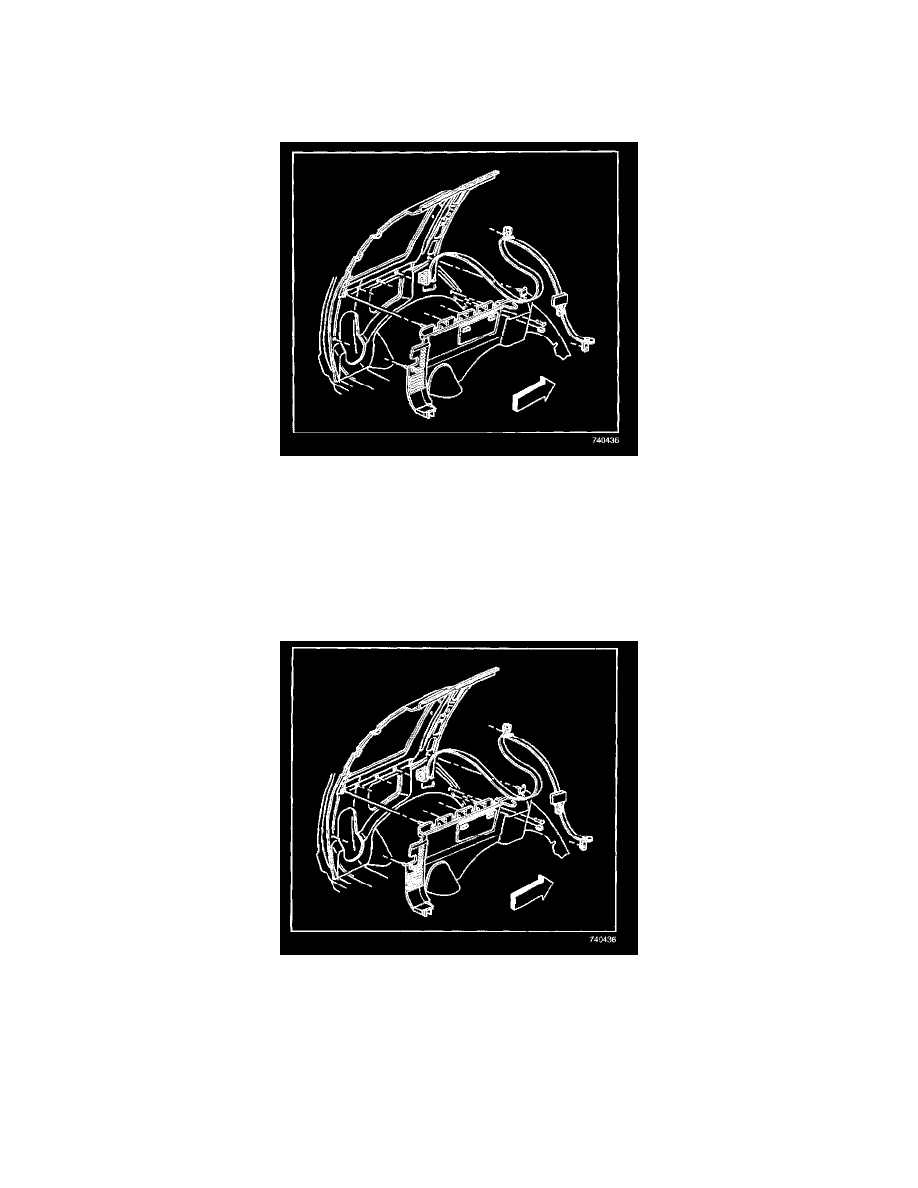
6. Release the clips that retain the trim panel to the body.
7. Remove the trim panel from the vehicle.
INSTALLATION PROCEDURE
1. Position the trim panel to the vehicle.
2. Position the seat belt over the top of the trim panel, ensuring that the buckle is not behind the trim panel.
3. Index the locating tabs on the trim panel to the holes in the body.
4. Seat the clips the retain the trim panel to the body.
NOTE: Refer to Fastener Notice in Service Precautions.
5. Install the seat belt lower anchor.
Tighten
