
TrailBlazer 4WD L6-4.2L VIN S (2002)
IMPORTANT: When installing a new heater inlet hose, place the clamps on the hose before installing the hose to the inlet hose fitting at the engine
block.
2. Install the heater inlet hose to the inlet hose fitting at the engine block.
3. Install the nut retaining the coolant bypass valve to the cowl.
Tighten
Tighten the nut to 10 N.m (89 lb in).
4. Install the inlet heater hose to the engine block.
5. Reposition the inlet heater hose clamp at the engine block using J 38185.
6. Install the quick connect end of the inlet heater corn hose to the heater core.
7. Install the coolant recovery reservoir.
8. Fill the engine cooling system. Refer to Draining and Filling Cooling System in Cooling System.
Trailblazer EXT, and Envoy XL
TOOLS REQUIRED
^
J 43181 Heater Line Quick Connect Release Tool
^
J 38185 Hose Clamp Pliers
REMOVAL PROCEDURE
1. Drain the engine coolant. Refer to Draining and Filling Cooling System in Cooling System.
2. Using the J 43181, disconnect the inlet heater hose (2) from the heater core inlet tube.
2.1.
Install the J 43181 to the quick connect on the outlet heater core hose (2).
2.2.
Close the tool around the inlet heater core hose.
2.3.
Firmly pull the tool into the quick connect end of the heater hose.
2.4.
Firmly grasp the heater hose (2). Pull the heater hose forward in order to disengage the hose from the heater core.
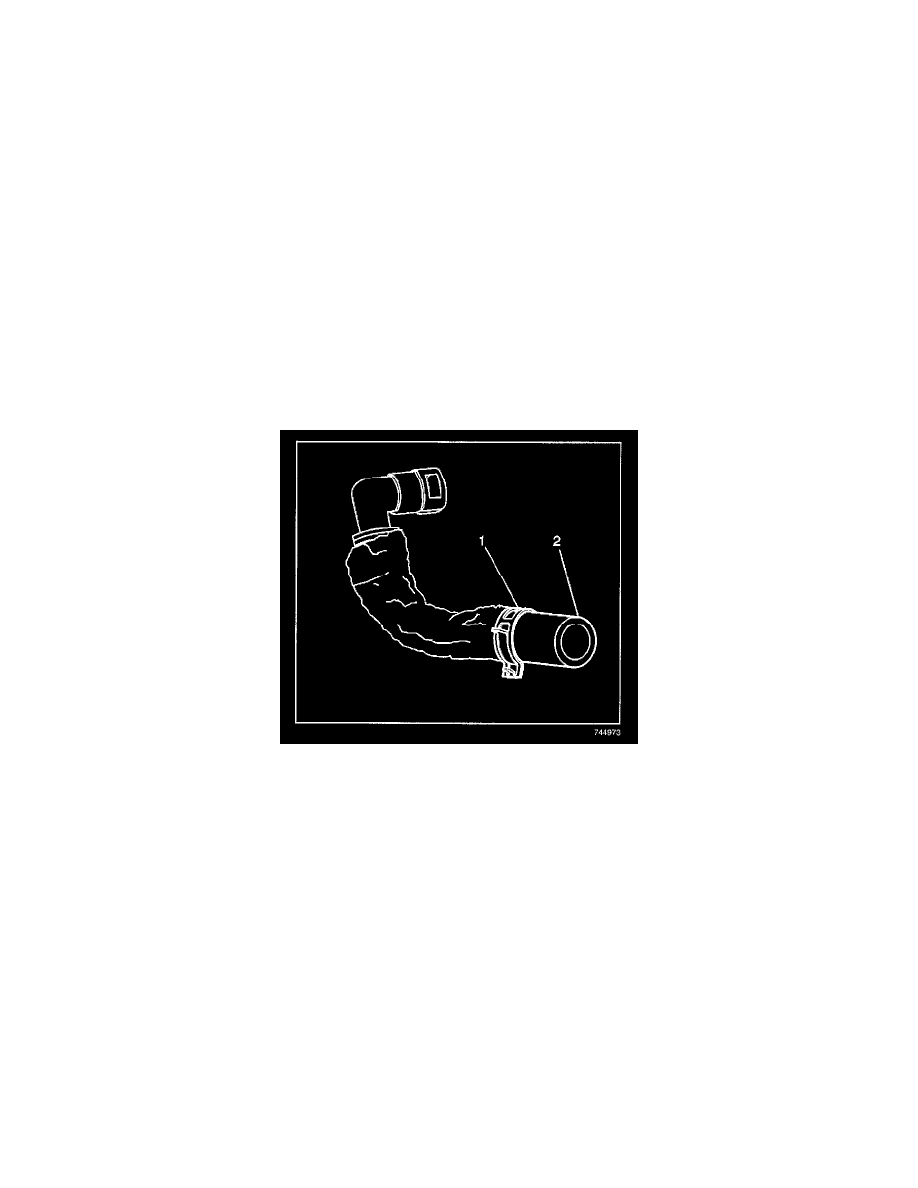
3. Position the inlet heater hose clamp (1) at the engine block using J 38185.
4. Remove the heater inlet hose (2) from the inlet hose fitting at the engine block.
5. Remove the heater inlet hose.
INSTALLATION PROCEDURE