
TrailBlazer 4WD L6-4.2L VIN S (2002)
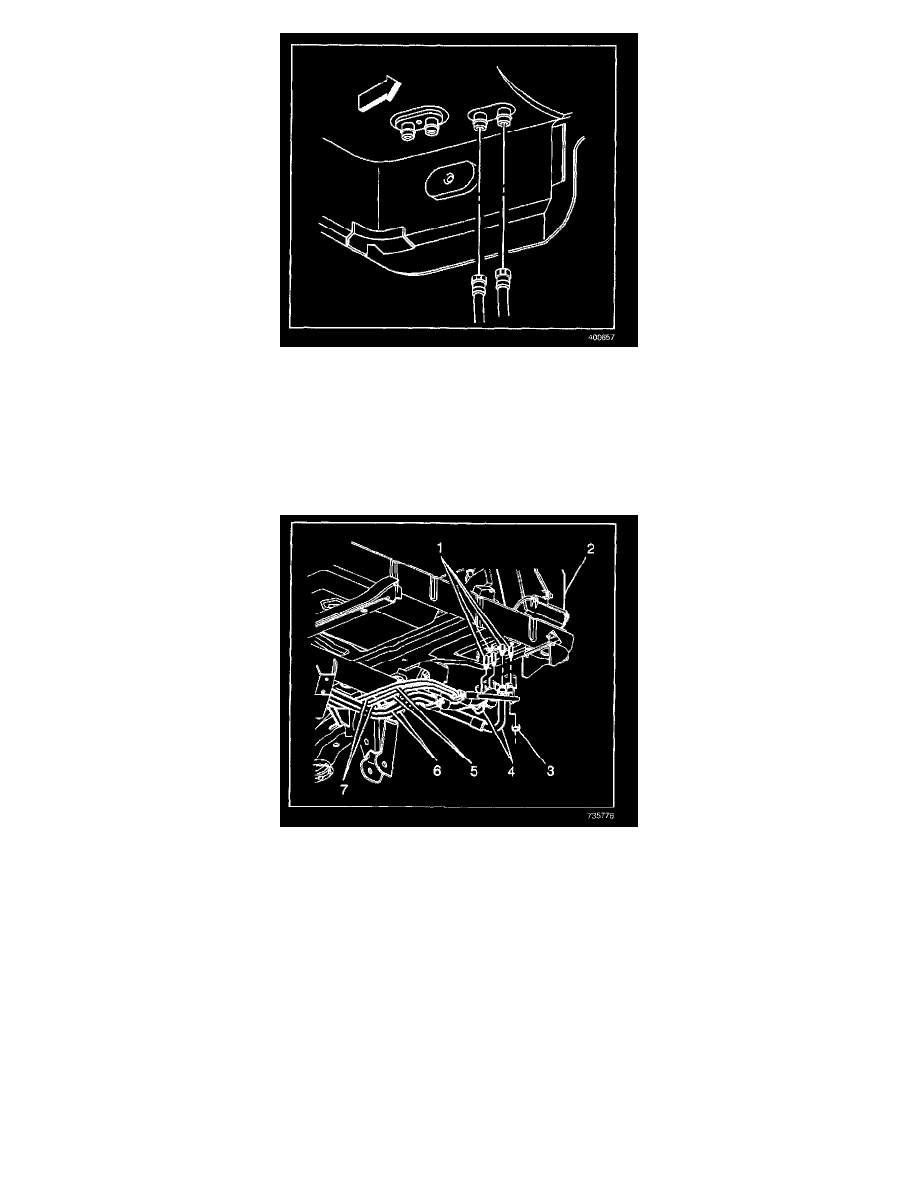
8. Connect the heater hoses to the heater core.
9. Install the nuts to the HVAC module studs.
Tighten
Tighten the nuts to 10 N.m (89 lb in).
10. Remove the cap or tape from the A/C lines.
11. Install the new O-ring seals.
12. Install the nuts (3) to the evaporator core studs.
Tighten
Tighten the nuts to 20 N.m (15 lb ft).
13. Lower the vehicle.
14. Fill the cooling system. Refer to Draining and Filling Cooling System in Cooling System.
15. Evacuate and charge the system. Refer to Refrigerant Recovery and Recharging.
16. Leak test the fitting of the component using the J 39400-A.