
TrailBlazer 4WD V8-5.3L VIN M (2006)
8. Attach the inner tie rod (1) onto the rack.
9. Place a pipe wrench on the rack next to the inner tie rod housing (4).
Notice: Refer to Pipe Wrench Positioning Notice in Service Precautions.
10. Place a torque wrench and J34028 on the flats of the inner tie rod housing (7).
Tighten the inner tie rod to 100 Nm (74 ft. lbs.).
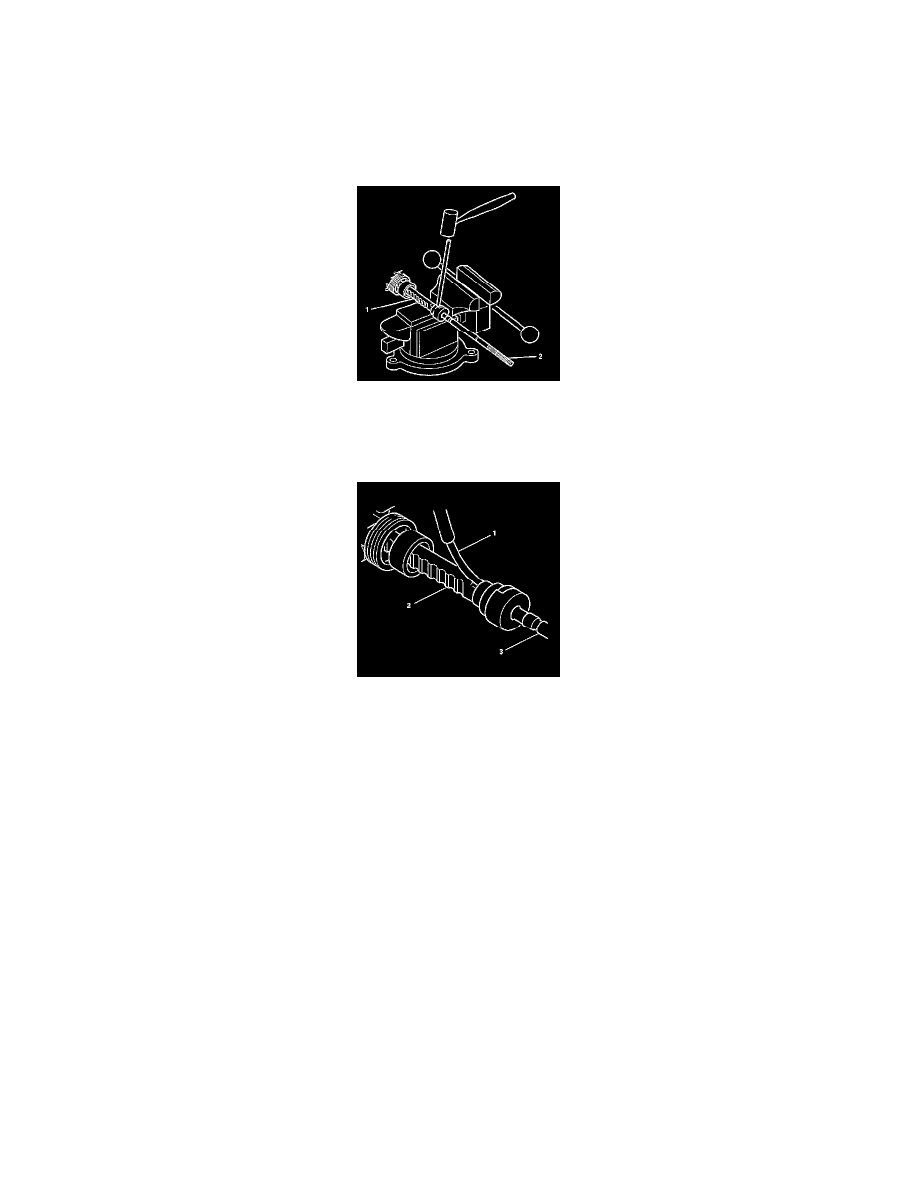
11. Place the inner tie rod assembly (2) in a vise.
12. Stake both sides of the female inner tie rod assembly housing to the male rack.
Important: If female rack (1) and male inner tie rod (2) do not stake. If male rack (1) and female inner tie rod (2) you must stake.
13. Insert a 0.25 mm gauge (1) between the rack (2) and the inner tie rod housing in order to check both stakes. The feeler gauge (1) must not pass
between the rack and the housing stake.