
TrailBlazer 4WD V8-6.0L (2007)
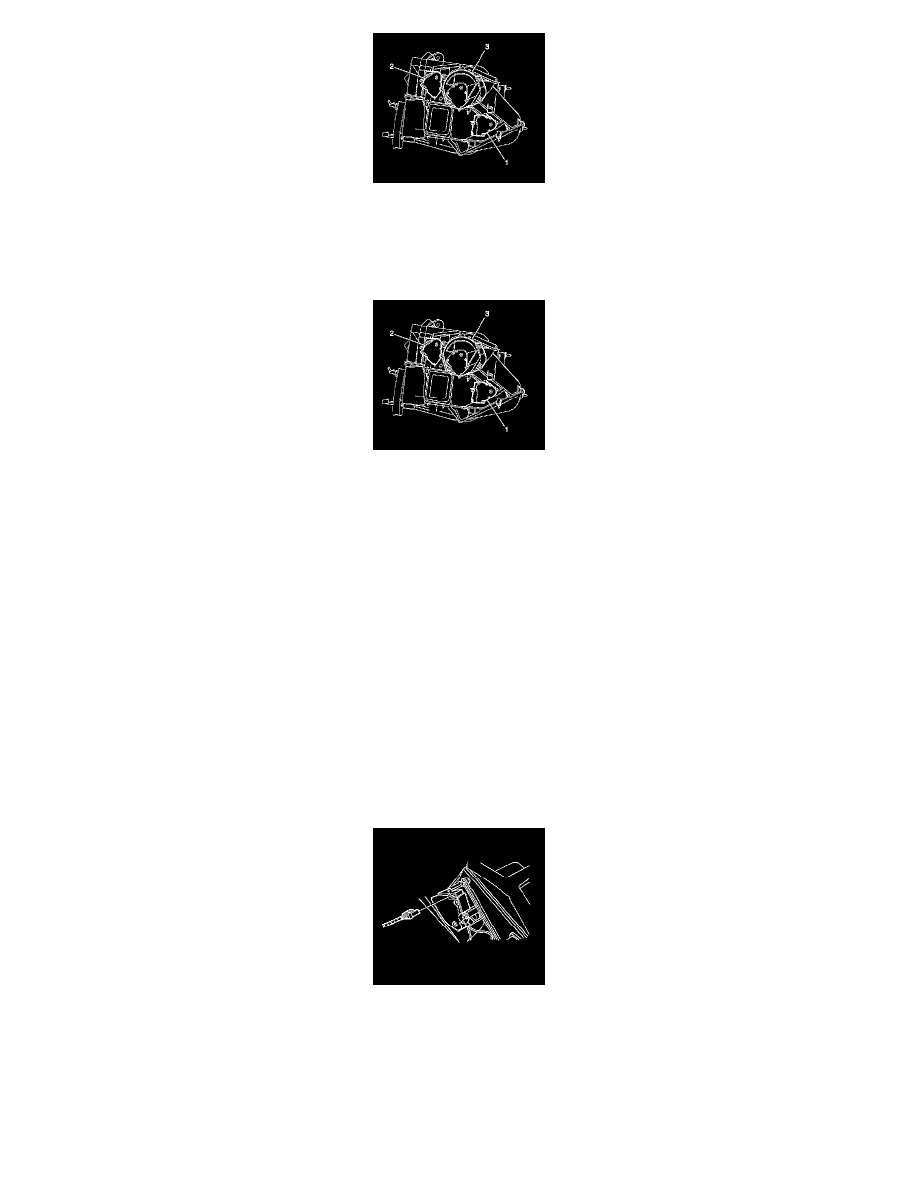
2. Remove the left side air temperature actuator (1) retaining screws.
3. Disconnect the left side air temperature actuator electrical connector.
4. Remove the left side air temperature actuator.
Installation Procedure
1. Install the left side air temperature actuator (1).
Notice: Refer to Fastener Notice.
2. Install the left side air temperature actuator retaining screws.
Tighten the screws to 1.9 N.m (17 lb in).
3. Connect the electrical connector to the left side air temperature actuator.
4. Install the I/P carrier.
5. Calibrate the air temperature actuator on vehicles equipped with automatic climate control (C68). Refer to Actuators Recalibration (Primary). See:
Testing and Inspection/Programming and Relearning
Defroster Actuator Replacement
Defroster Actuator Replacement
Removal Procedure
1. Remove the I/P carrier.
2. Disconnect the electrical connector from the defroster actuator.
3. Remove the screws from the defroster actuator.
4. Remove the defroster actuator.
Installation Procedure