TrailBlazer 4WD V8-6.0L (2007)

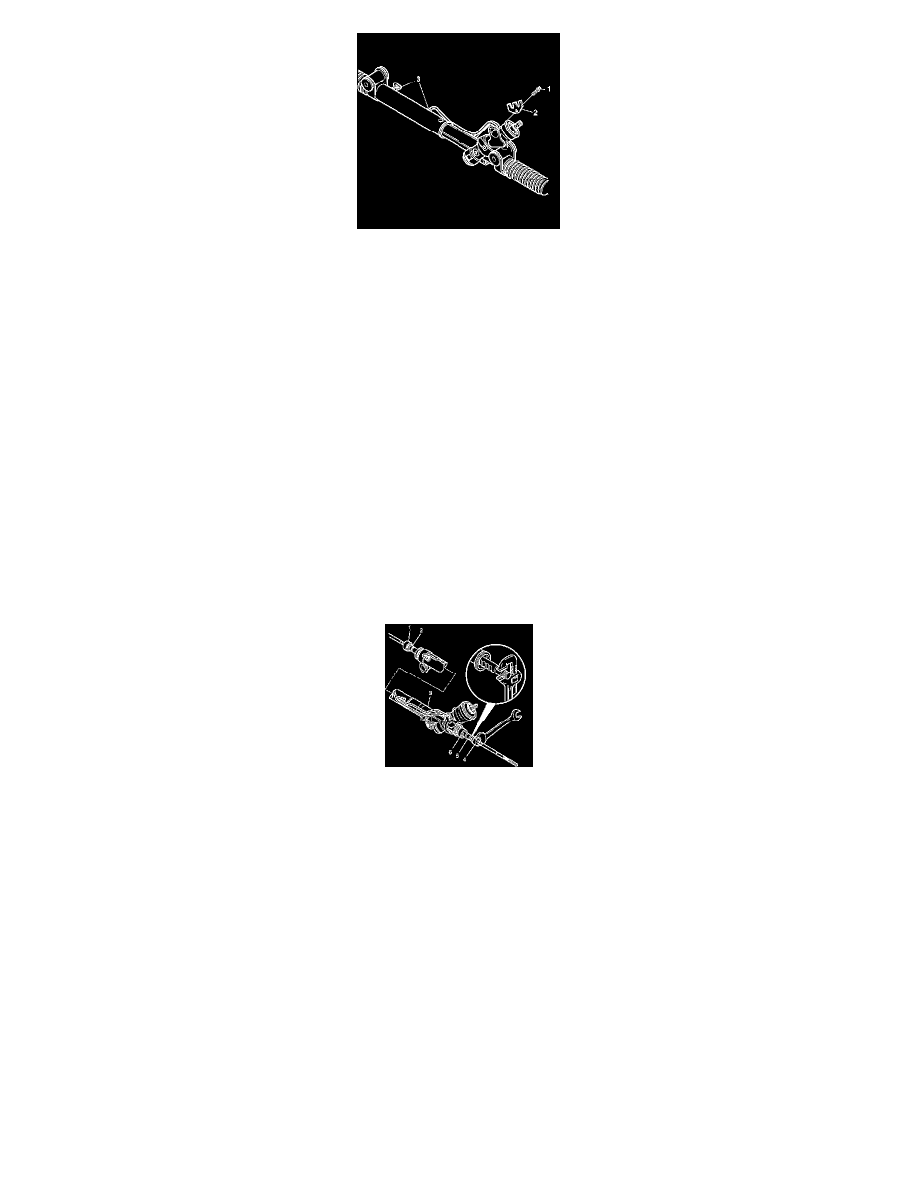
8. Place the cylinder line retaining plate (2) over the cylinder line beads at the valve end.
Notice: Refer to Fastener Notice.
9. Install the TORX(R) screw (1) into the cylinder line retaining plate (2) and tighten using an E 8 socket.
Tighten the screw to 12 N.m (106 lb in).
10. Tighten both cylinder line nuts (3) at the cylinder end.
Tighten the nuts to 32 N.m (24 lb ft).
Steering Gear Inner Tie Rod Replacement - Off Vehicle (Magnasteer)
Steering Gear Inner Tie Rod Replacement - Off Vehicle (Magnasteer)
Tools Required
J 34028 Inner Tie Rod Wrench
Disassembly Procedure
1. To remove the rack and pinion boot. Refer to Steering Gear Boot Replacement - Off Vehicle.
2. Place the gear in a vise.
Notice: Do not change the steering gear preload adjustment before moving the inner tie rod from the steering gear. Changing the steering gear
preload adjustment before moving the inner tie rod could result in damage to the pinion and the steering gear.
3. Remove the shock dampener (6) from the inner tie rod housing (4).
4. Slide the shock dampener (6) back on the rack (5).
Notice: The pipe wrench must be placed at the valve end of the steering gear and positioned up against the inner tie rod housing. Placing the pipe
wrench in any other location will cause damage to the steering gear.
5. Place a pipe wrench on the rack (5) next to the inner tie rod housing (4).
6. Place a wrench on the flats of the inner tie rod housing (4).
7. Rotate the inner tie rod housing (4) counterclockwise, while holding the rack stationary, until the inner tie rod separates from the rack (5).
