TrailBlazer 4WD V8-6.0L (2007)

3. NOTE: Refer to Fastener Notice.
Install the screws to the side reveal molding.
Tighten the screws to the side reveal molding to 2 N.m (18 lb in).
4. Reposition the front door weatherstrip to the pinch-weld flange.
5. Install the push-pin retainers (2) to the front door sealing weatherstrip located at the base of the pillar.
6. Close the door.
Windshield Upper Reveal Molding Replacement
WINDSHIELD UPPER REVEAL MOLDING REPLACEMENT
TOOLS REQUIRED
-
Urethane Adhesive Kit GM P/N 12346392 or Equivalent
-
Isopropyl Alcohol or Equivalent
-
Cartridge-type Caulking Gun
-
Plastic Paddle
REMOVAL PROCEDURE
1. Remove both right and left sides of the reveal molding.
2. CAUTION: Refer to Glass and Sheet Metal Handling Caution.
IMPORTANT: The windshield reveal molding fills the cavities between the body and windshield. If the reveal molding is stretched or damaged
it and cannot be reused it must be replaced.
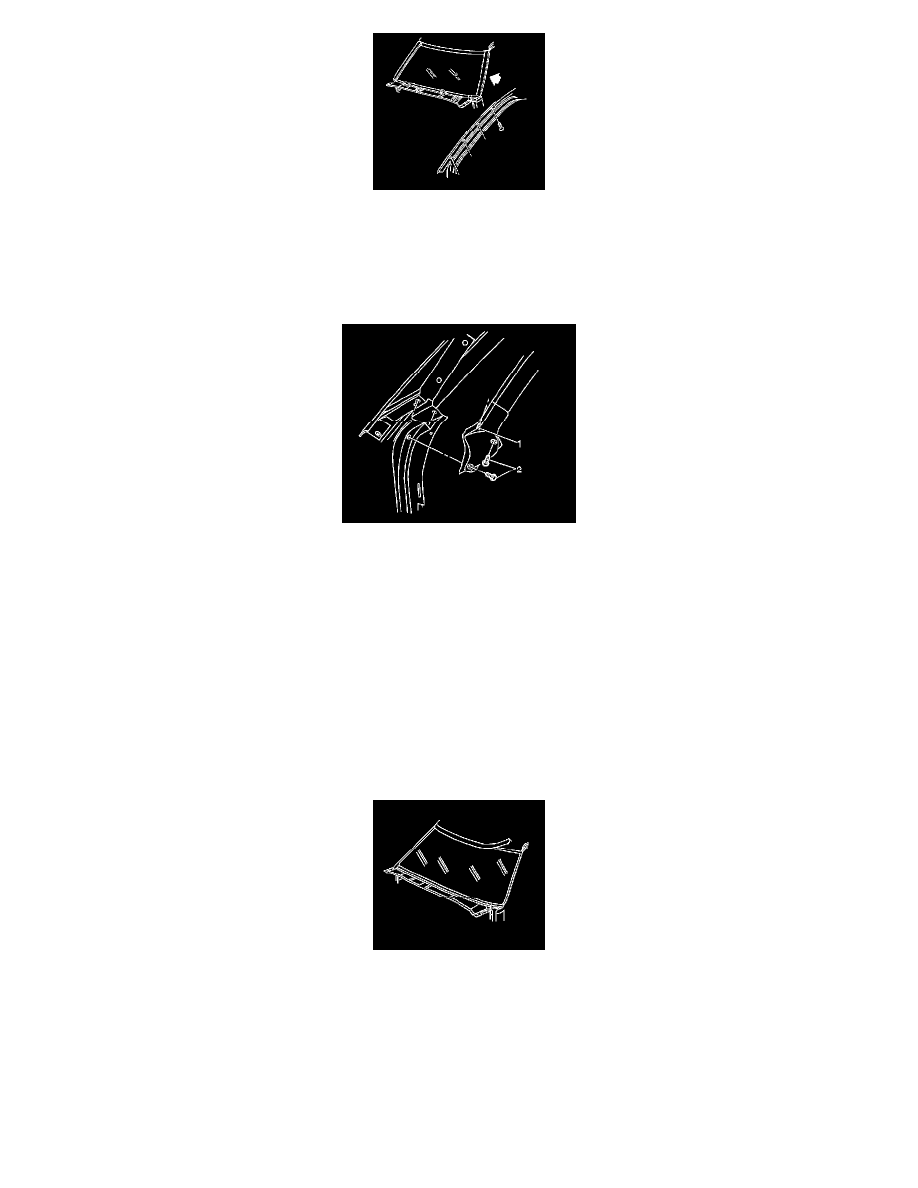
Remove the upper windshield reveal molding.
1. Use a flat-bladed tool in order to carefully pry the end of the upper reveal molding out about 76 mm (3 in).
2. Grasp the corner of the windshield reveal molding by hand or use a suitable tool to slowly pull the reveal molding away from the windshield.
3. If the windshield reveal molding will not release, use a utility knife to aid in the releasing of the molding.
