
Uplander AWD V6-3.5L VIN 8 (2005)
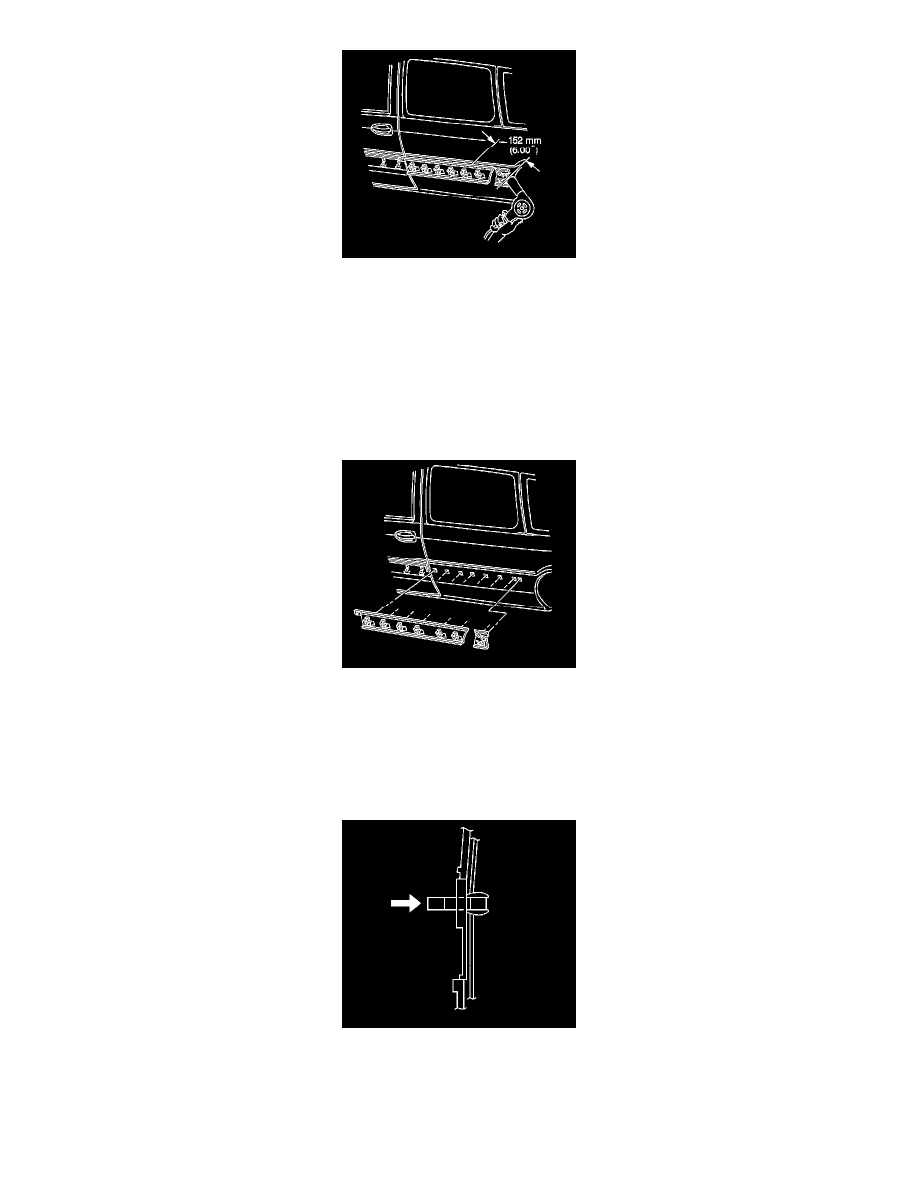
9. UseJ 25070 152 mm (6 in) from the surface in order to heat the lower quarter molding. Use a circular motion for 30 seconds when applying heat.
Notice: Refer toExterior Trim Emblem Removal Notice in Cautions and Notices.
10. Use a flat-bladed tool in order to remove the quarter molding from the surface.
11. Remove the quarter molding support from the quarter panel.
12. Use oil-free naphtha or alcohol in order to clean the body panel.
13. Remove all traces of adhesive from the body panel.
Installation Procedure
Important:
*
Do NOT touch the exposed adhesive tape with your hands.
*
Do NOT allow the exposed adhesive tape collect any dirt or foreign material.
1. Remove the protective liner from the back side of the support.
2. Use a heat lamp or heat gun in order to warm the door to a minimum of 21°C (70°F).
3. Starting with the front hole, insert the support retainers into the holes.
4. Press in the support in order to ensure a maximum bond to the quarter panel.
5. Press in the center pins of the retainers.
6. Use a heat lamp or heat gun in order to warm the door to a minimum of 21°C (70°F).