
Uplander AWD V6-3.5L VIN 8 (2005)
Headliner: Service and Repair
Headliner Replacement
Headliner Replacement
Tools Required
J 38778 Door Trim Pad Clip Remover
Removal Procedure
Caution: Do not attempt to repair or alter the head impact energy-absorbing material glued to the headliner or to the garnish trims. If the material
is damaged, replace the headliner and/or the garnish trim. Failure to do so could result in personal injury.
1. Remove the windshield garnish moldings. Refer toGarnish Molding Replacement - Windshield Pillar (See: Trim Panel/Service and
Repair/Garnish Molding Replacement - Windshield Pillar) .
2. Remove the front door opening weatherstrips. Refer toWeatherstrip Replacement - Front Door Opening (See: Doors, Hood and
Trunk/Doors/Front Door/Front Door Weatherstrip/Service and Repair/Weatherstrip Replacement - Front Door Opening) in Doors.
3. Remove the sunshades. Refer toSunshade Replacement (See: Sun Visor/Service and Repair/Removal and Replacement/Sunshade Replacement) .
4. Remove the overhead console. Refer toConsole Replacement - Overhead (See: Console/Service and Repair/Console Replacement - Overhead) .
5. Remove the dome lamp. Refer toDome Lamp Replacement in Lighting Systems.
6. Remove the rear cargo lamps. Refer toCargo Lamp Replacement .
7. Remove the headliner trim finishing molding. Refer toHeadlining Trim Finish Molding Replacement (See: Headlining Trim Finish Molding
Replacement) .
8. Remove the upper pillar garnish molding. Refer toTrim Panel Replacement - Upper Center Pillar (See: Trim Panel/Service and Repair) .
9. Remove the body side rear upper garnish molding. Refer toTrim Panel Replacement - Body Lock Pillar Upper (See: Trim Panel/Service and
Repair/Trim Panel Replacement - Body Lock Pillar Upper) .
10. Remove the rear corner upper garnish molding. Refer toFinish Panel Replacement - Upper Rear Trim (See: Trim Panel/Service and Repair/Finish
Panel Replacement - Upper Rear Trim) .
11. Remove the liftgate weatherstrip. Refer toWeatherstrip Replacement - Liftgate (See: Doors, Hood and Trunk/Trunk / Liftgate/Trunk / Liftgate
Weatherstrip/Service and Repair) in Body Rear End.
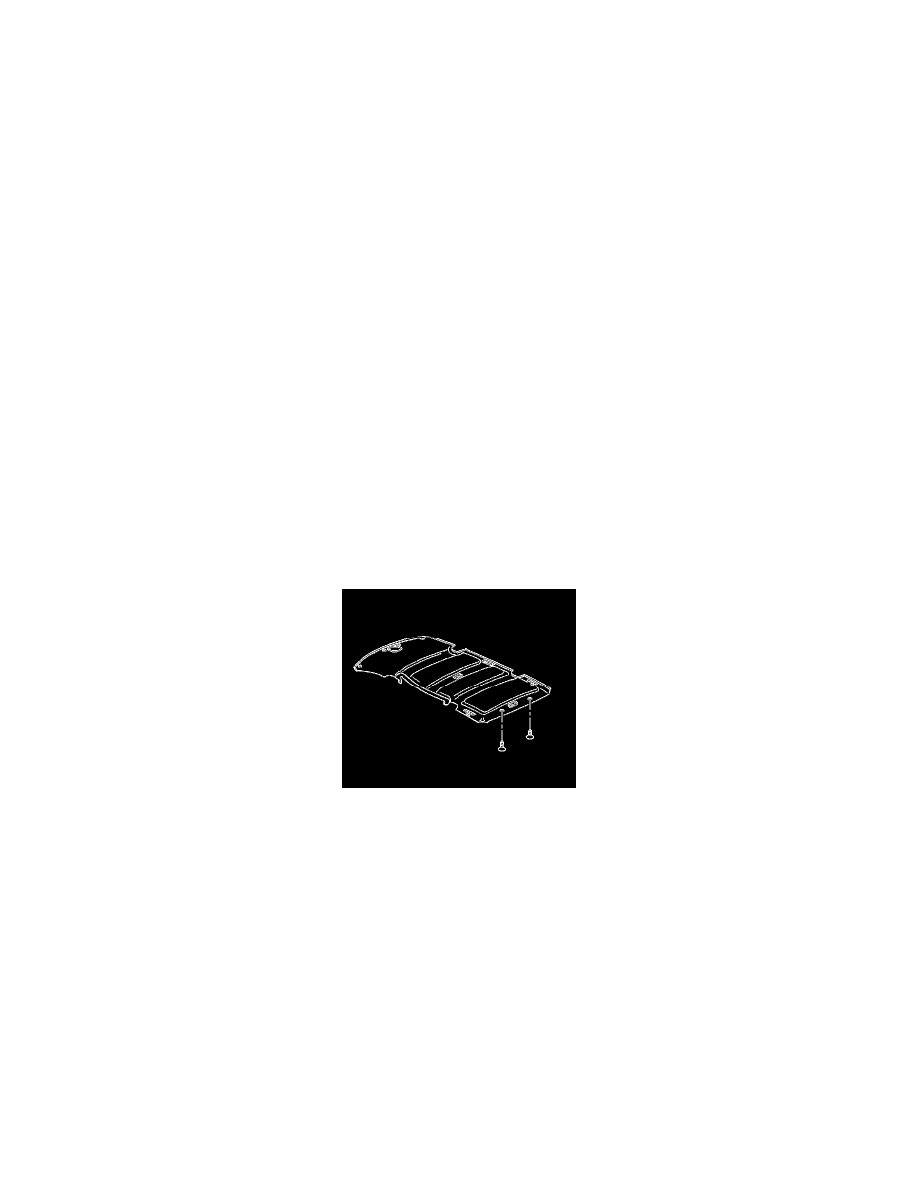
12. UseJ 38778 in order to remove the rear headliner push-in retainers.
13. Push the headliner forward in order to release the locking tab at the front overhead console.
14. Remove the headliner from the roof through the rear of the vehicle.
Installation Procedure
1. Install the headliner to the roof through the rear of the vehicle.
2. Align the locking tab at the front overhead console.
3. Push the headliner rearwards in order to lock the headliner into place.