
Uplander AWD V6-3.5L VIN 8 (2005)
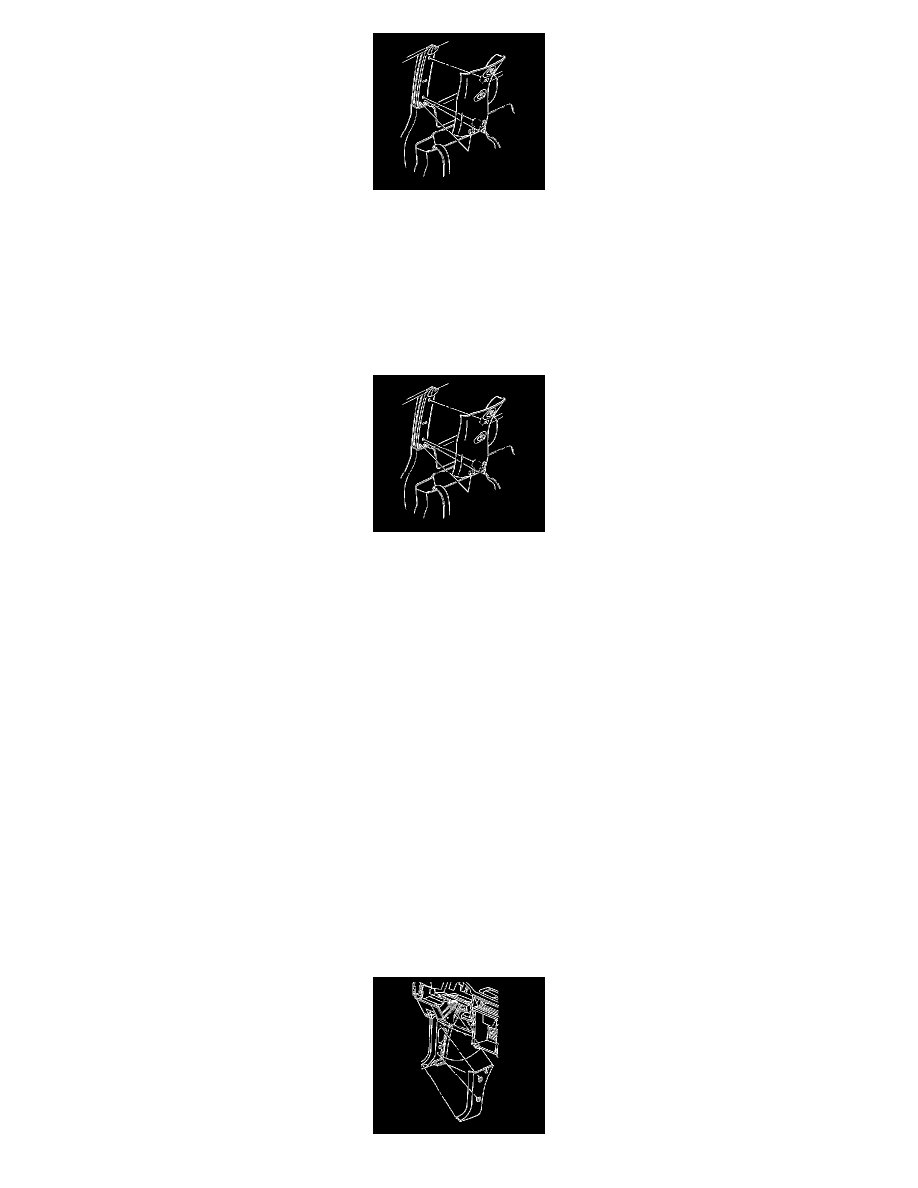
1. Remove the upper seat belt anchor bolt from the belt guide loop.
2. Remove the body pillar upper trim panel retainers using theJ 38778 .
3. Remove the upper trim panel from the body pillar by pulling the panel from the locator tabs.
4. Disconnect the speaker wire harness connector.
Installation Procedure
1. Connect the speaker wire harness connector.
2. Align the locator tabs on the upper trim panel with the rear quarter trim panel.
3. Align the upper trim panel retainers with the holes and push to secure the panel to the vehicle.
4. Align the slider door seal to the body pillar upper trim panel if applicable.
Notice: Refer toFastener Notice in Cautions and Notices.
5. Install the upper seat belt anchor bolt to the belt guide loop.
Tighten the bolt to 43 Nm (32 lb ft).
Trim Panel Replacement - Cowl Side
Trim Panel Replacement - Cowl Side
Tools Required
J 38778 Door Trim Pad Clip Remover
Removal Procedure
1. Remove the front door sill plate. Refer toDoor Sill Plate Replacement (Door) (See: Scuff Plate/Service and Repair/Removal and
Replacement/Door Sill Plate Replacement (Door))Door Sill Plate Replacement (Sliding Door) (See: Scuff Plate/Service and Repair/Removal and
Replacement/Door Sill Plate Replacement (Sliding Door)) .
2. Remove the I/P insulator panel. Refer toKnee Bolster, Insulator, Molding Replacement - Instrument Panel (See: Dashboard / Instrument
Panel/Service and Repair/Knee Bolster, Insulator, Molding Replacement - Instrument Panel) .