
Uplander AWD V6-3.5L VIN 8 (2005)
Important: Remove and install the luggage carrier as an assembled luggage carrier.
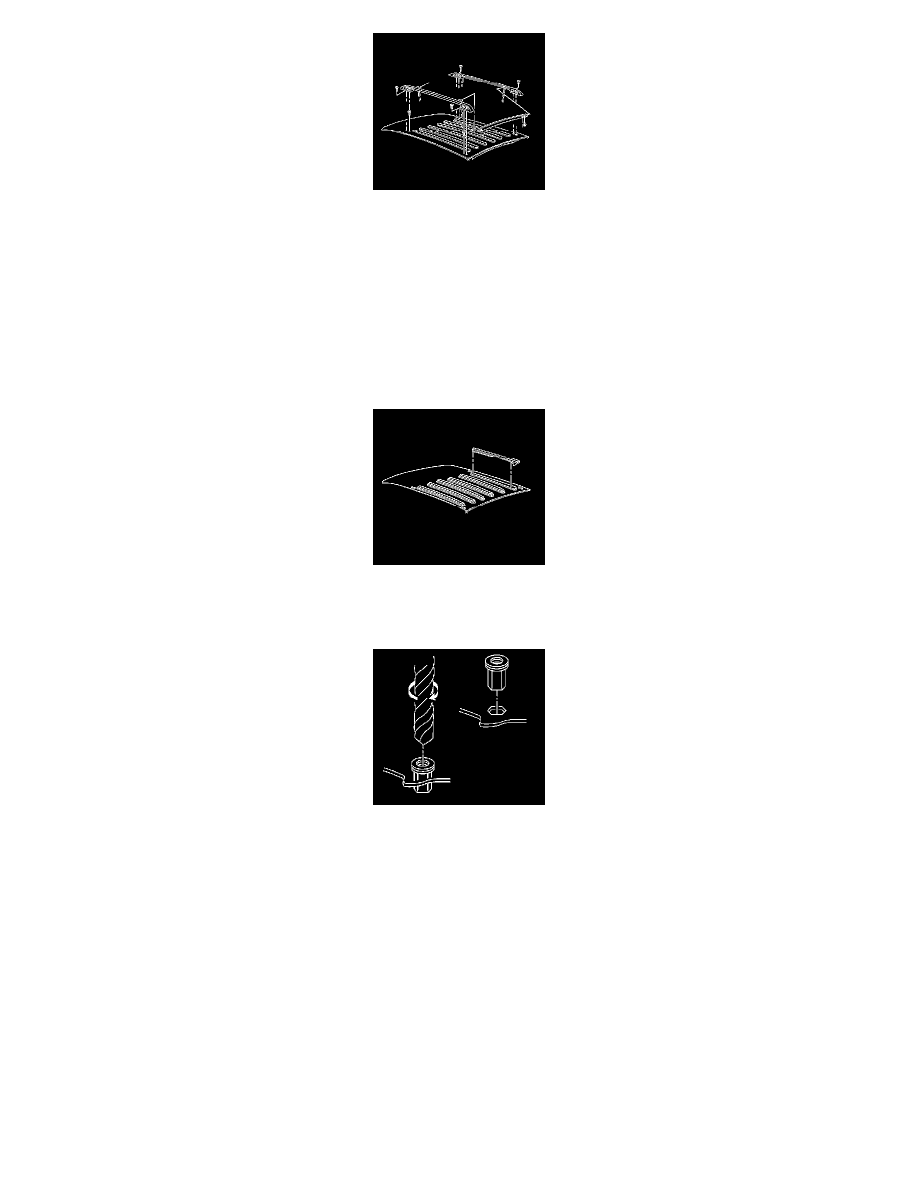
13. With help from an assistant, remove the luggage carrier from the roof.
Important: Ensure that the drill depth is carefully controlled. Failure to do so may result in drilling through the headliner panel. You
may have to remove the headliner panel before drilling the holes.
14. Use a 4 mm (9.016 in) drill bit in order to drill pilot holes at the marked locations.
15. Check the clearance between the pilot holes and the clearance holes in the roof structure immediately under the luggage carrier pilot holes.
16. Use a 10 mm (0.39 in) drill bit in order to drill out the pilot holes at the marked locations of the attaching holes.
17. Remove the tape from the roof.
18. Align the luggage carrier slats to the raised portions of the roof.
19. Use the top as alignment marks for the luggage carrier slats.
20. Apply touch up paint around the attaching hole as needed.
21. Use a rivnut tool, or equivalent, in order to install the rivnut to the attaching hole.
Important: Remove and install the luggage carrier as an assembled luggage carrier.
22. With help from an assistant, install the luggage carrier to the roof.
23. Install the front and the rear luggage carrier mounting screws.
Tighten the screws to 6 Nm (53 lb in).
Lift-Out Panel Mounting Hardware Replacement (Longitudinal Bow Finish Molding)
Luggage Carrier Cross Rail Replacement
Removal Procedure
1. Remove the luggage carrier. Refer toLuggage Carrier Replacement (Extended Wheelbase) (See: Luggage Carrier Replacement (Extended
Wheelbase))Luggage Carrier Replacement (Regular Wheelbase) (See: Luggage Carrier Replacement (Regular Wheelbase)) .
2. Turn the luggage carrier upside down and place on a clean flat surface.