
Uplander AWD V6-3.5L VIN 8 (2005)
Brake Pad: Service and Repair
Brake Pads Replacement - Front
Brake Pads Replacement - Front
Removal Procedure
Caution: Refer to Brake Dust Caution in Service Precautions.
Caution: Refer to Brake Fluid Irritant Caution in Service Precautions.
Use GM replacement brake lining material or equivalent for all GM vehicles in order to maintain the balance between front and rear brake
performance. GM replacement brake parts have been carefully selected in order to provide the proper brake balance for stopping and control over a
full range of operation conditions. Installation of front or rear brake lining material not recommended for this vehicle may change the intended brake
balance.
1. Inspect the fluid level in the brake master cylinder reservoir.
2. If the brake fluid level is midway between the maximum-full point and the minimum allowable level, then no brake fluid needs to be removed from
the reservoir before proceeding. If the brake fluid level is higher than midway between the maximum-full point and the minimum allowable level,
then remove brake fluid to the midway point before proceeding.
3. Raise and support the vehicle. Refer to Vehicle Lifting.
4. Remove the tire and wheel.
5. Install two wheel nuts in order to secure the rotor.
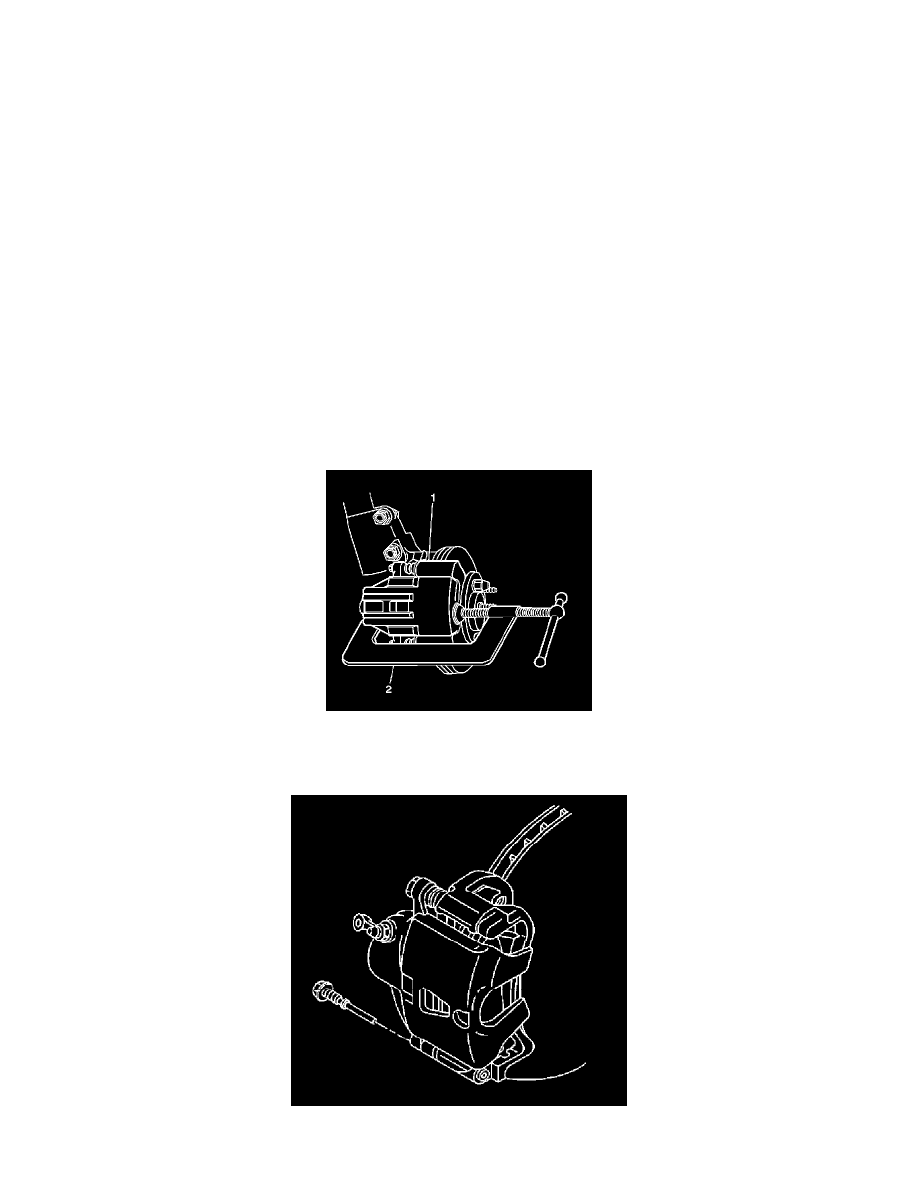
6. Install a C-clamp (2) over the top of the brake caliper and against the back of the outboard brake pad.
7. Tighten the C-clamp (2) until the brake caliper piston pushes into the brake caliper bore enough to slide the brake caliper (1) off of the rotor.
8. Remove the C-clamp (2) from the brake caliper.
9. Remove the lower brake caliper guide point.