
Uplander AWD V6-3.5L VIN 8 (2005)
16. Disconnect the auxiliary blower motor electrical connector.
17. Disconnect the auxiliary blower motor resistor electrical connector.
18. Disconnect the auxiliary temperature actuator electrical connector.
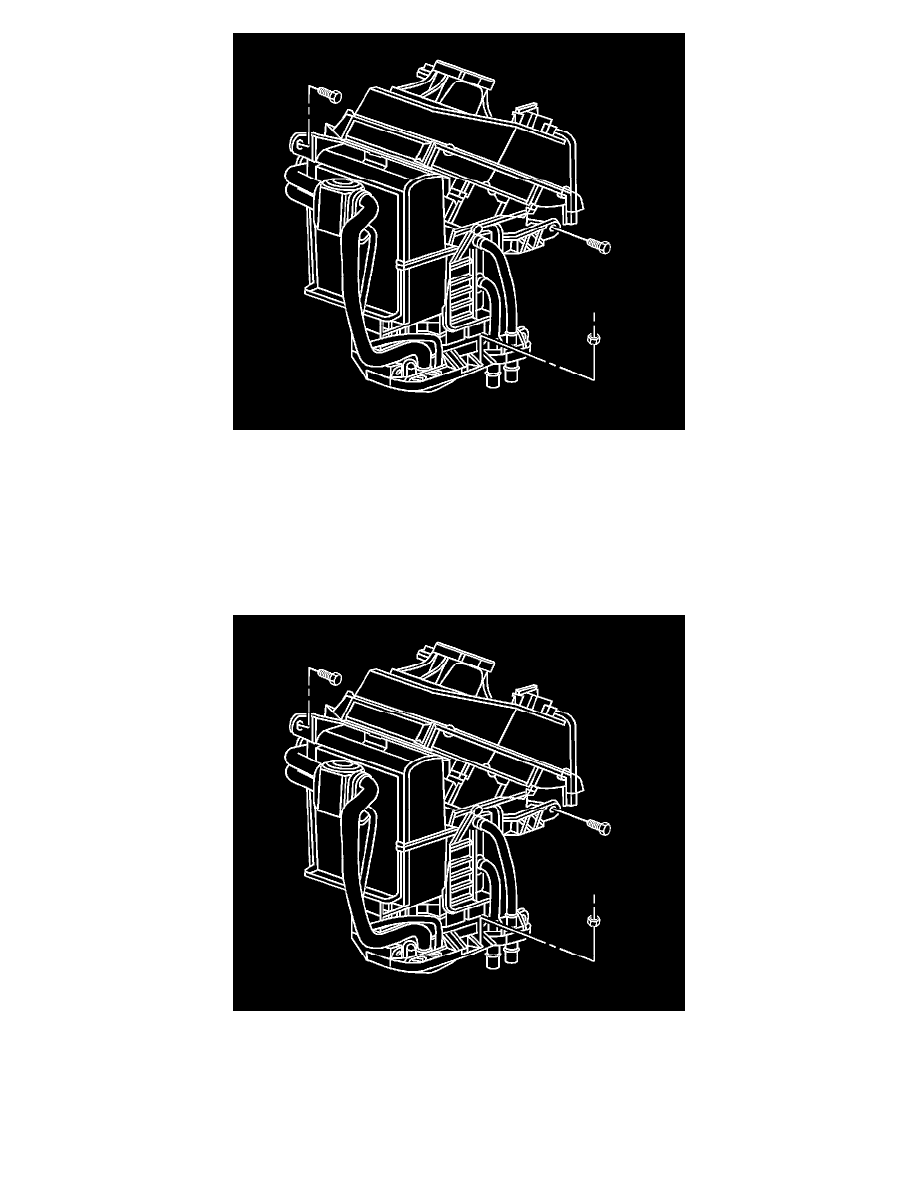
19. Remove the HVAC module assembly bolts and nut.
20. Remove the left power sliding door (PSD) module from the mounting bracket and reposition aside, if equipped.
21. Remove the HVAC module assembly from the vehicle.
22. Remove and discard the HVAC module assembly to body seals.
INSTALLATION PROCEDURE
1. Install new HVAC module assembly to body seals.
2. Install the HVAC module assembly to the vehicle.
3. Install the HVAC module assembly bolts and the nut.
Tighten the bolts/nut to 10 N.m (89 lb in).
NOTE: Refer to Fastener Notice in Service Precautions.