
Uplander AWD V6-3.5L VIN 8 (2005)
1. Turn the ignition switch to the OFF position.
2. Remove the ignition key.
3. Put on safety glasses.
4. Remove all loose objects from the front seats.
5. Disable the SIR system. Refer to SIR Disabling and Enabling Zones.
6. Disconnect the steering wheel module yellow connector (4) located next to steering column (2).
CAUTION: A deployed dual stage inflator module will look the same whether one or both stages were used. Always assume a deployed dual
stage inflator module has an active stage 2. Improper handling or servicing can activate the inflator module and cause personal injury.
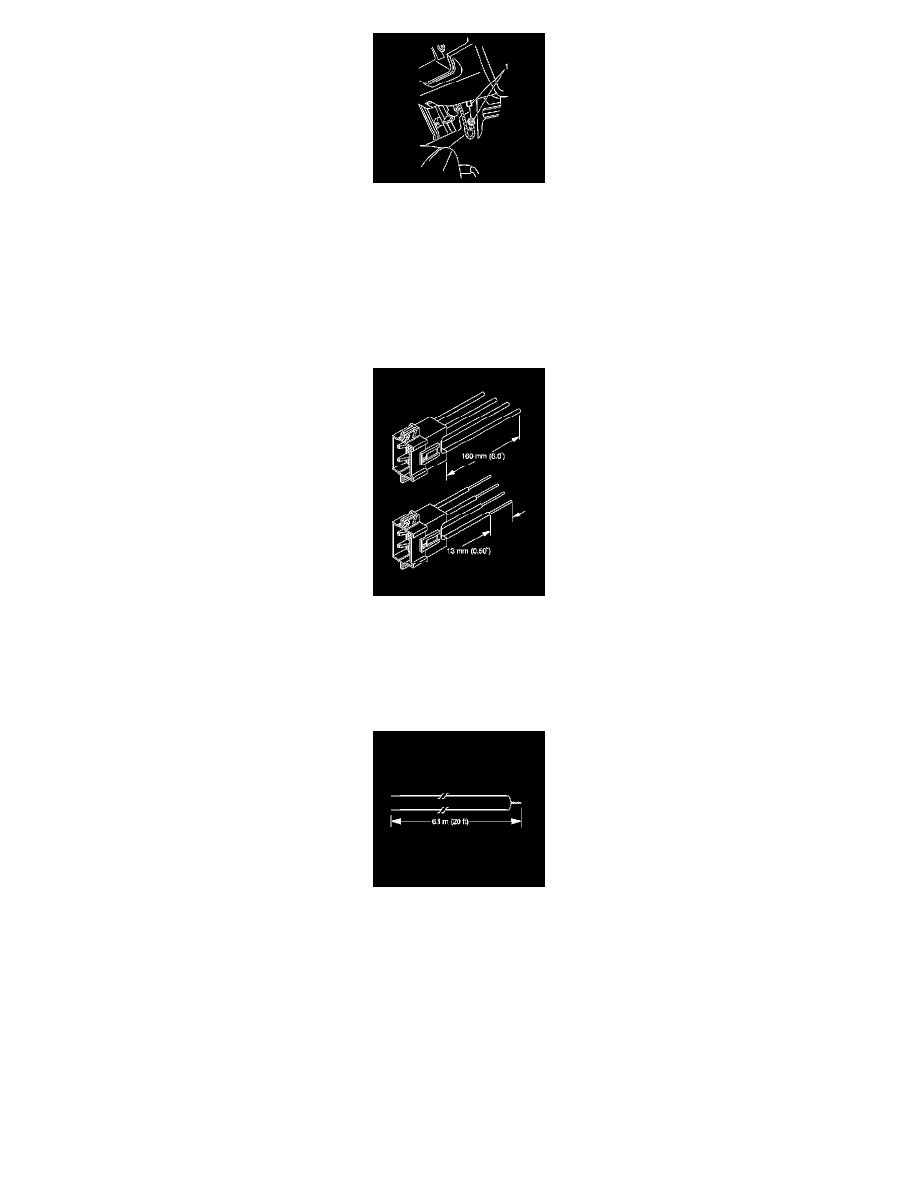
7. Cut the yellow harness connector out of the vehicle, leaving at least 16 cm (6 in) of wire at the connector.
IMPORTANT: If the vehicle is equipped with dual stage air bags, the steering wheel module and I/P module will each have 4 wires and standard air
bags will only have 2 wires. Refer to SIR Connector End Views for determining high and low circuits.
8. Strip 13 mm (0.5 in) of insulation from each of the connector wire leads.
9. Cut two 6.1 m (20 ft) deployment wires from a 0.8 mm (18 gage) or thicker multi-strand wire. Use these wires to fabricate the driver deployment
harness.
10. Strip 13 mm (0.5 in) of insulation from both ends of the wires cut in the previous step.
11. Twist together one end from each of the wires in order to short the wires. Deployment wires shall remain shorted, and not connected to a power
source until you are ready to deploy the inflator module.