
Uplander AWD V6-3.5L VIN 8 (2005)
4. Place the seat belt guide loop to the guide adjuster bracket.
5. Install the nut to the seat belt guide loop.
Tighten the nut to 42 N.m (31 lb ft).
6. Install the seat belt guide loop cover.
7. Place the seat belt anchor plate to the seat rear outboard stud.
8. Install the front bucket seat.
9. Enable the SIR system. Refer to SIR Disabling and Enabling Zone 9.
Deployment Procedures
DEPLOYMENT PROCEDURES
The pretensioner can be deployed inside or outside of the vehicle. The method used depends upon the final disposition of the vehicle. Review the
procedures in order to determine which will work best in a given situation.
Pretensioner Handling and Scrapping
PRETENSIONER HANDLING AND SCRAPPING
TOOLS REQUIRED
-
J 38826 SIR Deployment Harness
-
J 38826-25 for Seat Belt Pretensioner Module Adapter
-
J 39401-B SIR Deployment Fixture
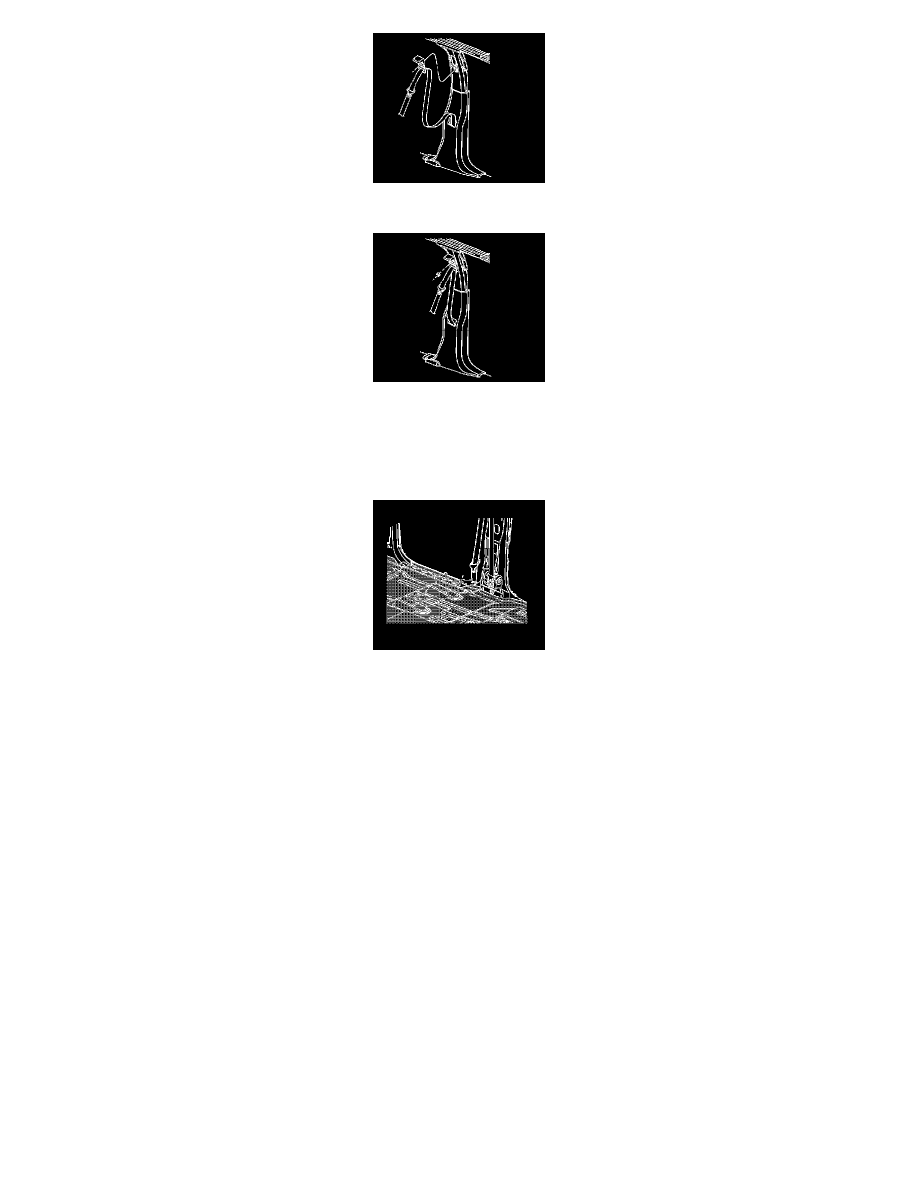
CAUTION: When you are carrying an undeployed seat belt pretensioner:
-
Do not carry the seat belt pretensioner by the wires or connector on the pretensioner.
-
Do not touch the seat belt pretensioner in the area of the cable (1).
-
Do not cover the tube opening with your hand.
-
Keep the open end of the tube pointed away from you. Do not point the open end of the tube at another person.
-
When the pretensioner deploys the cable retracts. This shortens the pretensioner between the buckle and the mounting bolt. Grasp the
pretensioner by the piston tube (2).
Disregarding these precautions may result in personal injury or unnecessary SIR system repairs.