
Uplander AWD V6-3.5L VIN 8 (2005)
2. Install the lower control arm.
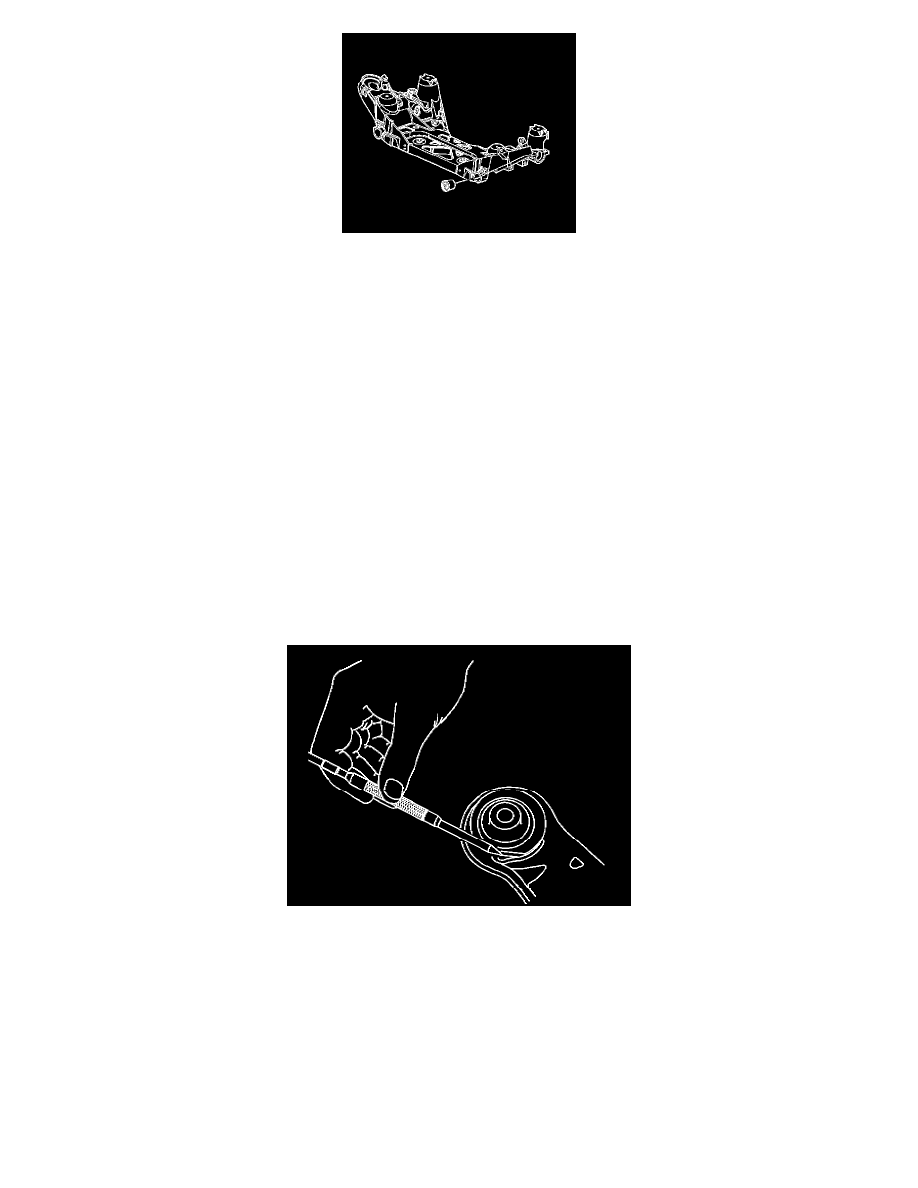
Solid Rear Axle
Important: The content of this article/image reflects the changes identified in TSB Bulletin No.: 05-03-09-008
Control Arm Bushing Replacement
Tools Required
^3GJ 28685 Rear Suspension Bushing Remover/Installer
^3GJ 9519-E Ball Joint Remover/Installer Kit
Removal Procedure
1. Raise and support the vehicle.
2. Use a utility stand in order to support the control arm forward of the coil spring.
3. Remove the control arm bolts from the rear axle. Refer to Rear Axle Replacement.
4. Use the utility stand in order to lower the rear axle enough to gain access to the control arm bushing.
5. Mark the orientation of the control arm bushing in the lower control arm.