
Uplander AWD V6-3.5L VIN 8 (2005)
5. Raise the rear crossmember.
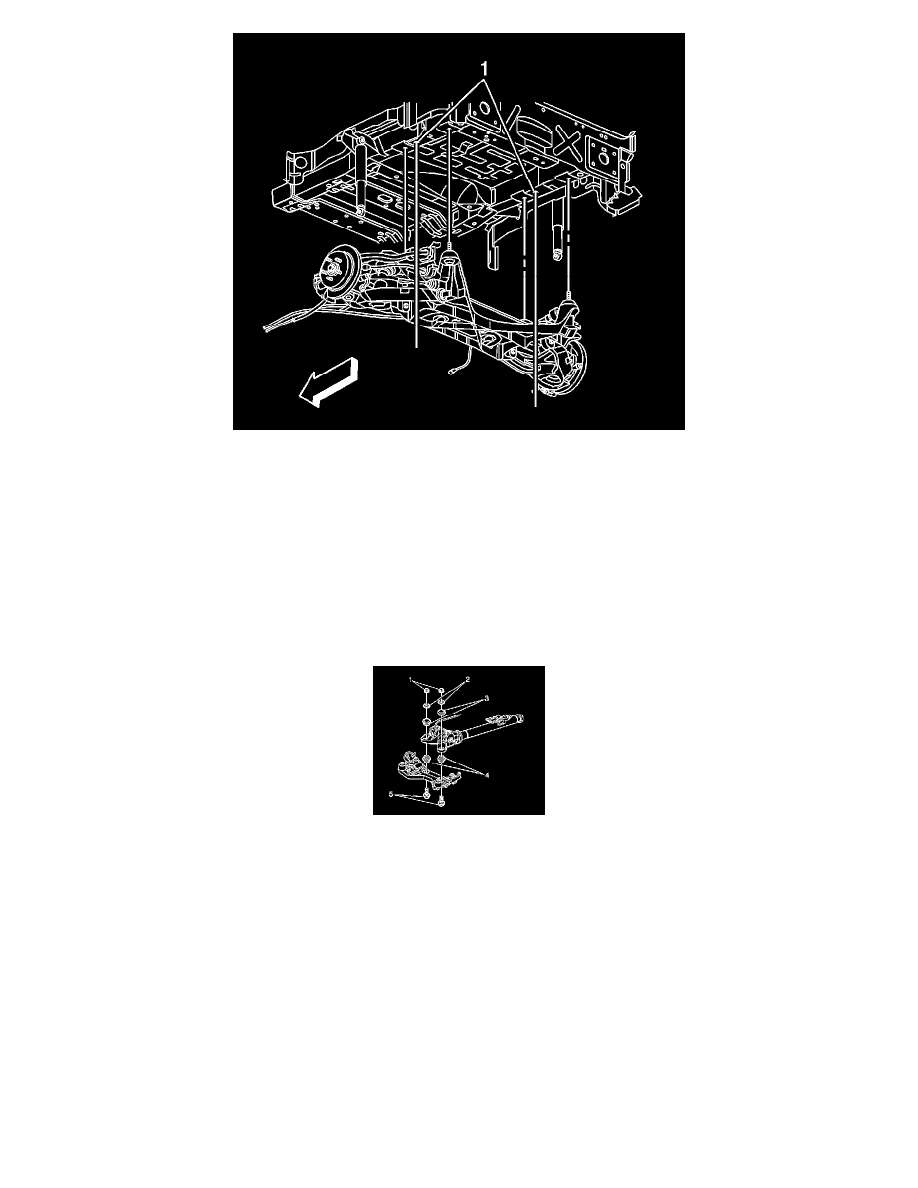
6. Align the rear crossmember using guide pins through the rail holes (1).
7. Install the rear crossmember mounting bolts.
Notice: Refer toFastener Notice in Cautions and Notices.
8. Tighten the mounting bolts.
Tighten the rear crossmember mounting bolts to 130 Nm (96 lb ft) .
9. Install the ALC height sensor onto the crossmember and lower control arm. Refer toAutomatic Level Control Sensor Replacement in Automatic
Level Control.
10. Install the rear differential carrier mounting bolts (5). Refer toDifferential Replacement in Rear Drive Axle.
11. Attach the parking brake cable onto the rear crossmember. Refer toPark Brake Cable Replacement - Left Rear andPark Brake Cable
Replacement - Right Rear in Park Brake.
12. Connect the wheel speed sensor harness onto the rear crossmember and the lower control arm.
13. Install the rear suspension knuckle. Refer toKnuckle Replacement in Rear Suspension.
14. Install the rear tires and the wheels. Refer toTire and Wheel Removal and Installation in Tires and Wheels.
15. Lower the vehicle.
16. Inspect for rear wheel alignment and adjust as necessary. Refer toMeasuring Wheel Alignment in Wheel Alignment.