
Uplander AWD V6-3.5L VIN 8 (2005)
Level Control Solenoid Valve: Service and Repair
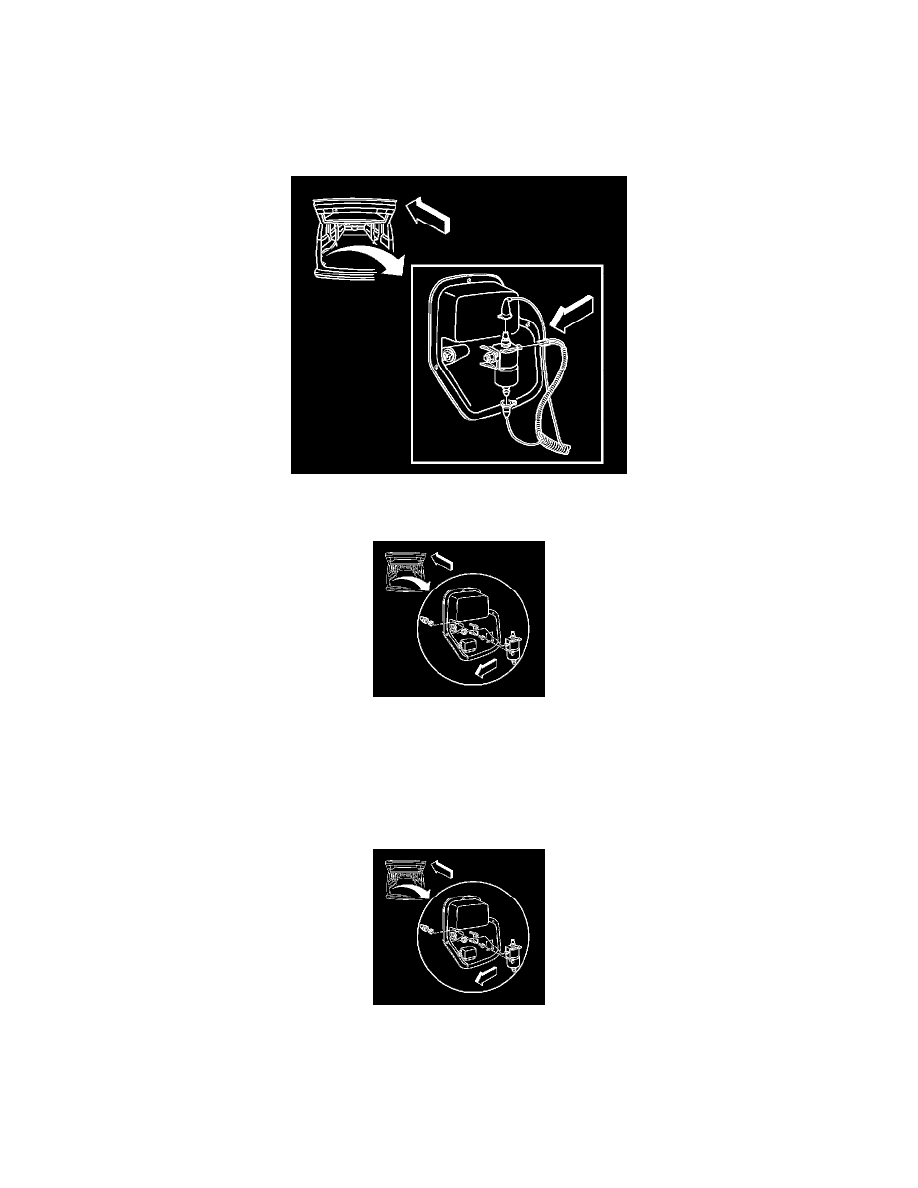
Inflator Solenoid Replacement
Removal Procedure
1. Remove the ELC/TRAILER fuse.
2. Remove the left rear quarter trim panel.
3. Disconnect the inflator solenoid electrical connector.
4. Remove the air lines from the inflator solenoid.
5. Remove the inflator solenoid fill valve cap.
6. Remove the inflator solenoid fill valve nut.
7. Remove the inflator solenoid nut.
8. Remove the inflator solenoid.
9. Remove the inflator solenoid fill valve washer.
Installation Procedure
1. Install the inflator solenoid washer over the fill valve.
2. Install the inflator solenoid.
Notice: Refer to Fastener Notice in Service Precautions.
3. Install the inflator solenoid nut.
^
Tighten the inflator solenoid nut to 3 Nm (27 inch lbs.).