
Uplander AWD V6-3.5L VIN 8 (2005)
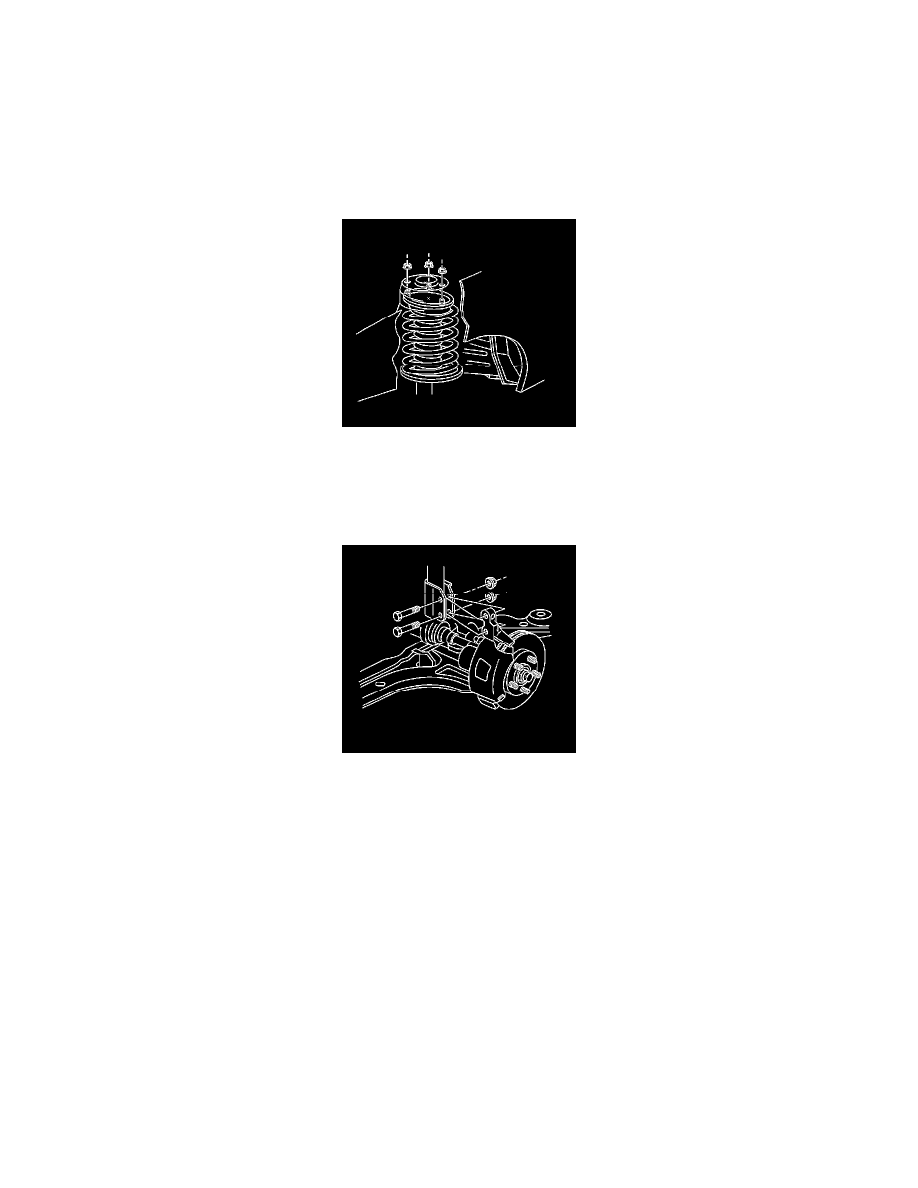
8. Remove the strut lower bolts and nuts.
9. Remove the strut.
Installation Procedure
Notice: Refer to Avoid chipping or scratching the coating.
1. Install the strut.
2. Lower the vehicle.
Notice: Refer to Fastener Notice in Service Precautions.
3. Install the strut upper nuts.
^
Tighten the strut upper nuts to 41 Nm (30 ft. lbs.).
4. Raise the vehicle.
5. Install the strut lower bolts and nuts.
Important: This is a prevailing torque type fastener. This fastener may be reused ONLY if:
^
The fastener and its counterpart are clean and free from rust.
^
The fastener develops 3 Nm (27 inch lbs.) of torque/drag against its counterpart prior to the fastener seating. If the fastener does not meet
these criteria, REPLACE the fastener.
6. Align the strut to the mark on the knuckle.
^
Tighten the strut lower nuts to 123 Nm (90 ft. lbs.).
7. Install the tire and wheel.
8. Lower the vehicle.
9. Install the wiper module. Refer to Wiper Motor Module Replacement.
10. Inspect the alignment.
Strut, Strut Component and/or Spring Replacement
Strut, Strut Component and/or Spring Replacement
^
Tools Required
-
J 42991 Strut Rod Nut Socket
-
J 45400 Strut Spring Compressor