
Uplander FWD V6-3.5L VIN L (2006)
INSTALLATION PROCEDURE
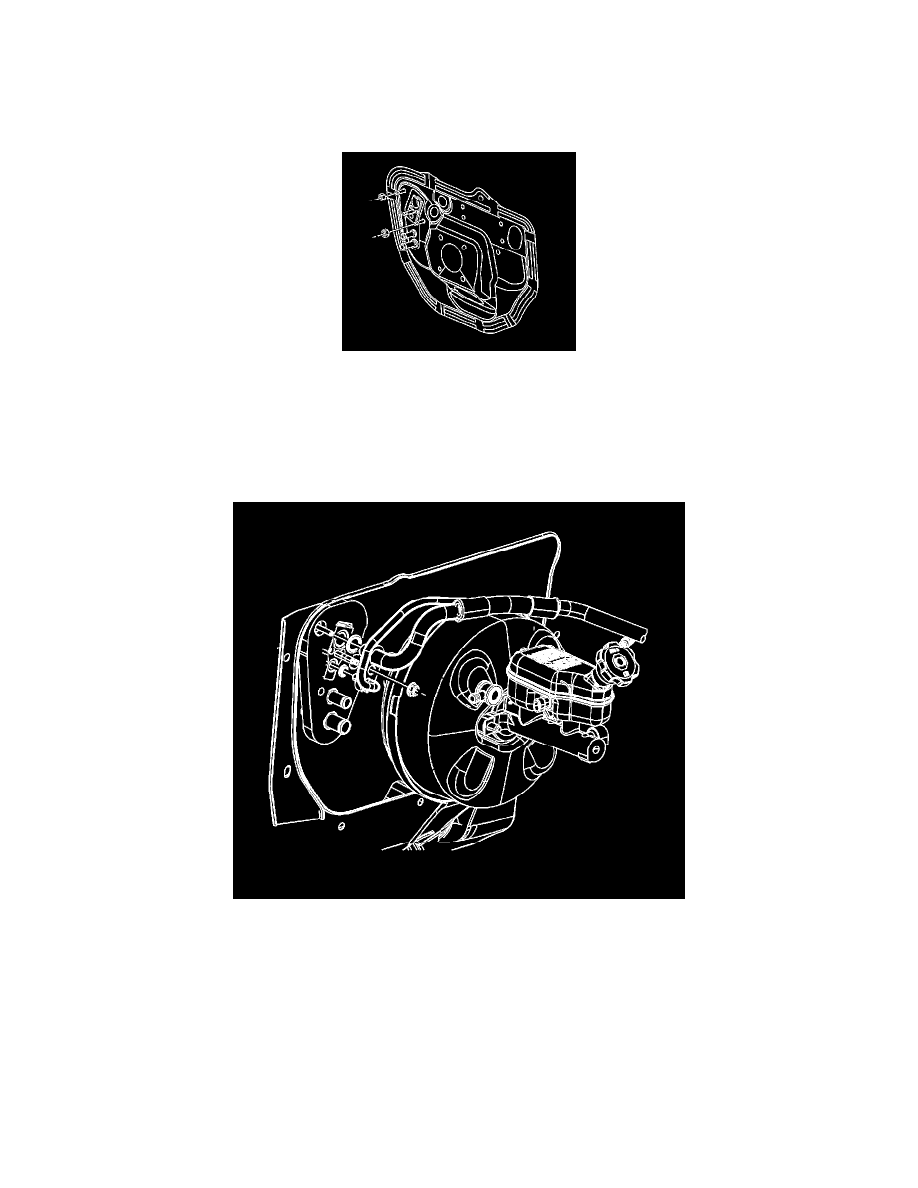
IMPORTANT: Ensure proper alignment of the HVAC module and drain tube through the cowl.
1. Install the HVAC module.
2. Instal the HVAC module to dash panel sound barrier nuts.
NOTE: Refer to Fastener Notice.
Tighten the nuts to 10 N.m (89 lb in).
3. Install the heater inlet and outlet hoses.
4. Install NEW sealing washers.
5. Connect the evaporator inlet and outlet tube block to the TXV.
6. Install the evaporator tube block nut.
Tighten the nut to 16 N.m (12 lb ft).
7. Install the I/P carrier.
8. Connect all of the HVAC actuator electrical connectors.
9. Connect the electrical connector to the evaporator temperature sensor.
10. Connect the electrical connector to the blower motor resistor.
11. Install the blower motor.
12. Fill the cooling system. Refer to Draining and Filling Cooling System (Static Fill) Draining and Filling Cooling System (Vac-N-Fill) in Cooling
System.