
Uplander FWD V6-3.5L VIN L (2006)
Ignition Control Module: Service and Repair
IGNITION CONTROL MODULE REPLACEMENT
REMOVAL PROCEDURE
1. Disconnect the brake booster vacuum hose from the intake manifold.
2. Note the position of the spark plug wires for the installation and disconnect the spark plug wires from the ignition coil and module assembly.
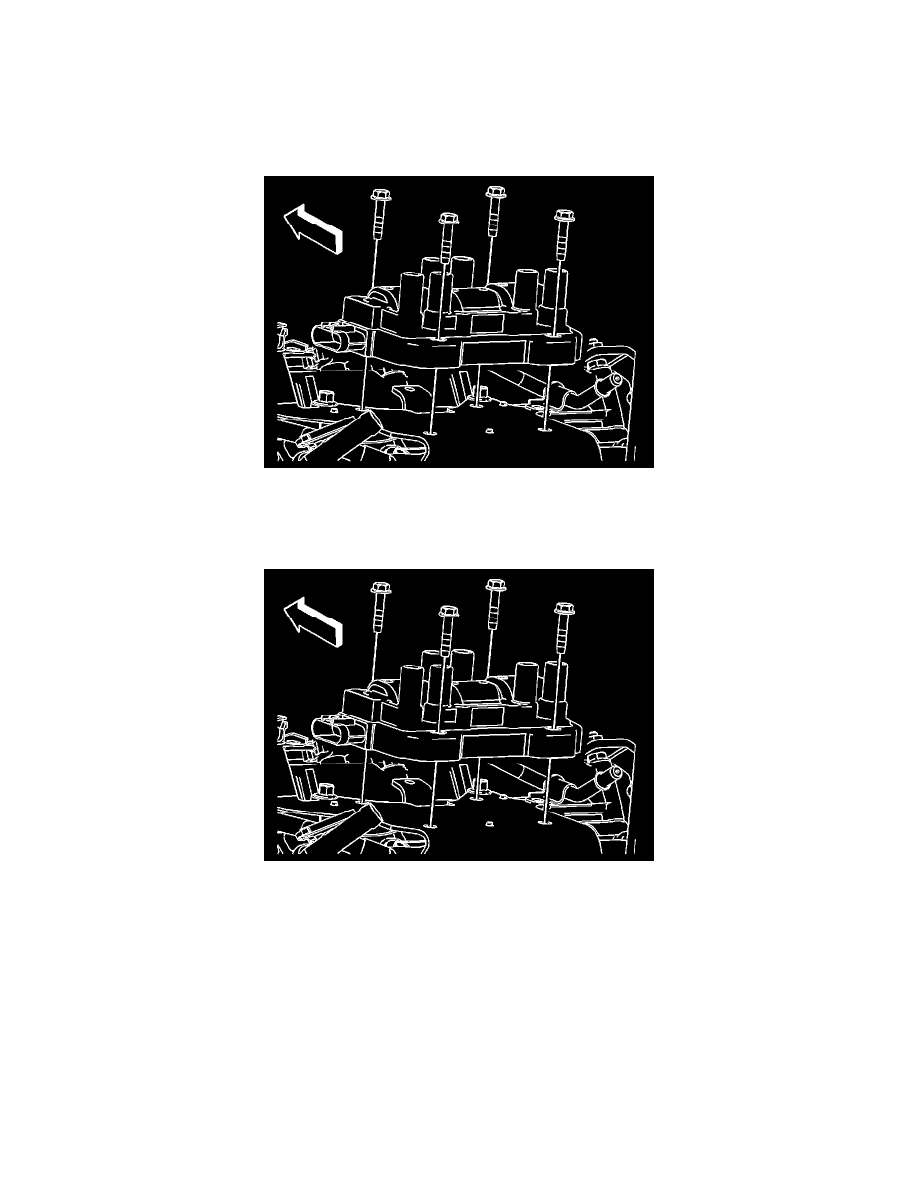
3. Remove the 4 screws securing the ignition coil and module assembly to the bracket.
4. Remove the ignition coil and module assembly.
INSTALLATION PROCEDURE
1. Install the ignition coil and module assembly to the bracket.
2. Install the ignition coil and module assembly screws.
NOTE: Refer to Fastener Notice.
Tighten the screws to 4.5 N.m (40 lb in).
3. Connect the spark plug wires as noted during the removal.
4. Connect the brake booster vacuum hose from the intake manifold.
5. Refer to Control Module References for programming and setup information. See: Testing and Inspection/Programming and Relearning