
Uplander FWD V6-3.5L VIN L (2006)
Air Line: Service and Repair
Shock Absorber Crossover Air Tube Replacement
Shock Absorber Crossover Air Tube Replacement
Removal Procedure
1. Remove the ELC/TRAILER fuse.
2. Raise and support the vehicle. Refer to Vehicle Lifting.
3. Important:
The automatic level control (ALC) system air lines use spring clip connectors with molded sealing shoulders in the fittings and on the end of the
air lines. In order to help seal the air line, 2 O-rings are used at each connector. In order to prevent dirt and other foreign material from entering the
ALC system, clean the connector and the surrounding area, before disconnecting any air line.
In order to disconnect the air line from a fitting, rotate the spring clip 90 degrees out of the slots and pull the connector from the fitting. In order to
connect an air line to a fitting, lubricate the O-rings with silicone lubricant. Do not use petroleum based lubricants. Rotate the spring clip into the
connector slots, and push the connector onto the fitting until the spring clip snaps into place on the fitting.
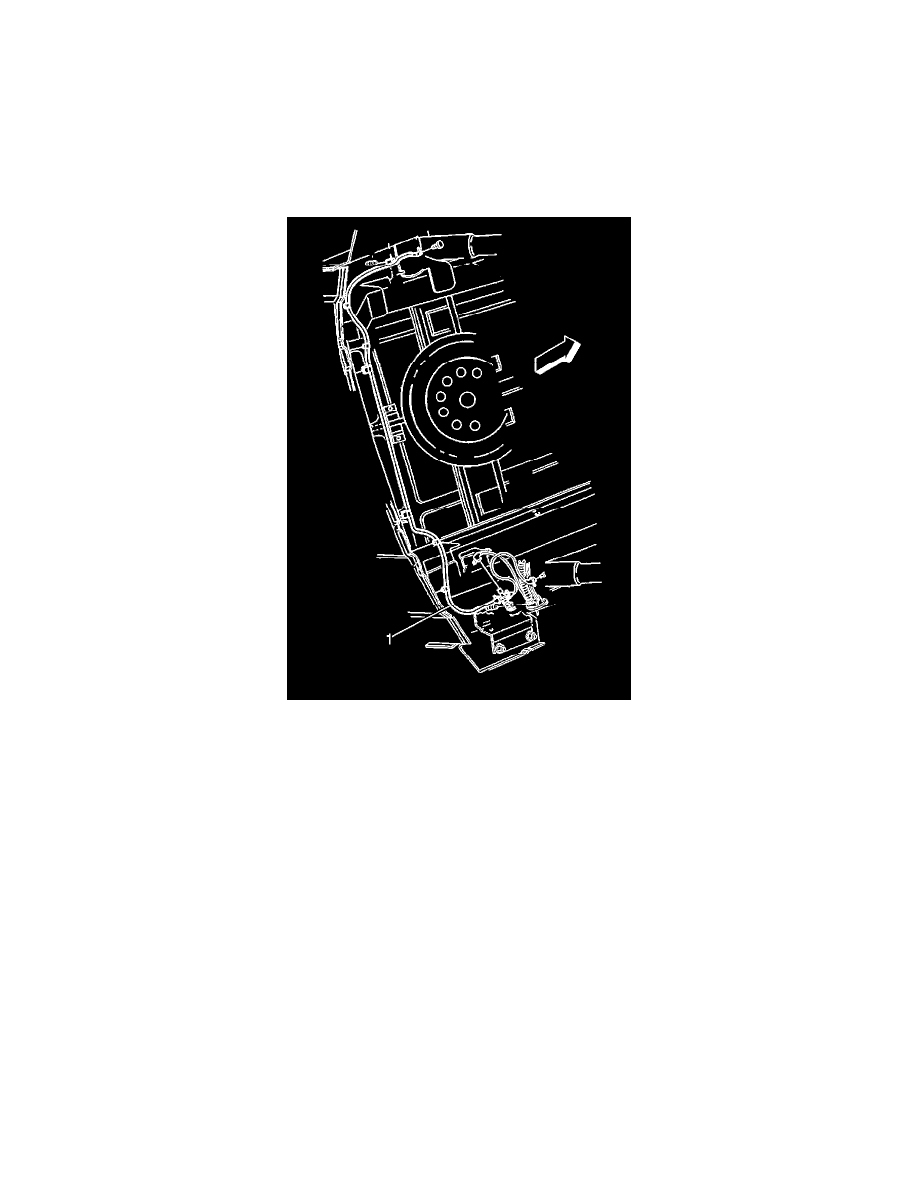
Remove the air crossover tube (1) from the left rear shock absorber.
4. Remove the air crossover tube (1) from the right rear shock absorber.
5. Remove the air crossover tube (1) from the compressor air supply tube.
6. Remove the air crossover tube (1) from the tube retaining clips.
7. Remove the tube retaining clips from the vehicle, if necessary.
Installation Procedure