
Uplander FWD V6-3.5L VIN L (2006)
Case: Service and Repair
Case Side Cover Replacement
Removal Procedure
1. Remove the throttle body air inlet duct.
2. Remove the engine mount struts.
3. Remove the wiper module cover.
4. Disconnect the 20-way electrical connector at the transaxle.
5. Remove the shift cable bracket from the transaxle.
6. Install the engine support fixture and support the engine/transaxle assembly.
7. Raise and support the vehicle. Refer to Vehicle Lifting.
8. Remove the left front tire and wheel.
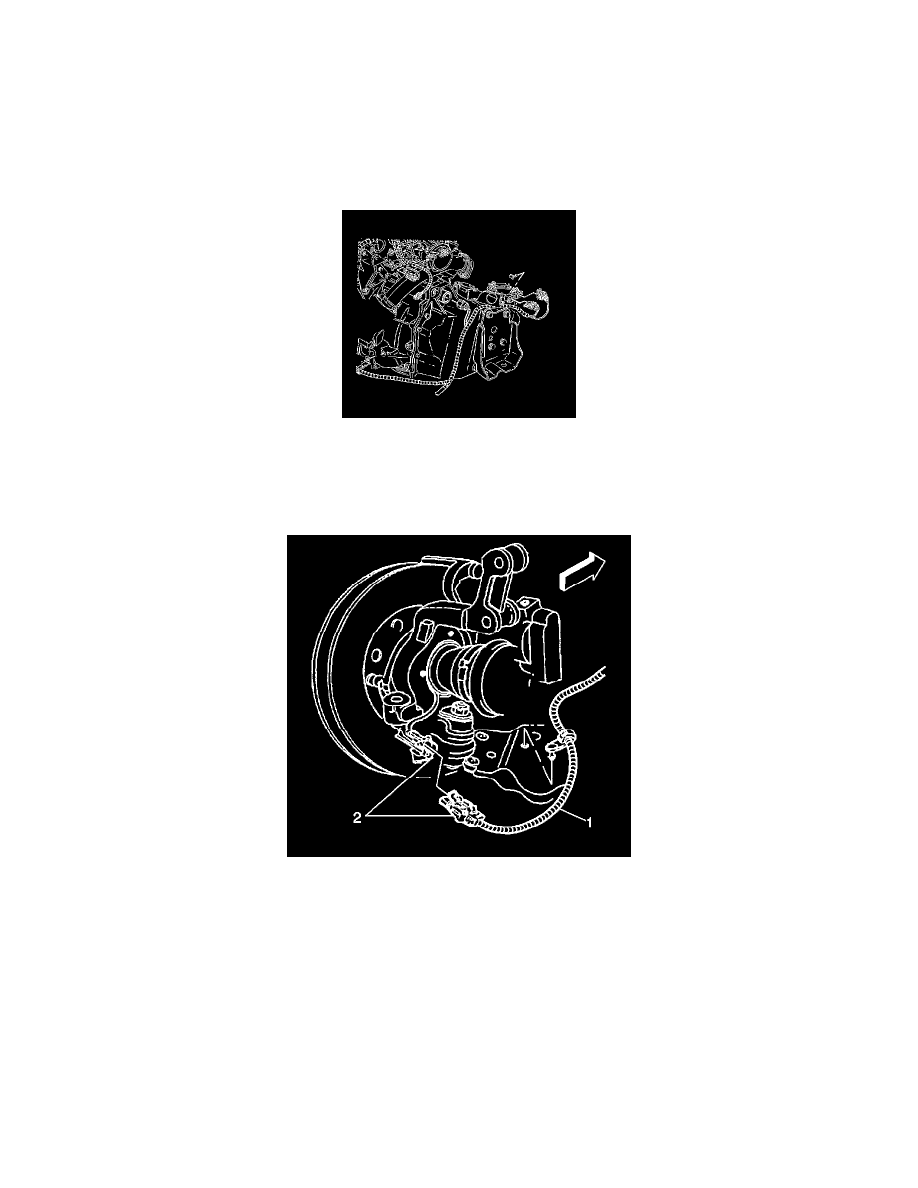
9. Disconnect the left wheel speed sensor harness connector (1).
10. Remove the left engine splash shield.
11. Remove both stabilizer shaft links from the lower control arms.
12. Remove the wheel speed sensor harness from the control arm (1).
13. Remove the left lower ball joint from the left steering knuckle.
14. Remove the left drive axle from the transaxle.
15. Reposition and secure the drive axle.
16. Remove the heat shield bolts from the frame.
17. Remove the steering gear-to-frame bolts and secure the steering gear.
18. Support the left side of the frame with a utility stand.
19. Remove the transaxle mount lower nuts only.
20. Loosen the engine mount lower nuts.
21. Remove the air deflector.
22. Remove only the left side frame bolts. DO NOT LOOSEN the right side frame-to-body bolts.
23. Use the utility stand in order to lower the left side of the frame.
24. Position a drain pan under the transaxle.