Venture AWD V6-3.4L VIN E (2004)

Sliding Door Striker: Service and Repair
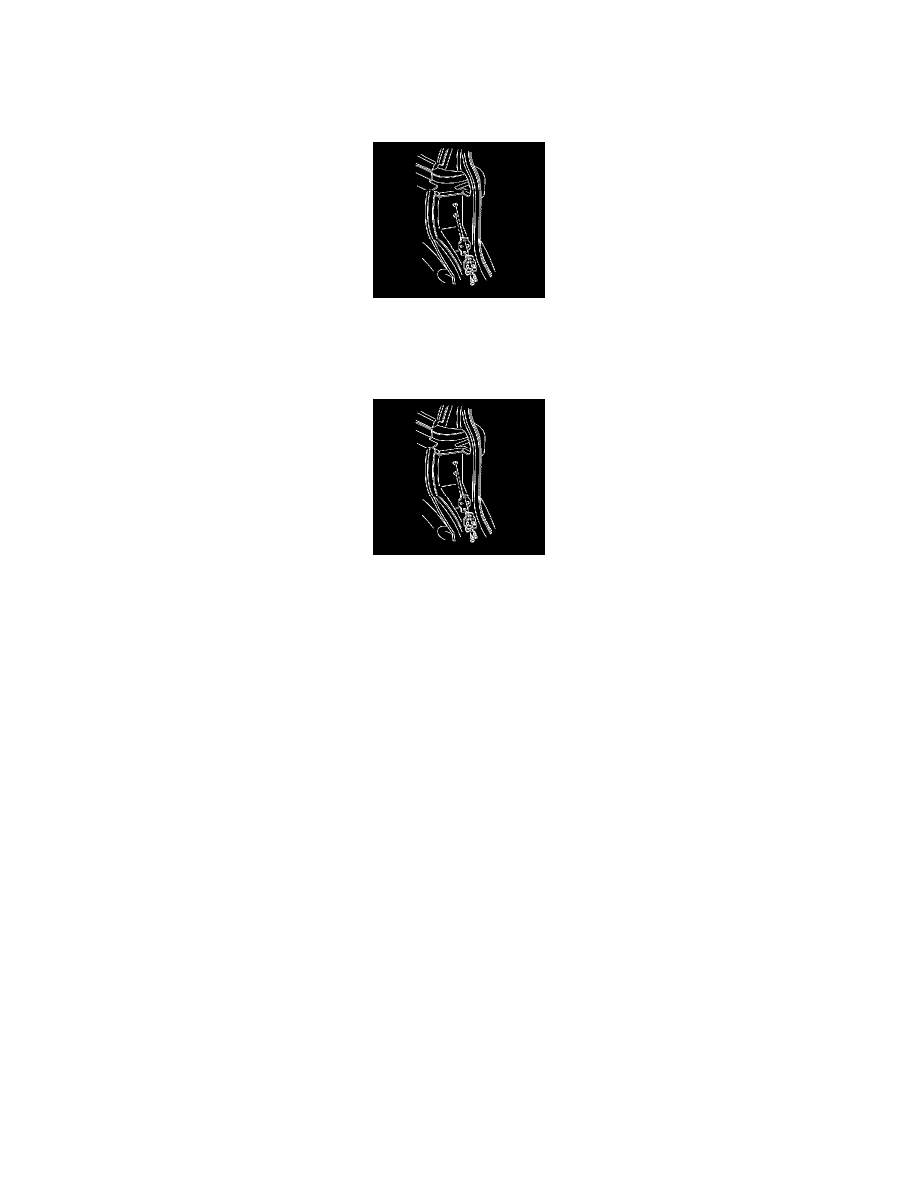
Striker Replacement - Sliding Door Rear
Removal Procedure
1. Remove the sliding door striker screws.
2. Remove the sliding door striker and the shim from the C-pillar.
Installation Procedure
1. Install the sliding door striker and the shim to the C-pillar.
Notice: Refer to Fastener Notice in Cautions and Notices.
Important:
*
The striker is mounted through an oversized hole into a caged nut. This arrangement allows approximately 4 mm (0.15 in) of
adjustment.
*
If the striker does not properly engage the door lock, the door needs to be adjusted within the door frame. Refer to the appropriate
procedure:
-
Door Up/Down Adjustment - Sliding (See: Adjustments/Door Up/Down Adjustment - Sliding)
-
Door Front Edge In/Out Adjustment - Sliding (See: Adjustments/Door Front Edge In/Out Adjustment - Sliding)
-
Door Rear Edge In/Out Adjustment - Sliding (See: Adjustments/Door Rear Edge In/Out Adjustment - Sliding)
*
Use the striker in order to adjust the door for flushness. Do not use the striker in order to raise or lower the door.
*
The latch should contact the center of the striker. If the latch to striker alignment is incorrect, add or remove shims as required in
order to achieve proper alignment.
2. Install the sliding door striker screws.
Tighten the sliding door striker screws to 25 N.m (18 lb ft).
