
Venture AWD V6-3.4L VIN E (2004)
Sliding Door Weatherstrip: Service and Repair
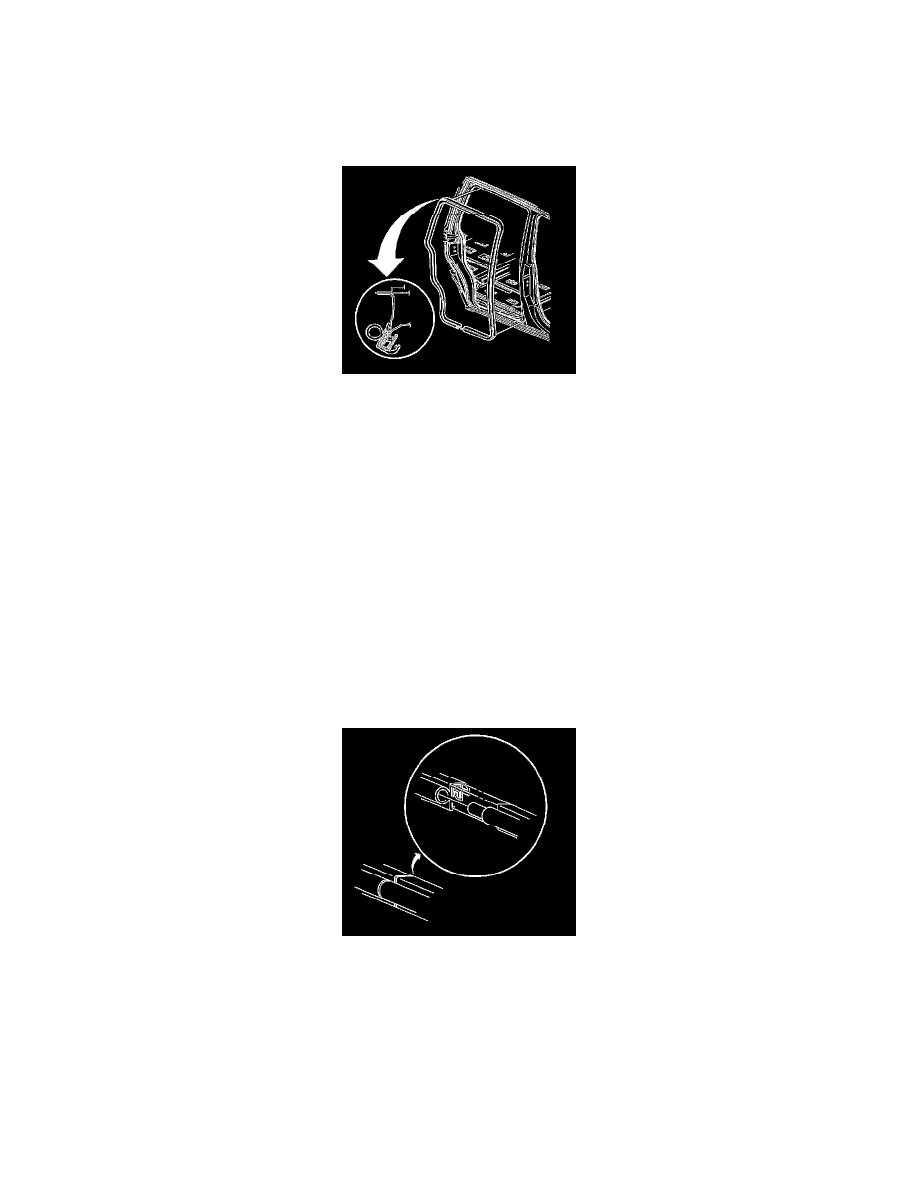
Weatherstrip Replacement - Side Door Opening
Side Door Opening Weatherstrip Replacement
Removal Procedure
1. Pull the sliding door opening weatherstrip from the sliding door pinch-weld flange.
2. Clean any adhesive form the pinch-weld flange.
Installation Procedure
Important:
*
A mastic/sealer/glue is inside of the new, front door opening weatherstrip. If a new front door opening weatherstrip is used,
weatherstrip adhesive should not be used.
*
If an old front door opening weatherstrip is reused, weatherstrip adhesive should be used.
1. Install the sliding door opening weatherstrip to the sliding door pinch-weld flange.
2. Align the locator dot to the upper front corner and upper rear corners of the sliding door pinch-weld flange:
*
The pink dot indicates the long wheel base.
*
The yellow dot indicates the short wheel base.
3. Install the remainder of the sliding door opening weatherstrip by rolling the weather-strip onto the flange. Ensure that the corners are fully seated.
DO NOT stretch the front door opening weatherstrip during installation.
4. Join the loose end of the front door opening weatherstrip to the seated end of the front door opening weatherstrip.
Important: Removal of the tear strip should not pull the inner lip of the sliding door opening weatherstrip out over the trim. Spooning of
the sliding door opening weatherstrip may be necessary in order to complete installation.
5. Grasp the end of the tear strip at the joint and pull the entire length of the sliding door opening weatherstrip.
6. Inspect the sliding door opening weatherstrip for creases or wrinkles.