
Venture AWD V6-3.4L VIN E (2004)
Oil Pan: Service and Repair
Oil Pan Replacement
Tools Required
J 39505 Torque Wrench Adapter
Removal Procedure
1. Disconnect the battery negative cable.
2. Remove the right engine mount strut from the engine.
3. Install the engine support fixture.
4. Raise and support the vehicle.
5. Remove the A/C compressor bolts and reposition the compressor in order to gain access to the oil pan.
6. Disconnect the catalytic converter from the exhaust manifold.
7. Remove the frame.
8. Drain the engine oil.
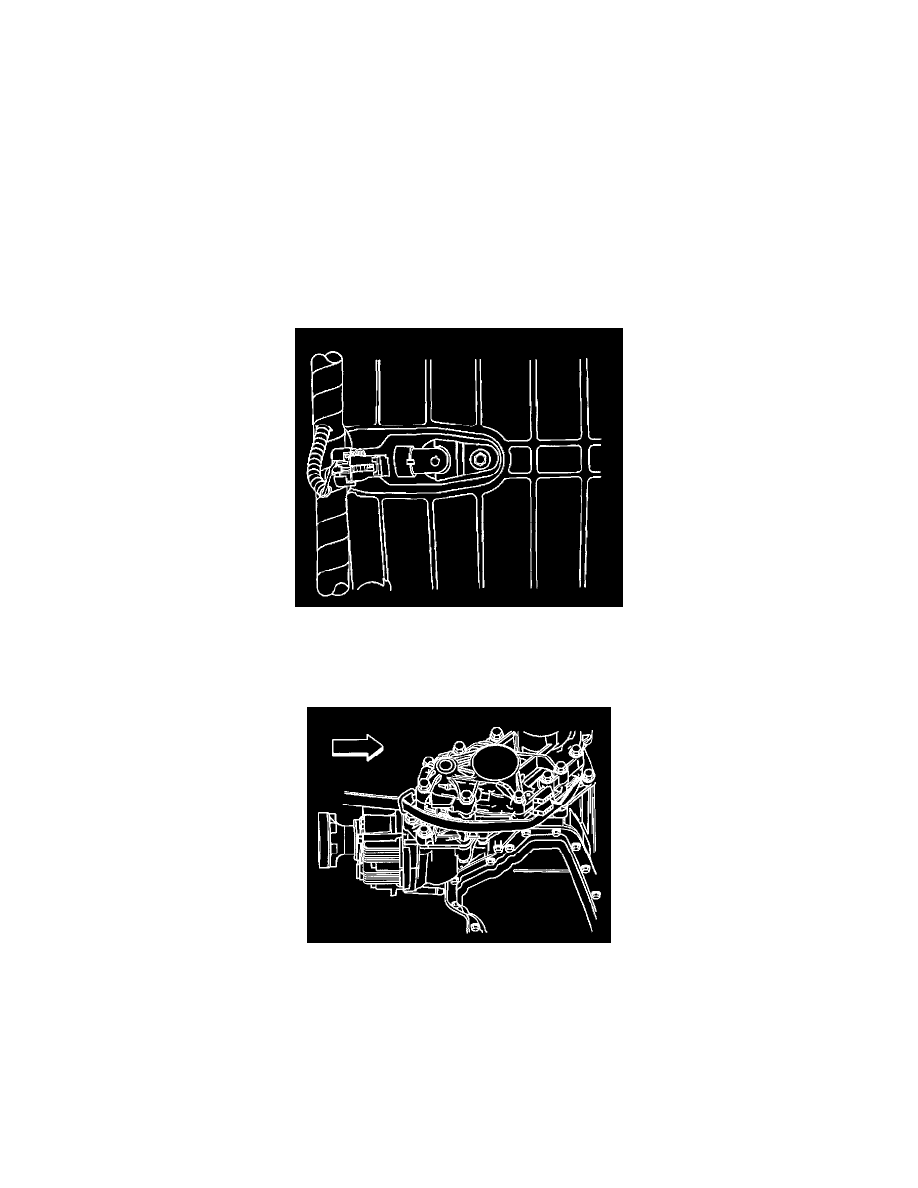
9. Disconnect the oil level sensor electrical connector.
10. Remove the starter motor.
11. If the vehicle is equipped with All-Wheel-Drive (AWD), remove the transfer case brace.
12. Remove the transaxle brace.
13. Install one end of a suitable utility strap to the transmission.
^
If the vehicle is equipped with All-Wheel-Drive (AWD), carefully wrap the utility strap around the transfer case.
^
If the vehicle is equipped with Front-Wheel-Drive (FWD), carefully wrap the utility strap around the transmission case extension housing.