
Venture AWD V6-3.4L VIN E (2004)
13. Remove the evaporator outlet tube nut at the TXV.
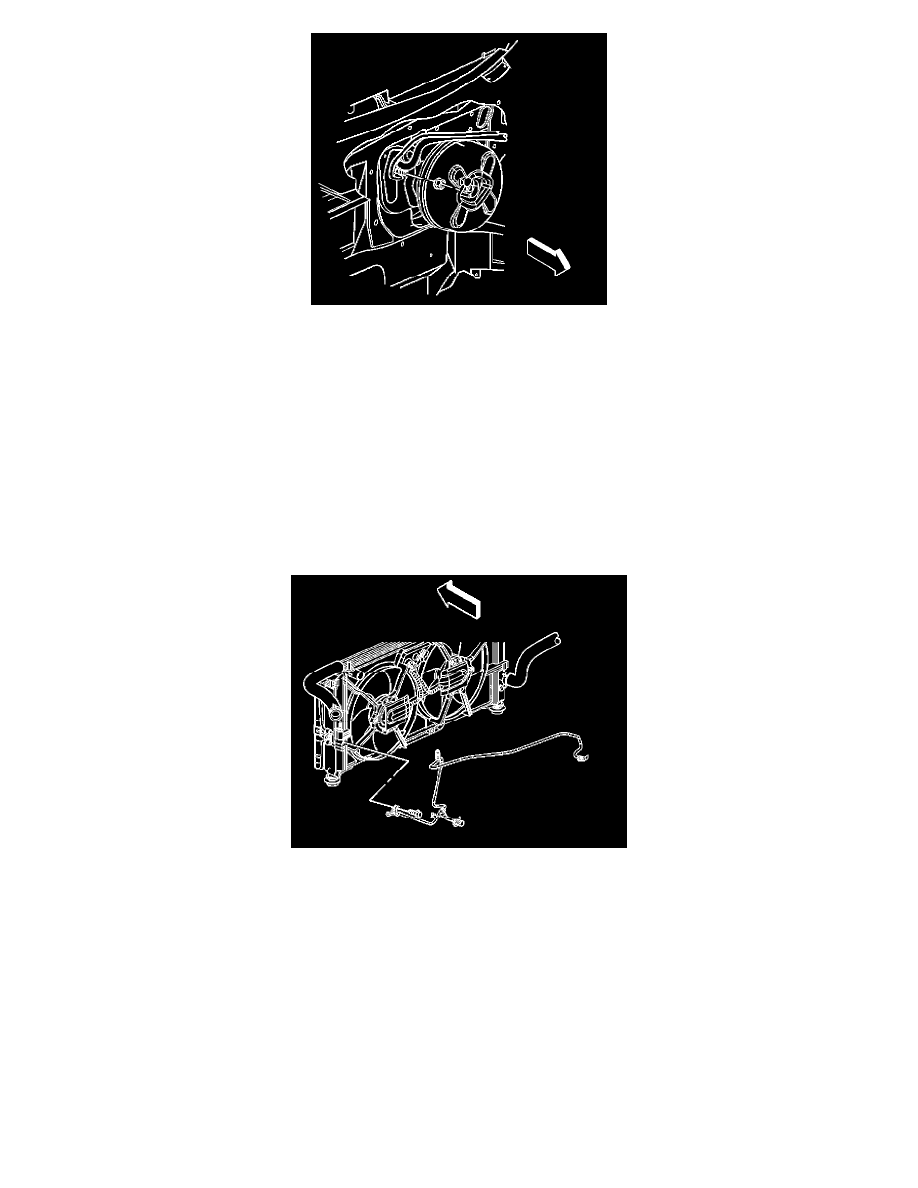
14. Disconnect the evaporator outlet tube and evaporator inlet tube from the TXV.
15. Disconnect the evaporator inlet tube from the evaporator outlet tube.
16. Cap or tape the TXV.
IMPORTANT:Cap or tape the open A/C refrigerant tube and A/C refrigerant components to prevent system contamination.
17. Remove the evaporator inlet tube to condenser fitting bolt.
18. Disconnect the evaporator inlet tube from the condenser.
19. Cap or tape the condenser.
20. Disconnect the auxiliary evaporator inlet tube from the evaporator inlet tube.
21. Cap or tape the auxiliary evaporator inlet tube.
22. Remove the evaporator outlet tube bracket bolt.
23. Disconnect the electrical connector on the evaporator outlet tube bracket.
24. Remove the evaporator inlet tube.
IMPORTANT:Gently lift up on the evaporator outlet tube bracket to allow enough clearance to slide the evaporator inlet tube underneath.
25. Remove and discard the sealing washers and O-ring.
INSTALLATION PROCEDURE
1. Install the new O-ring.
2. Install new sealing washers onto the evaporator inlet tube.
3. Install the evaporator inlet tube.
IMPORTANT:Gently lift up on the evaporator outlet tube bracket to allow enough clearance to slide the evaporator inlet tube underneath.