Venture AWD V6-3.4L VIN E (2004)

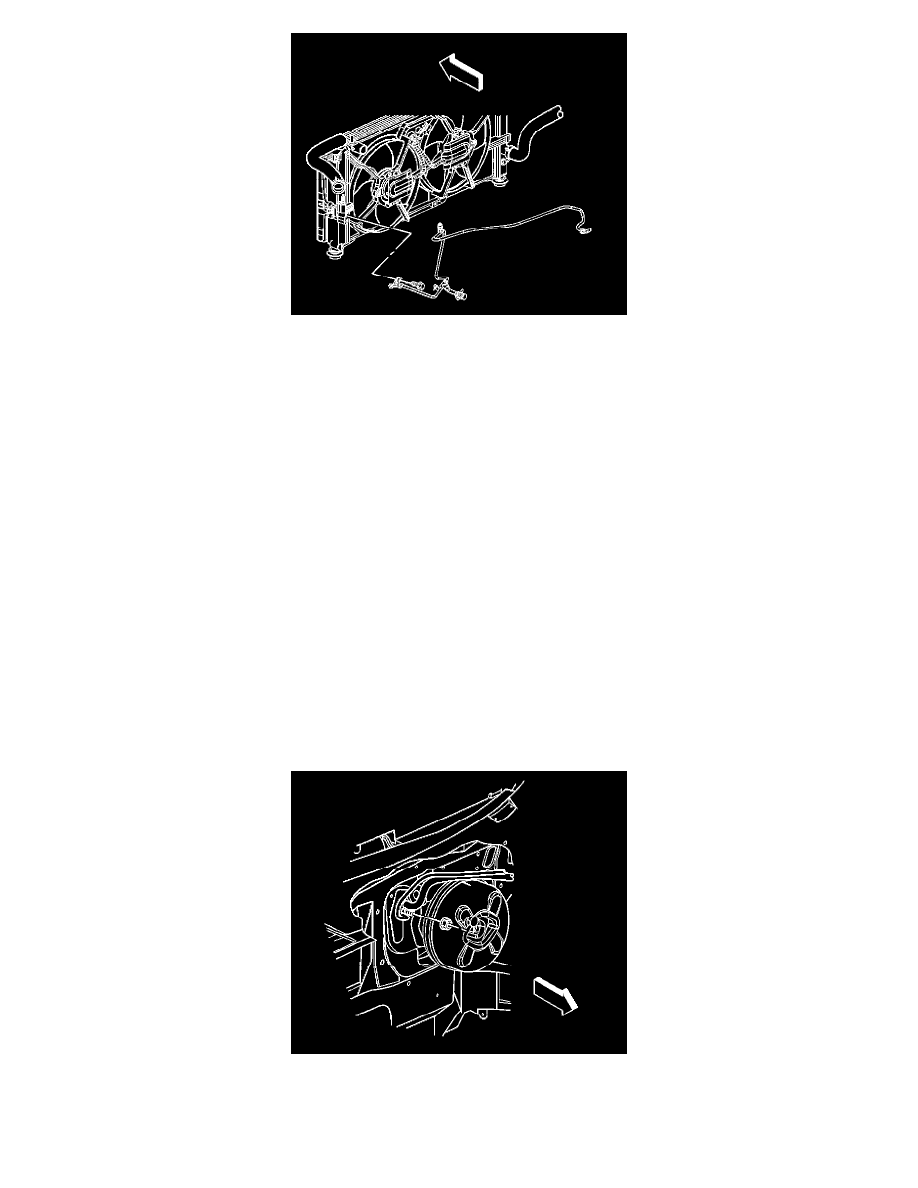
4. Connect the electrical connector on the evaporator outlet tube bracket.
5. Install the evaporator outlet tube bracket bolt.
NOTE: Refer to Fastener Notice in Service Precautions.
See: Heating and Air Conditioning/Service Precautions/Vehicle Damage Warnings
Tighten
Tighten the bolt to..........5.5 N.m (48.7 lb in).
6. Remove the cap or tape from the auxiliary evaporator inlet tube.
7. Connect the auxiliary evaporator inlet tube to the evaporator inlet tube.
Tighten
Tighten the nut to.....27 N.m (20 lb ft).
8. Remove the cap or tape from the condenser.
9. Connect the evaporator inlet tube to the condenser.
10. Install the evaporator inlet tube to condenser fitting bolt.
Tighten
Tighten the bolt to.........16 N.m (12 lb ft).
11. Remove the cap or tape from the TXV.
12. Connect the evaporator inlet tube to the evaporator outlet tube.
13. Connect the evaporator inlet and outlet tubes to the TXV.
14. Install the evaporator outlet tube to TXV nut.
Tighten
Tighten the nut to.....16 N.m (12 lb ft).
