
Venture AWD V6-3.4L VIN E (2004)
Shift Interlock Solenoid: Service and Repair
Automatic Transmission Shift Lock Actuator Replacement
Removal Procedure
1. Remove the steering column trim covers. Refer to Steering Column Trim Covers Replacement.
2. Remove the knee bolster.
3. Remove the shift lever actuator. Refer to Linear Shift Assembly Replacement.
4. Disconnect the electrical connector from the automatic shift lock control actuator.
5. Remove the automatic shift lock control actuator from the steering column ball studs.
Installation Procedure
1. Install the automatic shift lock control actuator onto the steering column ball studs.
2. Connect the electrical connector to the automatic shift lock control actuator.
3. Install the shift lever actuator. Refer to Linear Shift Assembly Replacement. Place the column in the neutral position.
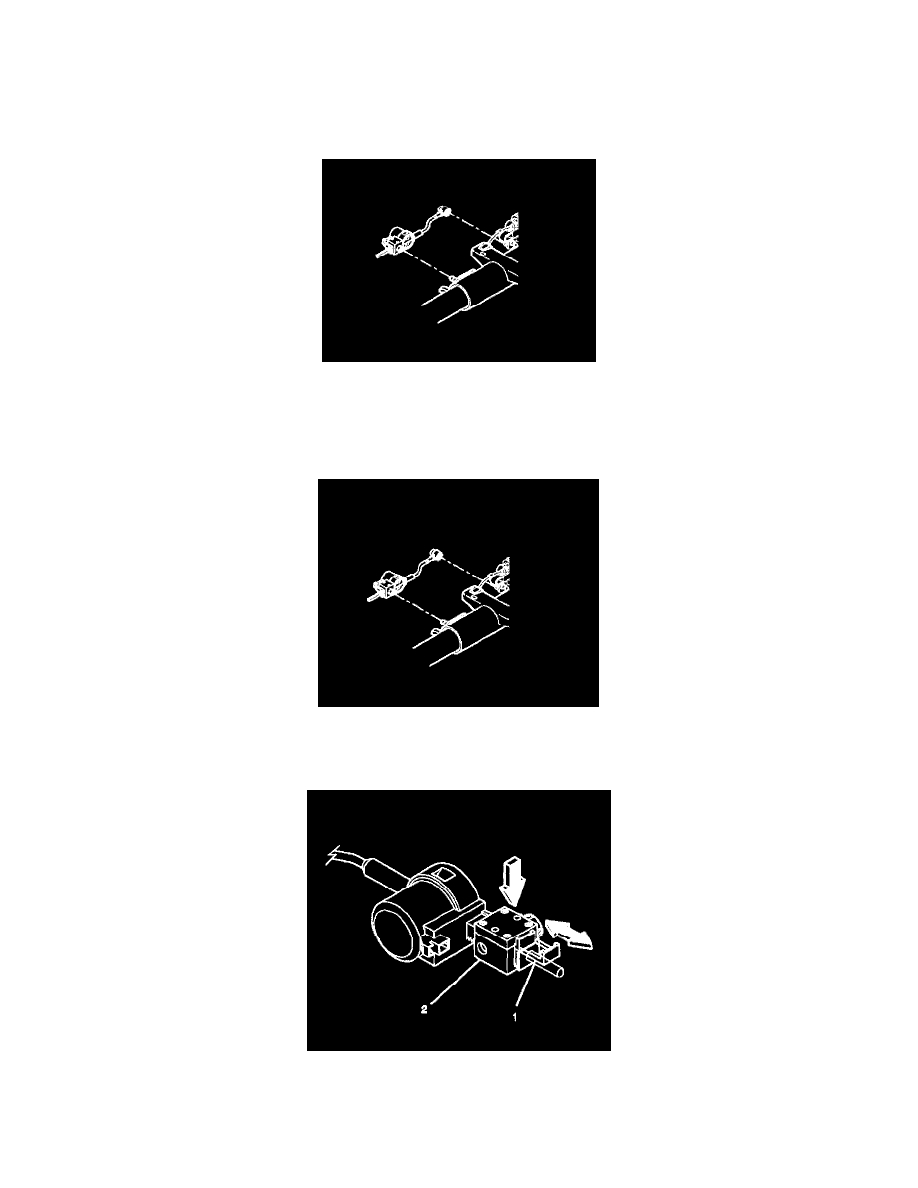
4. Adjust the automatic shift lock control actuator.
^
Pull out the tab (1) on the adjuster block side (2) of the actuator.
^
Press on the adjuster block (2) in order to compress the internal adjuster spring and disengage the adjuster teeth. Slide the adjuster block as far
away from the actuator as possible.