
Venture AWD V6-3.4L VIN E (2004)
Shift Solenoid: Service and Repair
2-3 Shift Solenoid Valve Replacement
2-3 Shift Solenoid Valve Replacement
Removal Procedure
1. Remove the case side cover. Refer to Case Side Cover Replacement.
2. Disconnect the transaxle wiring harness.
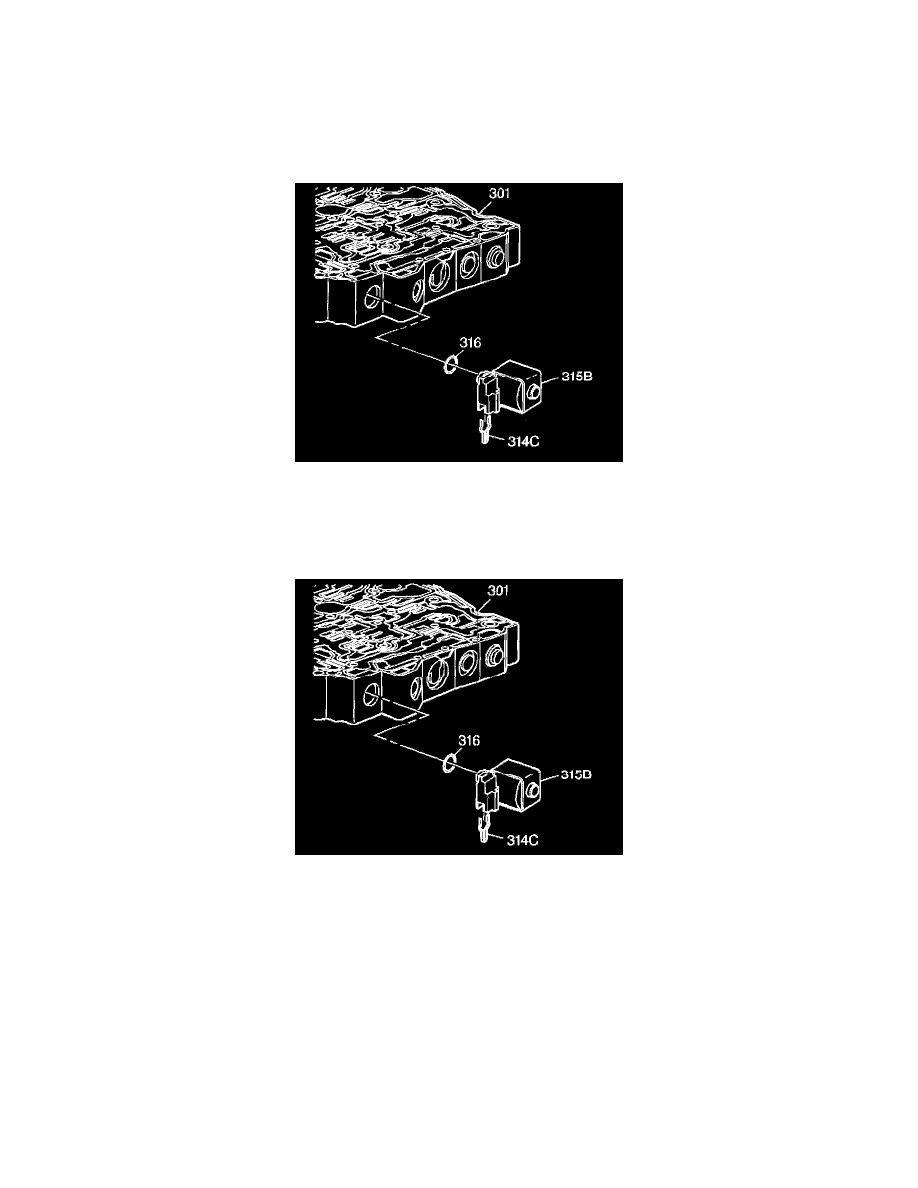
3. Using a small screwdriver or pick, remove the 2-3 shift solenoid valve retainer (314C) from the control valve body (301).
4. Remove the 2-3 shift solenoid (315B).
5. remove the O-ring seal (316) from the 2-3 shift solenoid valve (315B) ONLY if it is damaged.
Installation Procedure
1. Install a new O-ring seal (316) onto the 2-3 shift solenoid valve (315B) if the O-ring was removed.
2. Install the 2-3 shift solenoid (315B).
3. Install the 2-3 shift solenoid valve retainer (314C) into the control valve body (301).
4. Connect the transaxle wiring harness.
5. Install the case side cover. Refer to Case Side Cover Replacement.