
Venture AWD V6-3.4L VIN E (2004)
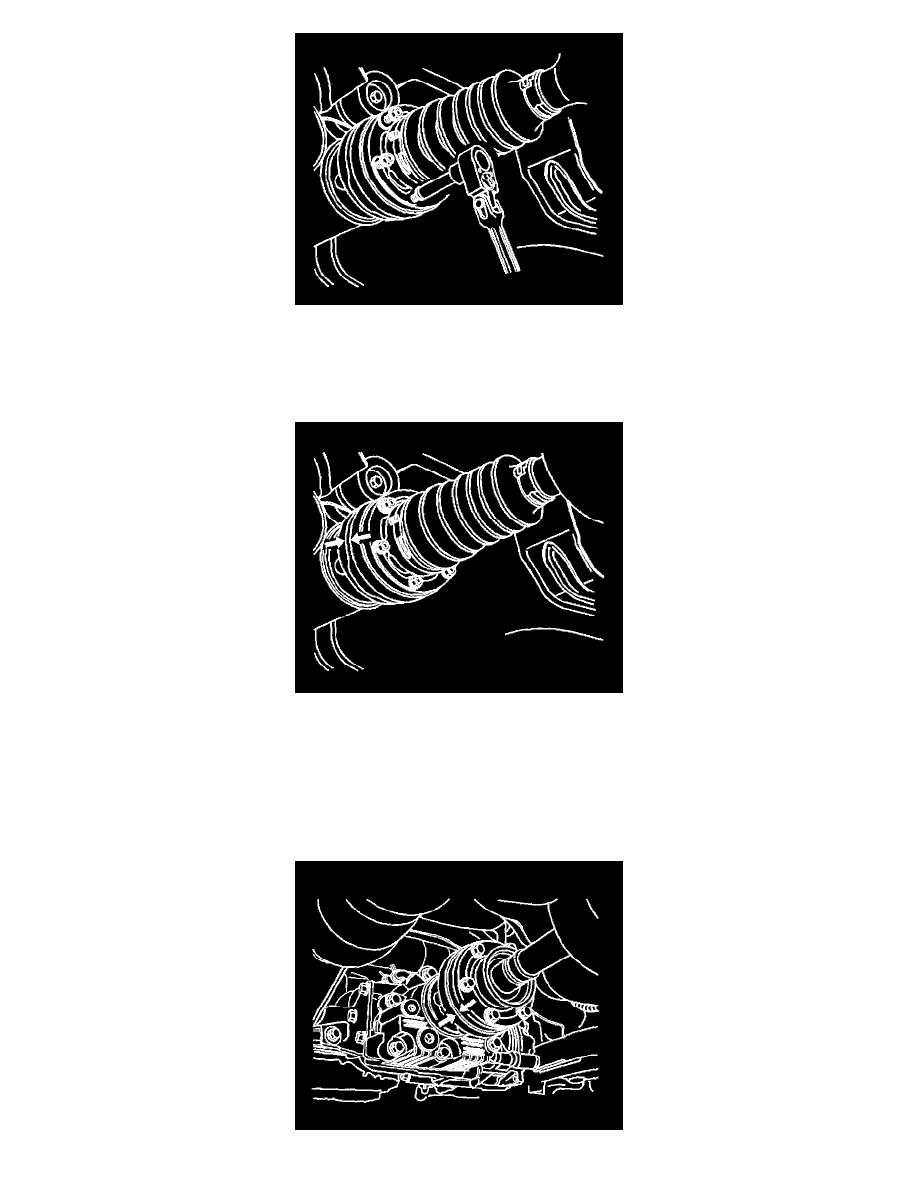
5. Remove the propeller shaft-to-torque tube flange bolts.
6. Push the propeller shaft toward the rear of the vehicle.
7. Remove the propeller shaft.
Installation Procedure
1. Install the rear of the propeller shaft to the torque tube flange.
2. Align the reference marks on the propeller shaft and the torque tube flange.
Important: Thoroughly clean and apply thread-locker GM P/N United States 12345493 P/N Canada 10953488 or equivalent to the bolt threads
prior to assembly.
3. Hand install the propeller shaft-to-torque tube bolts in order to maintain the proper propeller shaft to torque tube relationship. Ensure that the
crescent washer is in place on each pair of bolts.