
W 3500 L4-4.8L DSL Turbo (1999)
1. Open the Harness
If the harness is taped, remove the tape. To avoid wire insulation damage, use a sewing "seam ripper" (available from sewing supply stores) to cut
open the harness.
If the harness has a block plastic conduit, simply pull out the desired wire.
2. Cut the wire
Begin by cutting as little wire Off the harness as possible. You may need the extra length of wire later if you decide to cut more wire off to change
the location of a splice. You may have to adjust splice locations to make certain that each splice is at least 1-1/2 in (40 mm) away from other
splices, harness branches, or connectors.
3. Strip the insulation
When replacing a wire, use a wire of the same size as the original wire. Check the stripped wire for nicks or cut stands. If the wire is damaged,
repeat the procedure on a new section of wire. The two stripped wire ends should be equal in length.
4. Crimp the Wires
Select the proper clip to secure the splice. To determine the proper clip size for the wire being spliced, follow the directions included with your
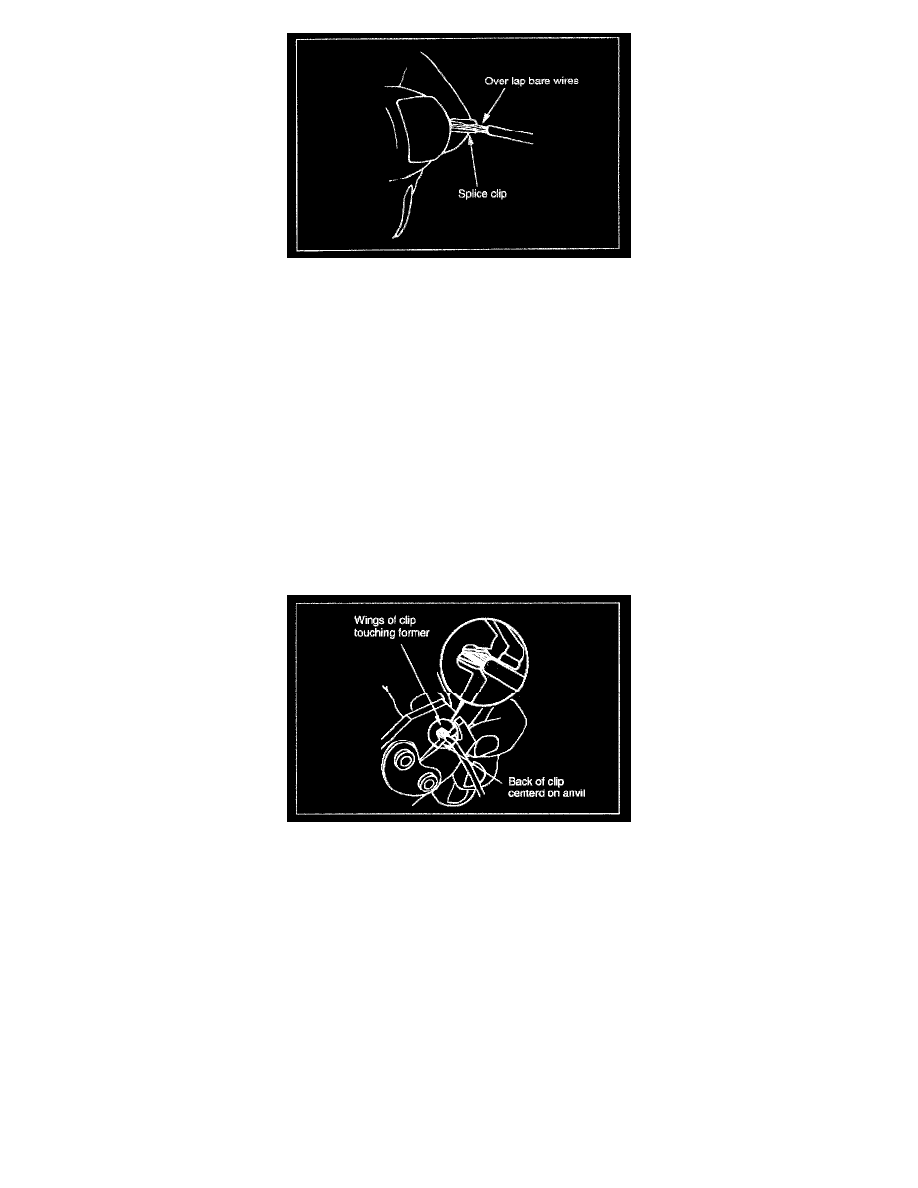
clips. Select the correct anvil on the crimper. (On most crimpers your choice is limited to either a small or large anvil.) Overlap the two stripped
wire ends and hold them between your thumb and forefinger. Then, center the splice clip under the stripped wires arid hold it in place.
-
Open the crimping tool to its full width and rest one handle on a firm flat surface.
-
Center the back of the splice clip on the proper anvil and close the crimping tool to the point where the back of the splice clip touches the
wings of the clip.
-
Make sure that the clip and wires are still in the correct position. then, apply steady pressure until the crimping tool closes.