
200 L4-2.4L (2011)
NOTE: Before lowering the front suspension crossmember, the location of the crossmember must be marked on the body of the vehicle. Do this
so the crossmember can be relocated, upon reinstallation, against the body of vehicle in the same location as before removal. If the front
suspension crossmember is not reinstalled in exactly the same location as before removal, the preset front wheel alignment settings (caster and
camber) may be lost.
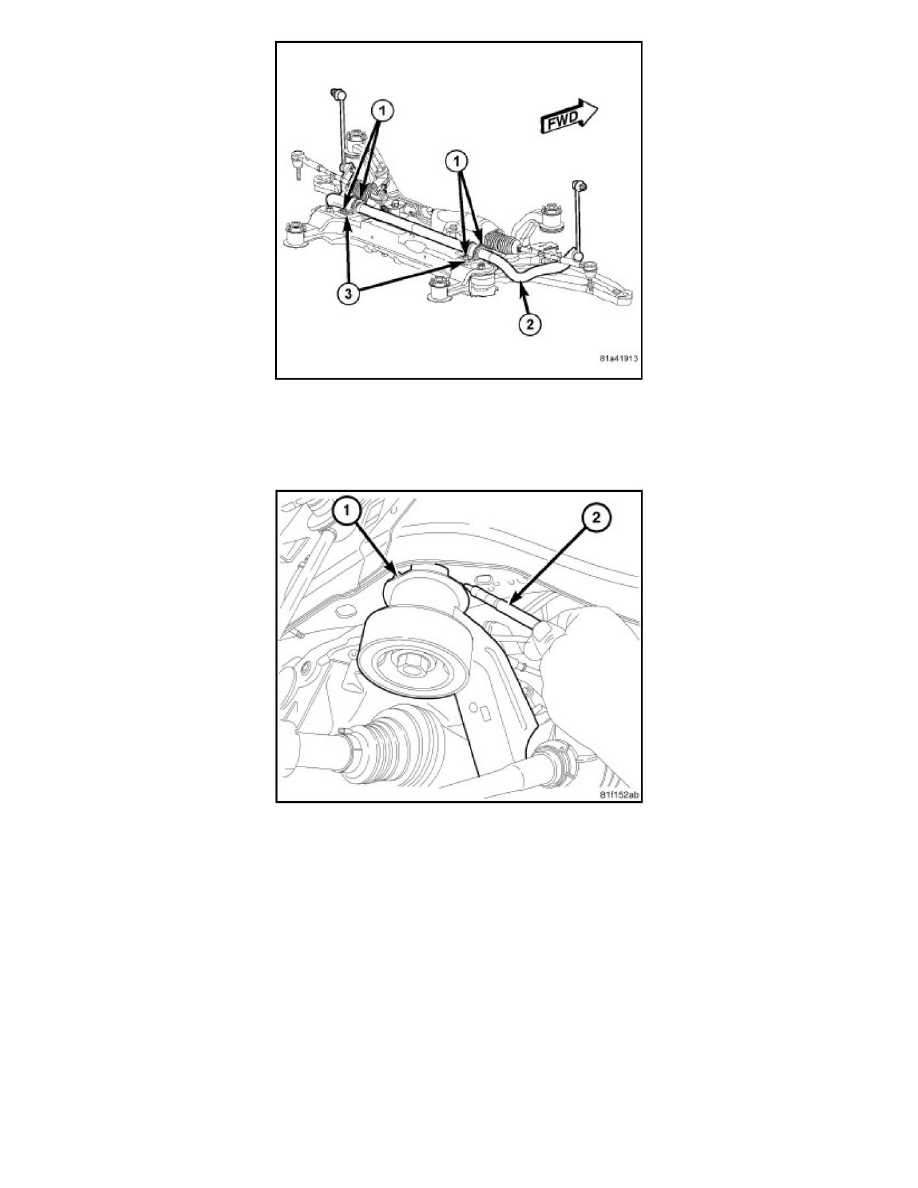
13. Using a crayon or marker (2) that will not break the paint surface, mark the location of the front crossmember (1) on the body near each mounting
bolt. Do not use any type of sharp instrument that will damage the underbody of the vehicle.
14. Support the crossmember (9) with a transmission jack. Secure the crossmember to the jack.
15. Remove the four mounting bolts (6) securing the front crossmember (9) to the body.
16. Remove the mounting screws (8) securing the front crossmember reinforcement brackets (7) (one each side of vehicle) to the body (1). Remove
the brackets.
17. Slowly lower the crossmember and control arms to a comfortable working height using the jack.