
300 V6-3.5L (2008)
engaging each of the detents. Using the wedge nut opening on the handle for visual aid, rotate the handle as necessary while installing, in order
to bring the flat detent on the intermediate shaft into view along the bottom of the opening.
8. Tighten the bolt (1) retaining the handle to the outer tub and tighten to 6.5 Nm (58 in. lbs.).
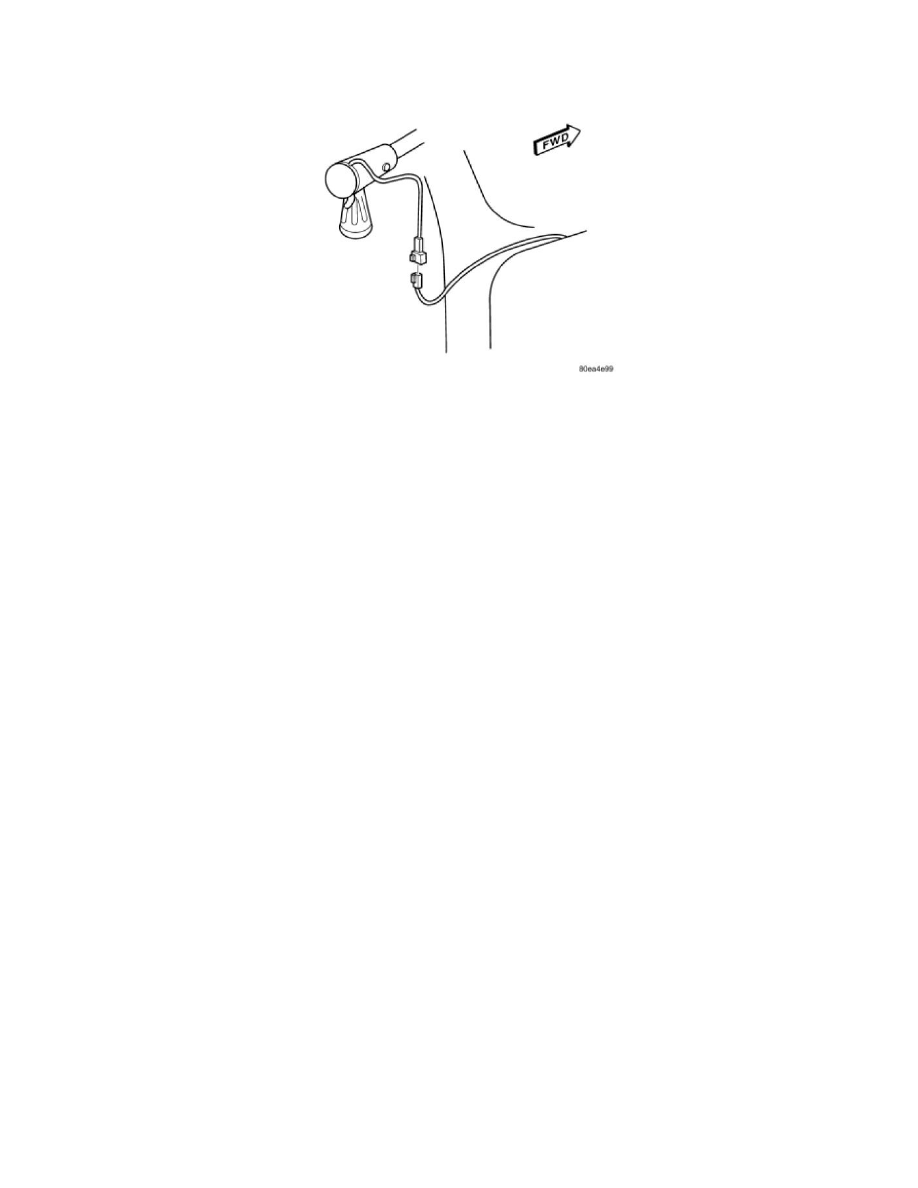
9. Connect the spot lamp electrical connector.
10. Install the instrument panel end-cap.
11. Install the A-pillar trim.
12. Install the fuse, depending on which spot lamp is being serviced.
13. Inspect the operation of the spot lamp to ensure that the range of movement is correct.
-
Using the handle, rotate the spot lamp from the operating position to the stowed position and back. Ensure that the lamp will maintain the
desired position. The stowed position should be just above the windshield and the operating position should be vertical to slightly outboard.
-
Using the knob of the handle, rotate the head of the spot lamp around on its axis. The spot lamp must rotate 360 degrees on its axis.
14. If the spot lamp head does not rotate 360 degrees on its axis, or if excessive effort is required to rotate the lamp head on its axis, perform the
following:
a. Remove the handle and inspect for damage to the inner shaft and the gears in the handle. Repair or replace as necessary.
b. If no damage is present to the inner shaft or the gears in the handle, reinstall the handle and reinspect the operation of the lamp.
c. If the spot lamp head still does not properly rotate 360 degrees on its axis, remove the cover from the end of the spot lamp head assembly and
inspect for damage to the gears in the head assembly. Repair or replace as necessary.
15. Lower the spot lamp to the stowed position.