
300 V6-3.5L (2008)
2. Push down on the latch hook mounting plate and guide the latch hooks into the slots on the driver airbag cover.
3. Once all the latch hooks have been started, pull the driver airbag cover away from the driver airbag to fully seat the latch hooks.
4. Install the driver airbag (2) See: Driver Airbag - Installation. Torque the two screws (1) to 10 Nm (89 in. lbs.).
WARNING: DO NOT CONNECT THE BATTERY NEGATIVE CABLE. PERSONAL INJURY OR DEATH MAY RESULT IF THE
SYSTEM TEST IS NOT PERFORMED FIRST. FOR THE SYSTEM TEST, See: Powertrain Management/Computers and Control
Systems/Testing and Inspection/Diagnostic Trouble Code Tests and Associated Procedures/Verification Tests/Supplemental Restraints
Verification Test
Removal
REMOVAL
1. Position the front seat to its most forward position for easiest access to the front seat mounting hardware.
2. Disconnect and isolate the battery negative cable. Wait two minutes for the system capacitor to discharge before further service.
3. Remove the front seat from the vehicle. See: Body and Frame/Seats/Service and Repair/Seat - Removal
4. Remove the trim from the seat back See: Body and Frame/Seats/Seat Back/Service and Repair/Seat Back Cushion / Cover - Removal.
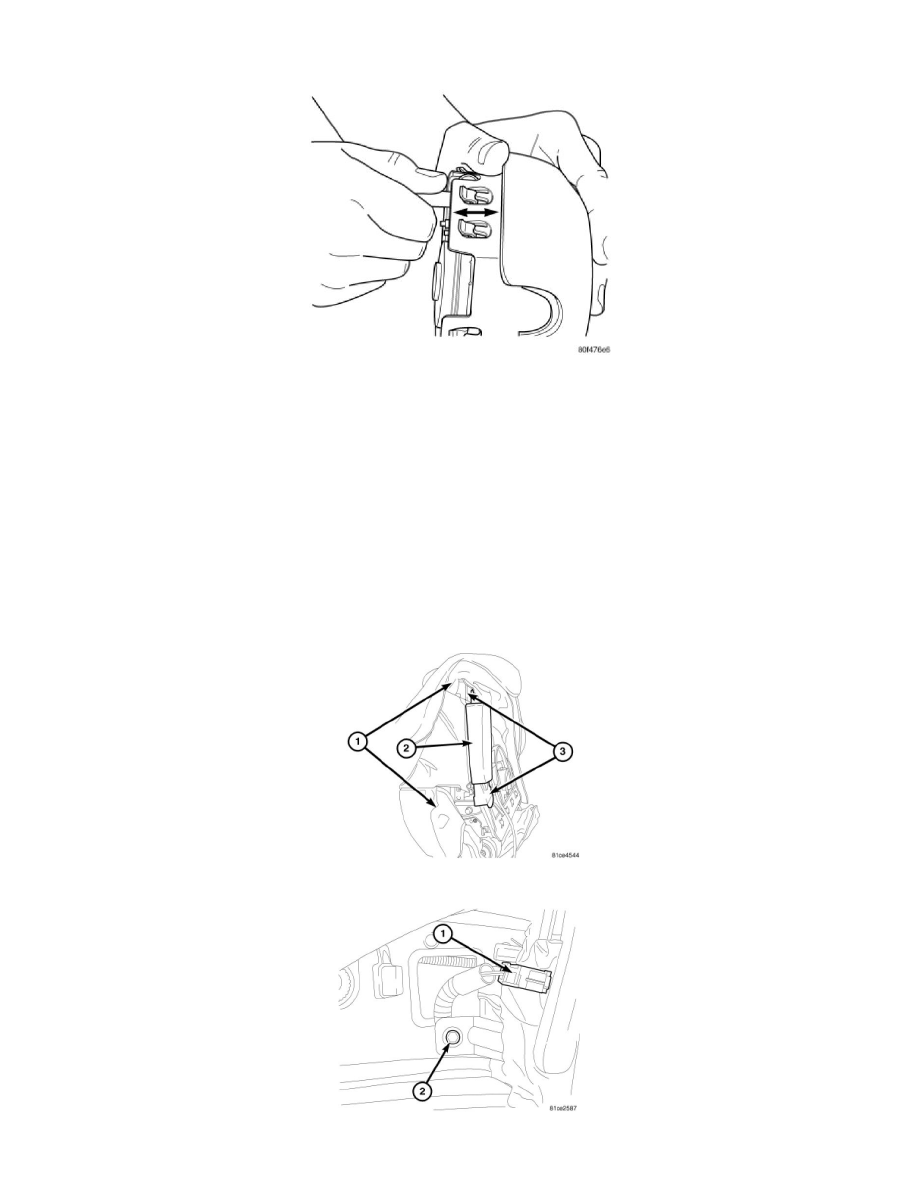
5. Pull back the foam (1) from the top and bottom of the air bag trim cover (2) and remove the two fasteners (3) securing the cover to the seat frame.
6. Disconnect the seat wire harness connector (1) from the seat airbag inflator.