300 V6-3.5L (2008)

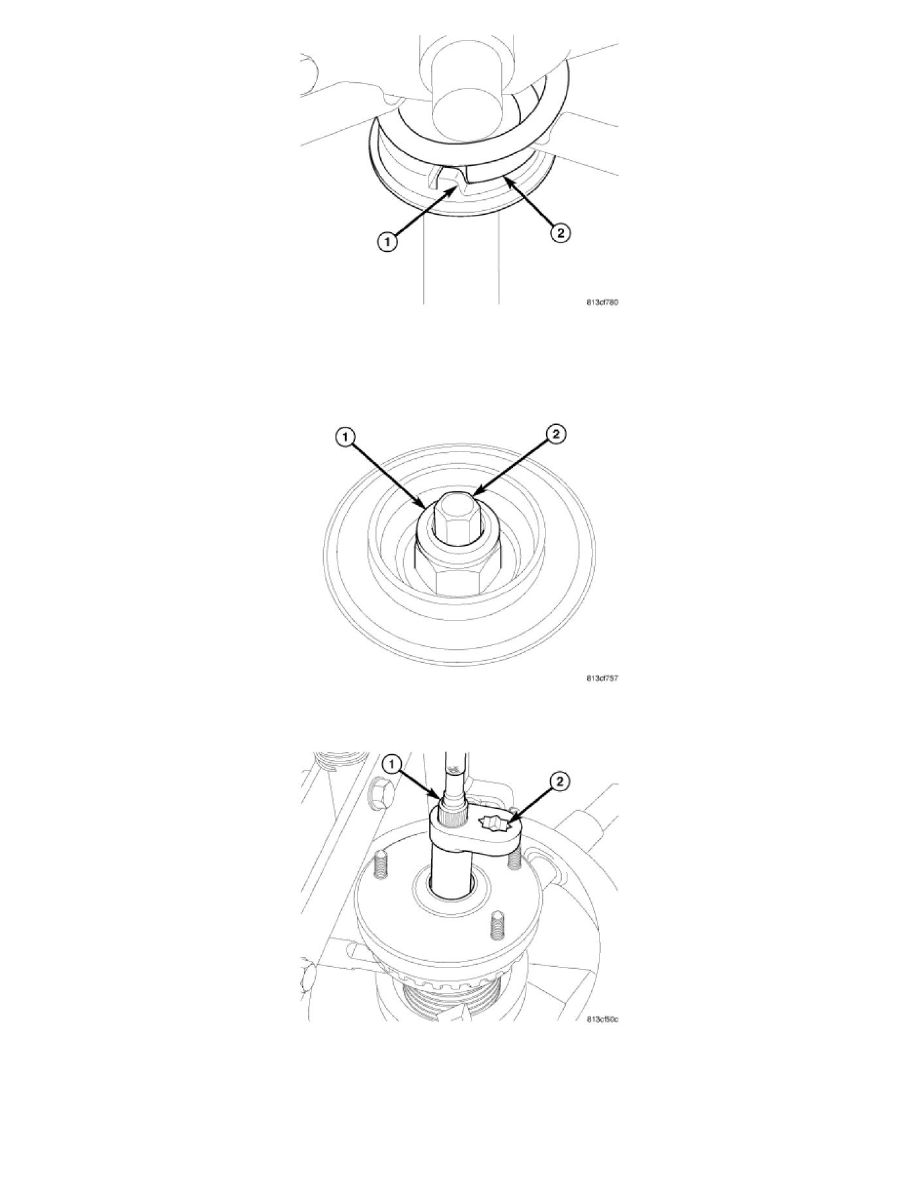
7. Install shock through bottom of coil spring until lower spring isolator (on shock) contacts lower end of coil spring. Match step built into isolator
(1) to lower coil end (2). Once in this position, stabilizer bar bracket, or clevis key on AWD models, should point straight inward toward
Compressor body. If not, rotate isolator on shock body until alignment is achieved when isolator is correctly positioned with lower spring coil.
8. Install clamp to hold shock and coil spring together.
9. Install retaining nut (1) on shock shaft (2) as far as possible by hand. Make sure nut is installed far enough for 8 mm socket to grasp hex (2) on end
of shaft for tightening.
10. Install Wrench (on end of a torque wrench), Special Tool 9362, on shock shaft retaining nut. Next, insert 8 mm socket though Wrench onto hex
located on end of shock shaft. While holding shock shaft from turning, tighten nut using Wrench to 90 Nm (66 ft. lbs.) torque.
11. Slowly release tension from coil spring by backing off Compressor drive fully. As tension is relieved, make sure shock components are properly in
place.
12. Remove clamp from lower end of coil spring and shock. Push back spring compressor upper and lower hooks, then remove shock assembly from
spring compressor.
